


Hi everyone, happy Wednesday!
In this post, we will walk you through Model projects! Model projects play a crucial role in configuring various Ataccama products like DQ Issue Tracker, ONE RDM, and ONE MDM. These model projects are structured based on model templates, which define a specific set of nodes, folders, and files during project creation or import. It's important to note that you cannot modify or remove nodes created by a template.
The configuration within model projects is developed using the Advanced Metadata Editor (AME). In this context, metadata refers to the configurations made within the model project nodes, which are used to generate plans, components, web service configurations, XML files, and other necessary components for a particular solution.
Developing solutions based on metadata is carried out in the Model Explorer view, and detailed instructions for each product can be found in the respective Developer Guides.
Every Ataccama build includes a default model project called Bulk Profiling. This project allows simultaneous profiling of multiple inputs, creating separate profile files for each.
All the features available in regular DQ projects are also accessible in model projects.
Creating a New Model Project
To create a new model project, follow these steps:
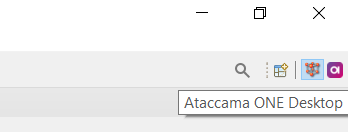
- Open Ataccama ONE Desktop and select the Ataccama ONE Desktop perspective.
- Go to the File menu, select New, and then choose Model Project, or simply click the New Model Project icon.
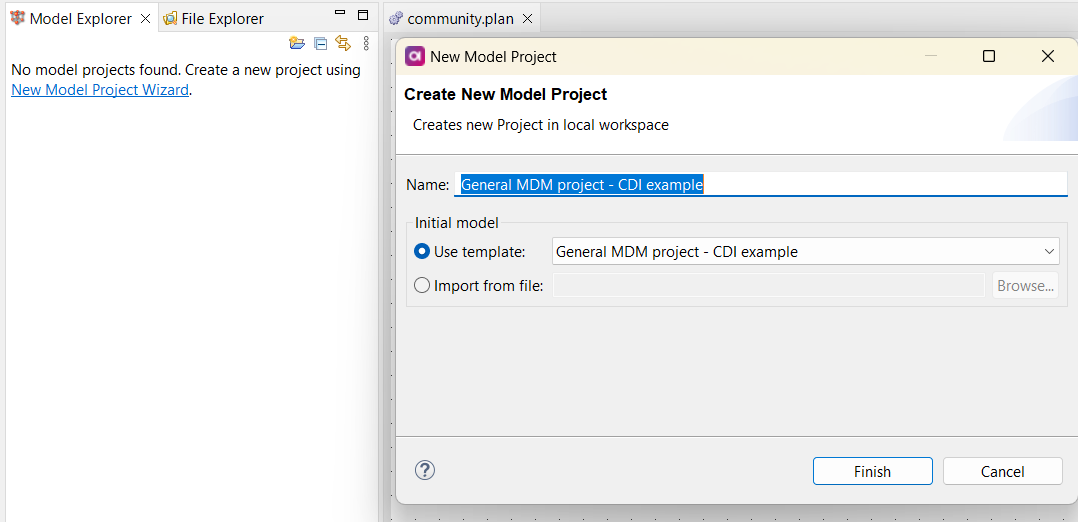
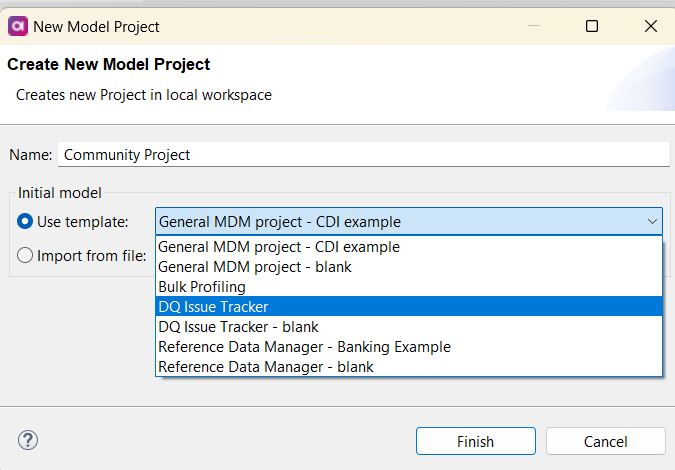
- In the New Model Project dialog, provide a name for the project and select the project type from the available templates based on the product you've purchased.
You also have the option to import a model project from a previously exported project.
Saving Your Changes
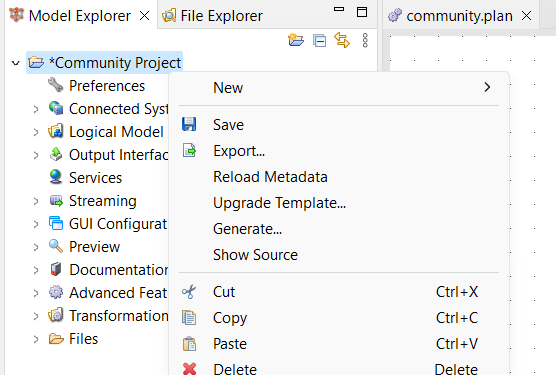
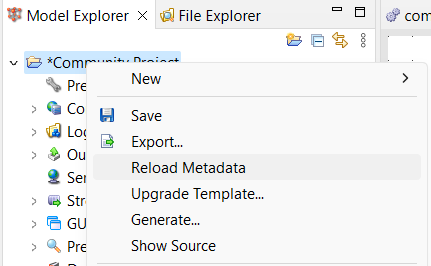
While configuring a model project, if you make changes, an asterisk appears next to the project name, indicating unsaved modifications. To save your changes, right-click the project name and select Save. It's considered best practice to also click Reload Metadata after saving.
Reverting Changes
There are two methods to undo changes:
-
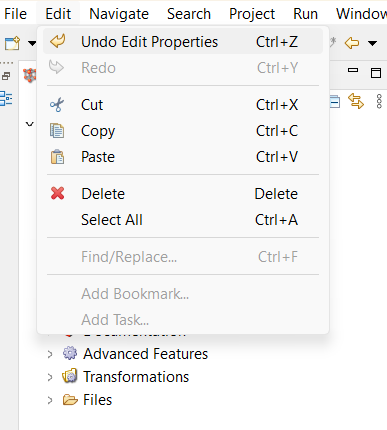
Change-by-change: From the main application menu, choose Edit > Undo Edit Properties or use the shortcut Ctrl + Z to revert your most recent action. You can redo changes with Edit > Redo Edit Properties or Ctrl + Y.
-
Restoring to the last saved state: This approach is useful for undoing multiple changes at once. Right-click the project name and select Reload Metadata to restore the project configuration to the state after the last save.
Generating Necessary Files
Once you finish editing metadata and configuring the project, you can generate the required files for your solution. Typically, right-click the project name and select Generate, keep the default location option, and click Generate. You can also generate files from metadata within a specific node. For more details on the results and requirements for such actions, refer to the Developer Guides for each product.
Exporting and Importing Model Projects
You have the option to export a model project to share it with others or when upgrading your product:
- Right-click the project name and choose Export.
- Specify the location and name of the file.

- Click OK to complete the export. The file will have a
.mdcextension.
To create a new model project by importing a previously exported project, follow these steps:
- Click the New Model Project button.
- Select the Import from file option and provide the path to the project.
- Click Finish to complete the import process.
Follow these steps to easily create a model project! 📂


