


Hi everyone,
In this post, we will talk about Virtual Catalog Items 🦋 You might have participated in our live training session that took place a few months back where we talked about how to create and work with VCIs. You can always watch back the session and check out the live demo here 👇🏻
Virtual Catalog Items (VCIs) provide flexibility and efficiency when working with data in the ONE Desktop platform and in this article you can find best practices for creating and transforming Virtual Catalog Items to make the most of your data management efforts. Let’s start with the basics:
Why Use Virtual Catalog Items?
VCIs are particularly useful in several scenarios:
-
Applying Transformation Logic: When you need to apply ONE Desktop and in-source (SQL) transformation logic before working with raw data. This includes tasks such as filtering data, joining tables, and standardizing values.
-
Integrating Non-Native Sources: When you want to integrate data from sources that are not natively supported by Ataccama ONE. VCIs allow you to use APIs and other connectors for these integrations.
-
Monitoring Projects: Virtual Catalog Items can simplify the setup and management of monitoring projects. You can easily change and configure catalog items for monitoring without affecting their existing configurations.
Creating a Virtual Catalog Item
Before you can begin working with Virtual Catalog Items, ensure that ONE Desktop is up and running and connected to the Ataccama ONE Platform. Here's how to create a new VCI:
- Start ONE Desktop.
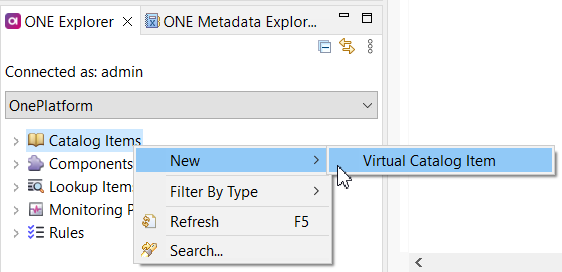
- In ONE Explorer, right-click "Catalog Items."
- Select "New" > "Virtual Catalog Item."
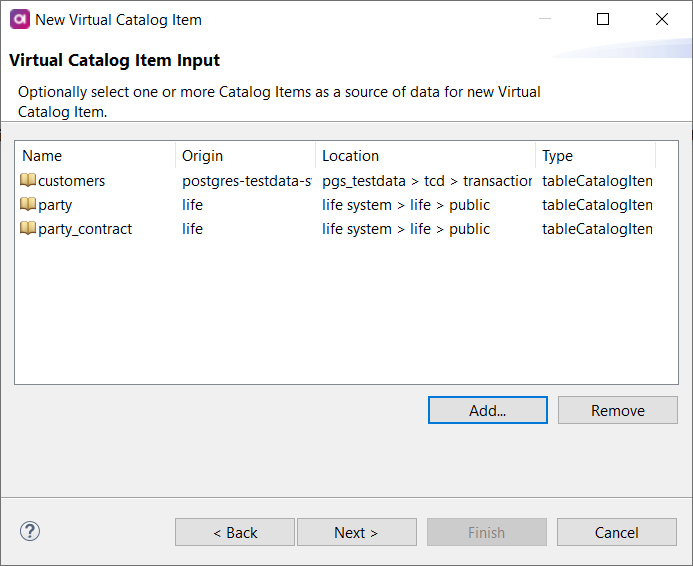
- In the dialog that appears, set the name and description for the VCI and click "Next."
- Use the "Add" button to select existing catalog items to include in the transformation process.
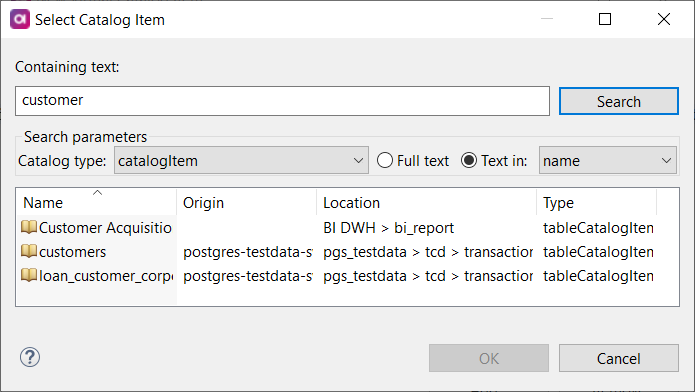
- Search for the catalog items you need and select them.
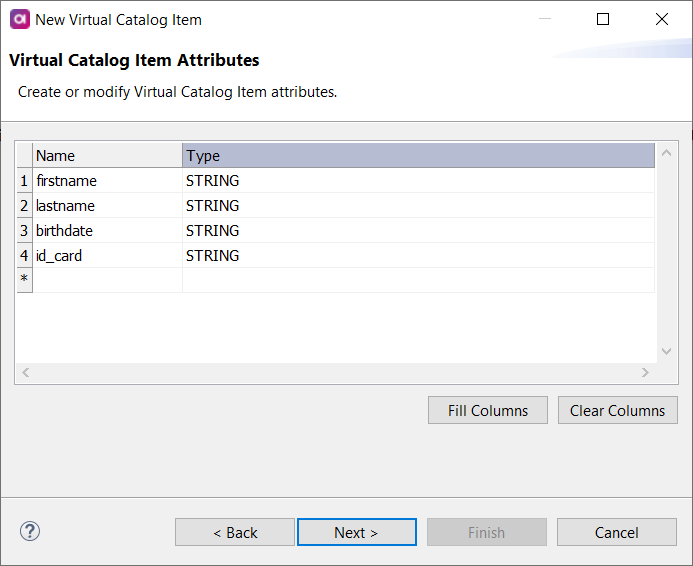
- If necessary, modify the attributes of the VCI and click "Next."
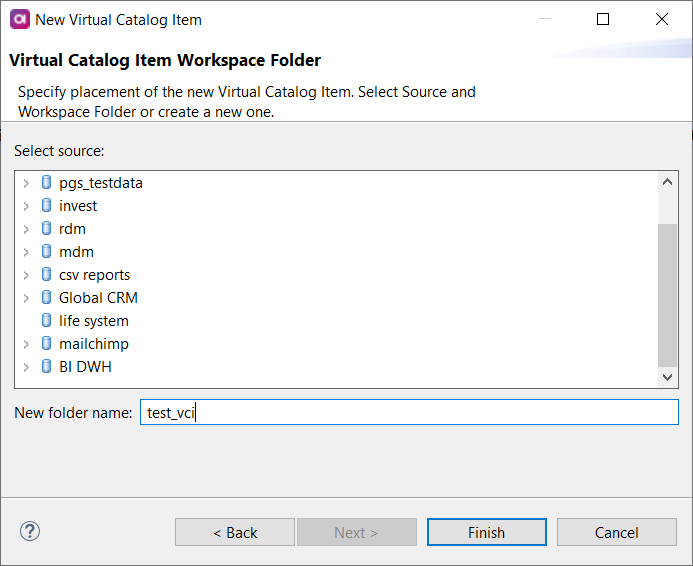
- Specify the workspace folder for the new VCI and click "Finish."
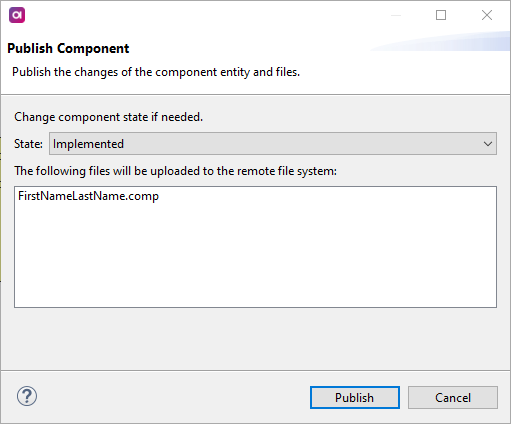
Publishing Changes
After creating a VCI, you need to publish it to make it fully available in Ataccama ONE:
- In ONE Explorer, locate your new VCI in "Components."
- Right-click the VCI and select "Publish."
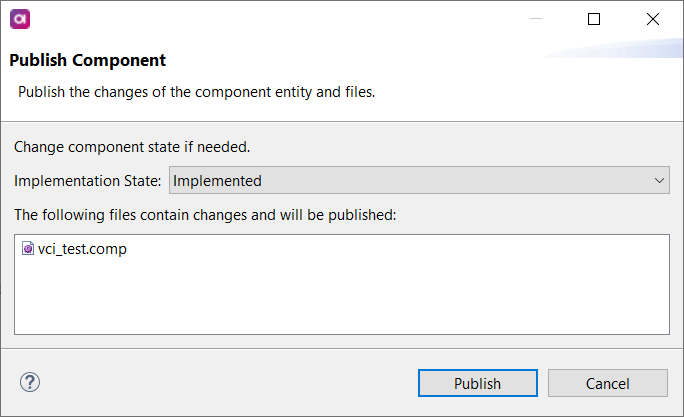
- In the dialog that appears, change the "Implementation State" to "Implemented" and select "Publish."
Transforming the Virtual Catalog Item
Now that your VCI is published, you can transform it to meet your specific needs. Here's an example of how to create a new VCI by parsing an attribute:
- Open ONE Desktop.
- Create a new virtual catalog item as described earlier. The catalog item you start with should contain the attribute you want to modify.
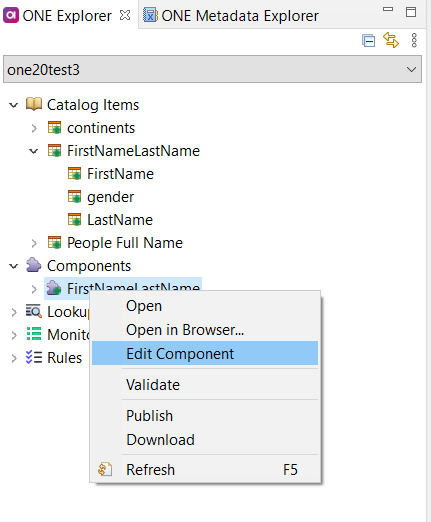
- Once created, select the newly created component in ONE Explorer and choose "Edit Component."
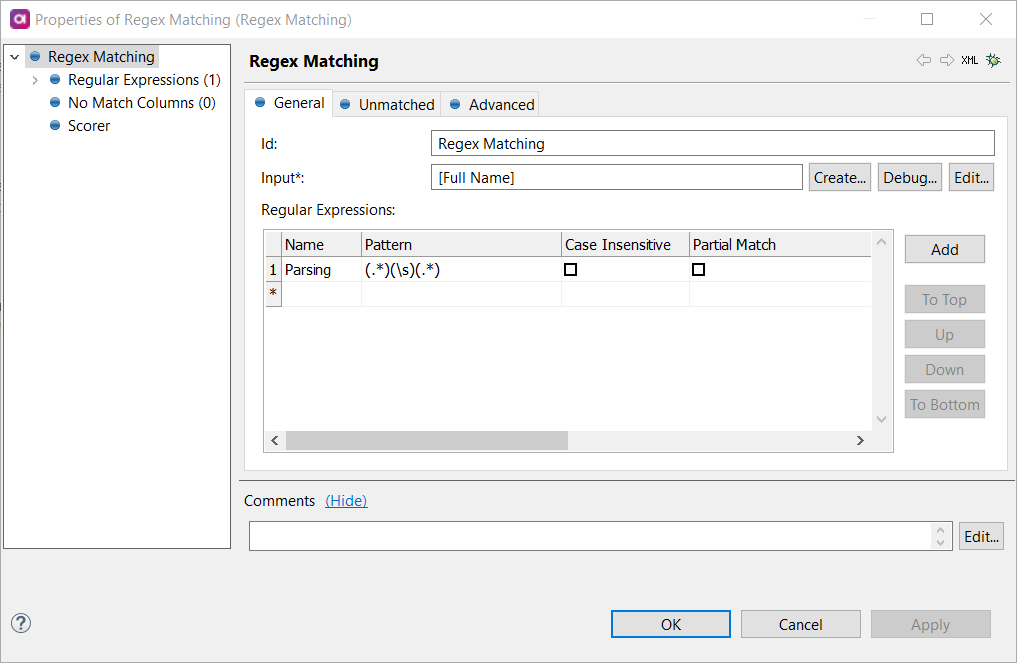
- Edit the component as needed, adding and configuring transformation steps.
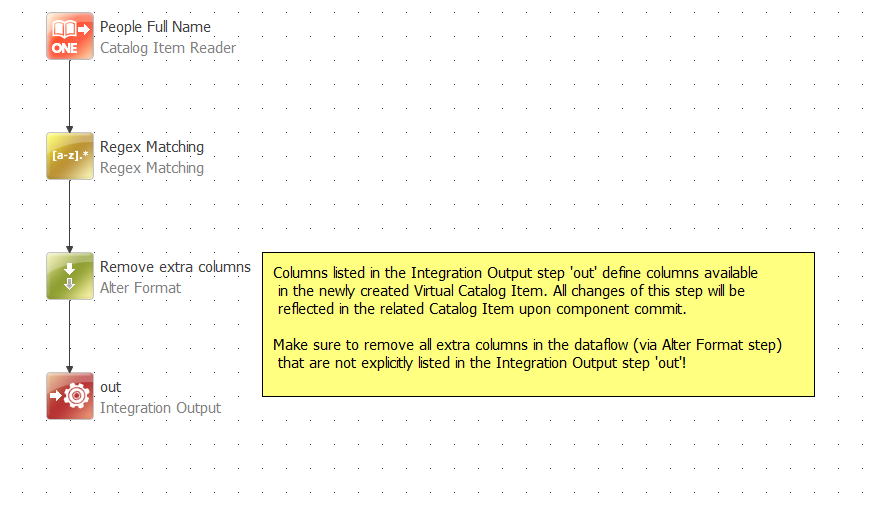
- Configure transformation steps, such as "Regex Matching" and "Alter Format," as required.
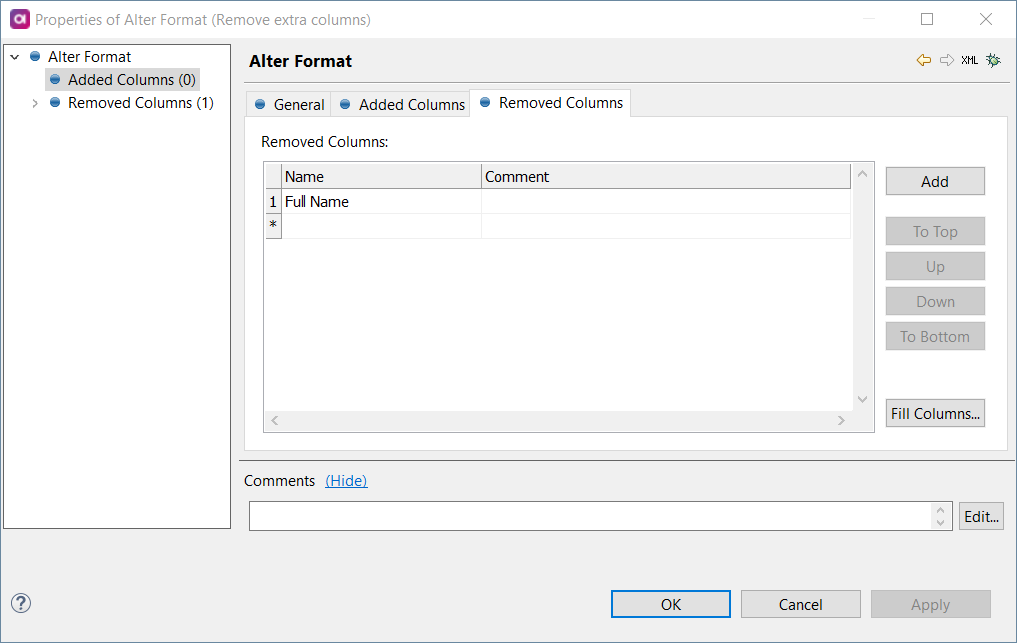
Remove Extra Columns
Remember to remove any extra columns in the data flow that are not explicitly listed in the "Integration Output" step to ensure a clean and well-structured virtual catalog item.
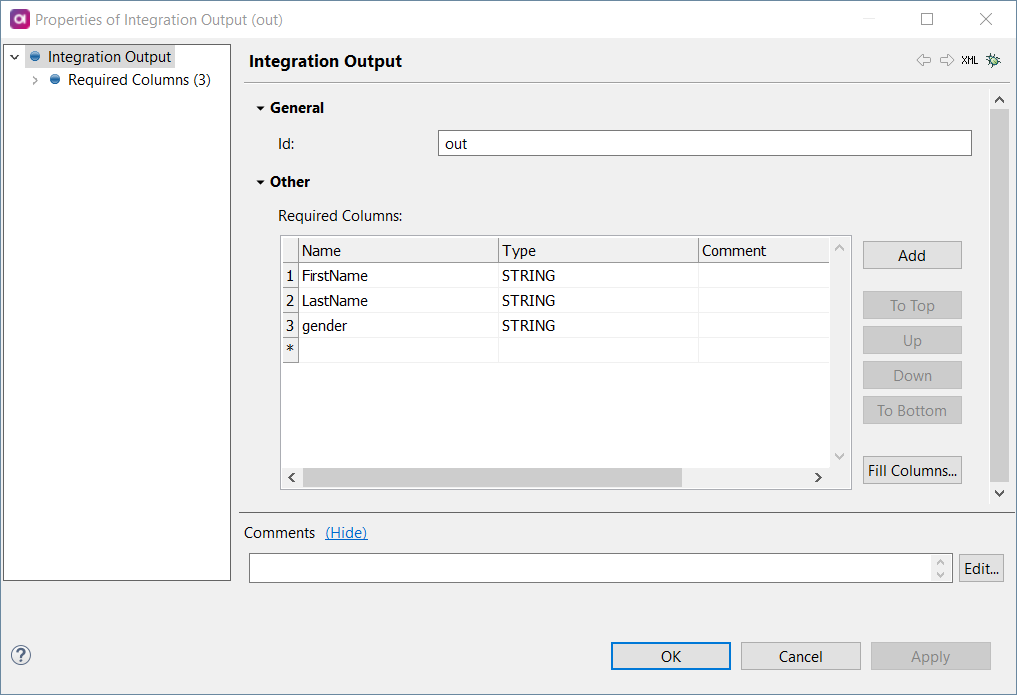
- Define the attributes of the virtual catalog item using the "Integration Output" step.
- Once you have finished the configuration, find your virtual catalog item in ONE Explorer.
- Right-click the component and select "Publish."
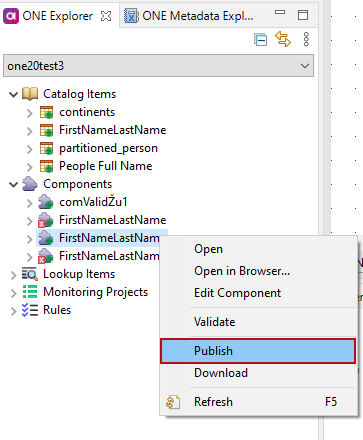
- In the dialog that appears, change the "Implementation State" to "Implemented" and click "Publish."
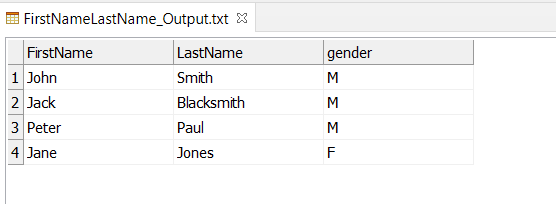
Your transformed data is now available in your virtual catalog item in ONE Desktop!
You can access this data using the "Catalog Item Reader" step and configuring it to use the new virtual catalog item.
Follow these steps to create Virtual Catalog Items to streamline your data integration and transformation tasks. If you have any questions let us know in the comments below and stay tuned for part 2 🙋🏻♀️