


Hi community!
We’re happy to share the second part of our ONE Desktop Projects guide. In this section, we'll delve into essential techniques for project creation, workspace management, and resource configuration. If you have missed the first part you can find it here:
Creating a New Project
Before you embark on data transformations and analyses, a structured project is your starting point. A project is a collection of plans, components, and data files, organized logically into folders. To initiate a new project:
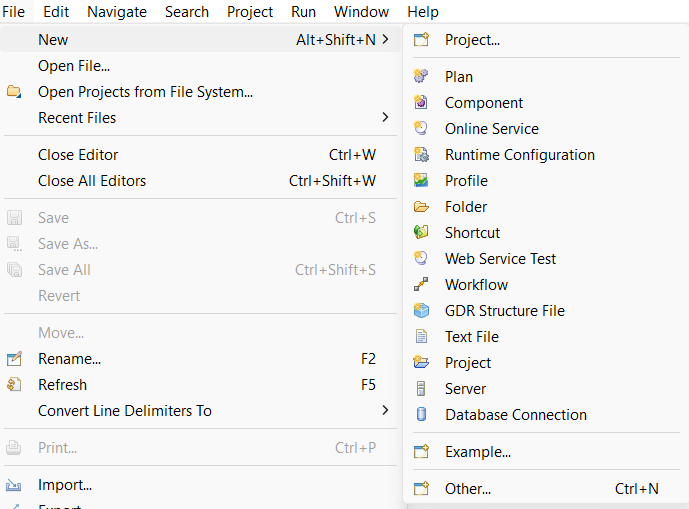
- Navigate to the File Explorer.
- Click on New > Project.
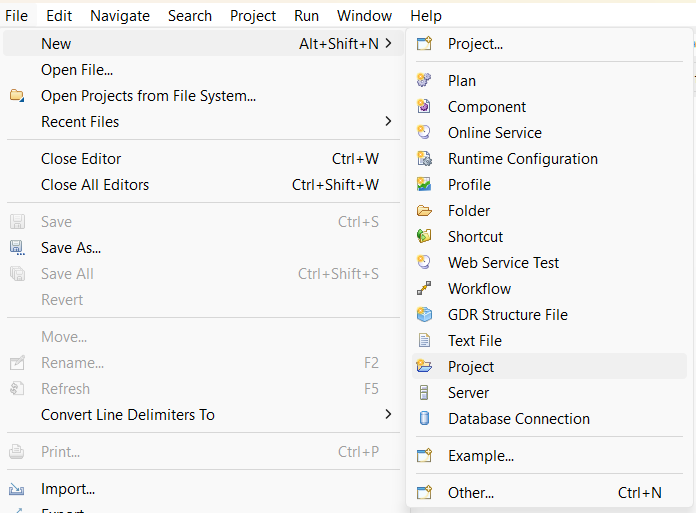
- In the ensuing dialog, specify the project's Name and type. Regular projects encompass various categories:
- Empty project: A blank slate where you define your structure.
- Project from template: Predefined layout, useful for component projects.
- Tutorials project: Generates predefined tutorial projects.

- Click Finish, and your project will appear in the File Explorer. See the figure below for a template project based on the Simple Project template.
Efficient Workspace Management
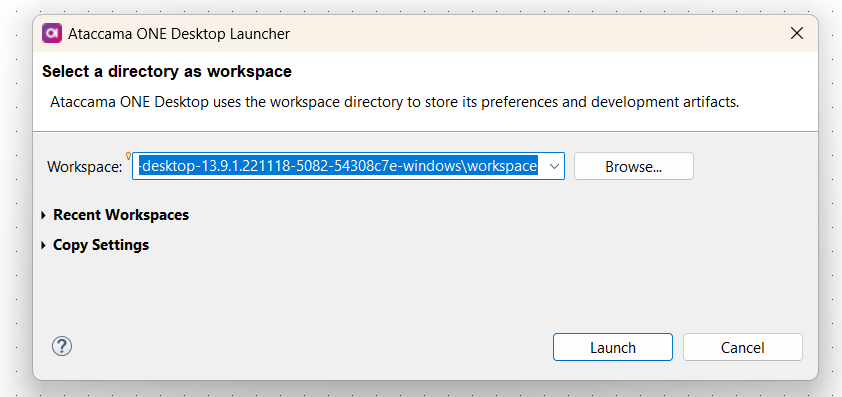
A workspace is the hub for your projects, a directory on your machine. The default workspace resides in [INSTALLATION_FOLDER]/workspace. To change it, go to File > Switch Workspace > Other... and choose your new workspace location. You can have multiple workspaces, even outside the installation folder.
For different DQC versions, having separate workspaces is recommended. When opening a plan created in a different IDE version, you'll be prompted to align it with your current IDE version.
Managing Runtime Configuration
Runtime Configuration is crucial for resource access during batch jobs or server executions. Creating it manually is possible but cumbersome. ONE Desktop streamlines the process for resources like database connections, folder shortcuts, and servers.
Exporting Runtime Configuration
Preparing runtime configuration for a standalone server involves:
- Exporting within your project folder:
- Right-click a folder.
- Choose New > Runtime Configuration.
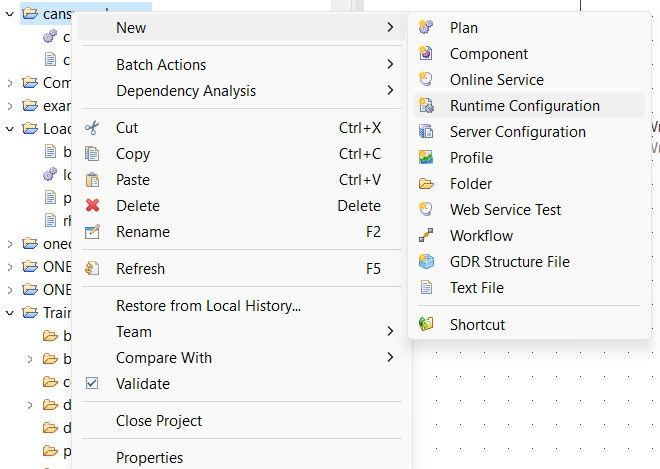
- Pick an environment.
- Enter a file name and click Finish.
OR
- Exporting to an external location:
- Go to File > Export... from the main menu.
- Select Runtime Configuration.
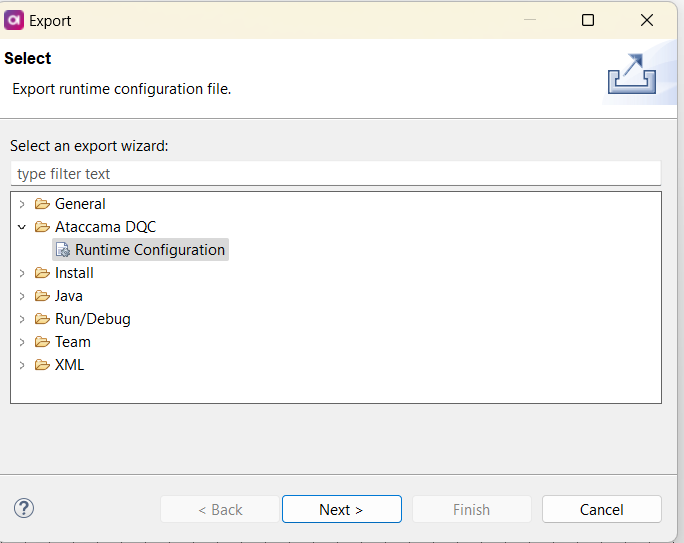
- Choose an environment.
- Specify the export folder (Container) and the Name.
The generated XML file captures all ONE Desktop-defined resources.
Importing Runtime Configuration
Likewise, importing runtime configuration is a breeze, especially after an upgrade. Remember, on MacOS, you might need to grant Full Disk Access to ONE Desktop for successful import.
- Select File > Import....
- Opt for Runtime Configuration.
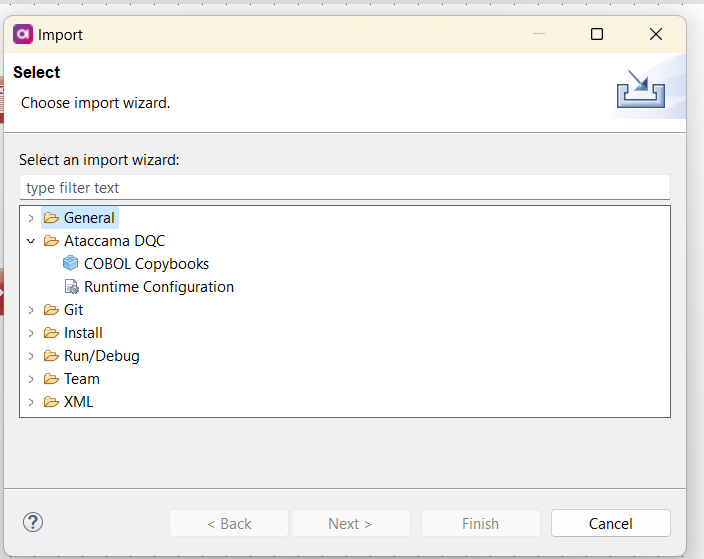
- Input the file's path (File).
- Specify resources and the environment.
- Your imported resources will appear in the File Explorer.
Creating Folders and Files
Organizing folders and files is straightforward within your project:
- Right-click on your project name or an existing folder.
- Choose from the options in New > ... dialog.
Efficient Handling of Specific File Types
Different tasks require different file types, each with its purpose. Here's a quick reference to their creation:
- Plans: Learn about creating plans in Building Plans.
- Components: Understand component creation in Working with Component Steps.
- DQ Profiles: Explore how to create a Data Quality Profile in Creating a Data Quality Profile.
- Folder Shortcuts: Learn to streamline tasks with Using Folder Shortcuts.
- Runtime Configuration: Capture configurations with Importing and Exporting Runtime Configuration.
- Server Configuration: Set up server settings using Preparing Server Configuration.
- Workflows: Build workflows as described in Building Workflows.
Just like in Windows and Linux GUIs, use Ctrl + C and Ctrl + V (or right-click context menu) for seamless copying and pasting of files and folders.
By following these best practices, you'll optimize your ONE Desktop projects for smooth collaboration, efficient version control, and productive project management.
Share your experiences and insights with the community in the comments 👇