


Hi Community!
This week is all about ONE Desktop Plans 🏗️We will start with how to build plans on ONE Desktop and work our way to DQ Scoring.
Next week, we will continue to cover different features of plans and ONE Desktop so don’t forget to subscribe to our forums to receive a daily notification when a new article is published ✨
Let’s kick it off!
Understanding Plan Editor
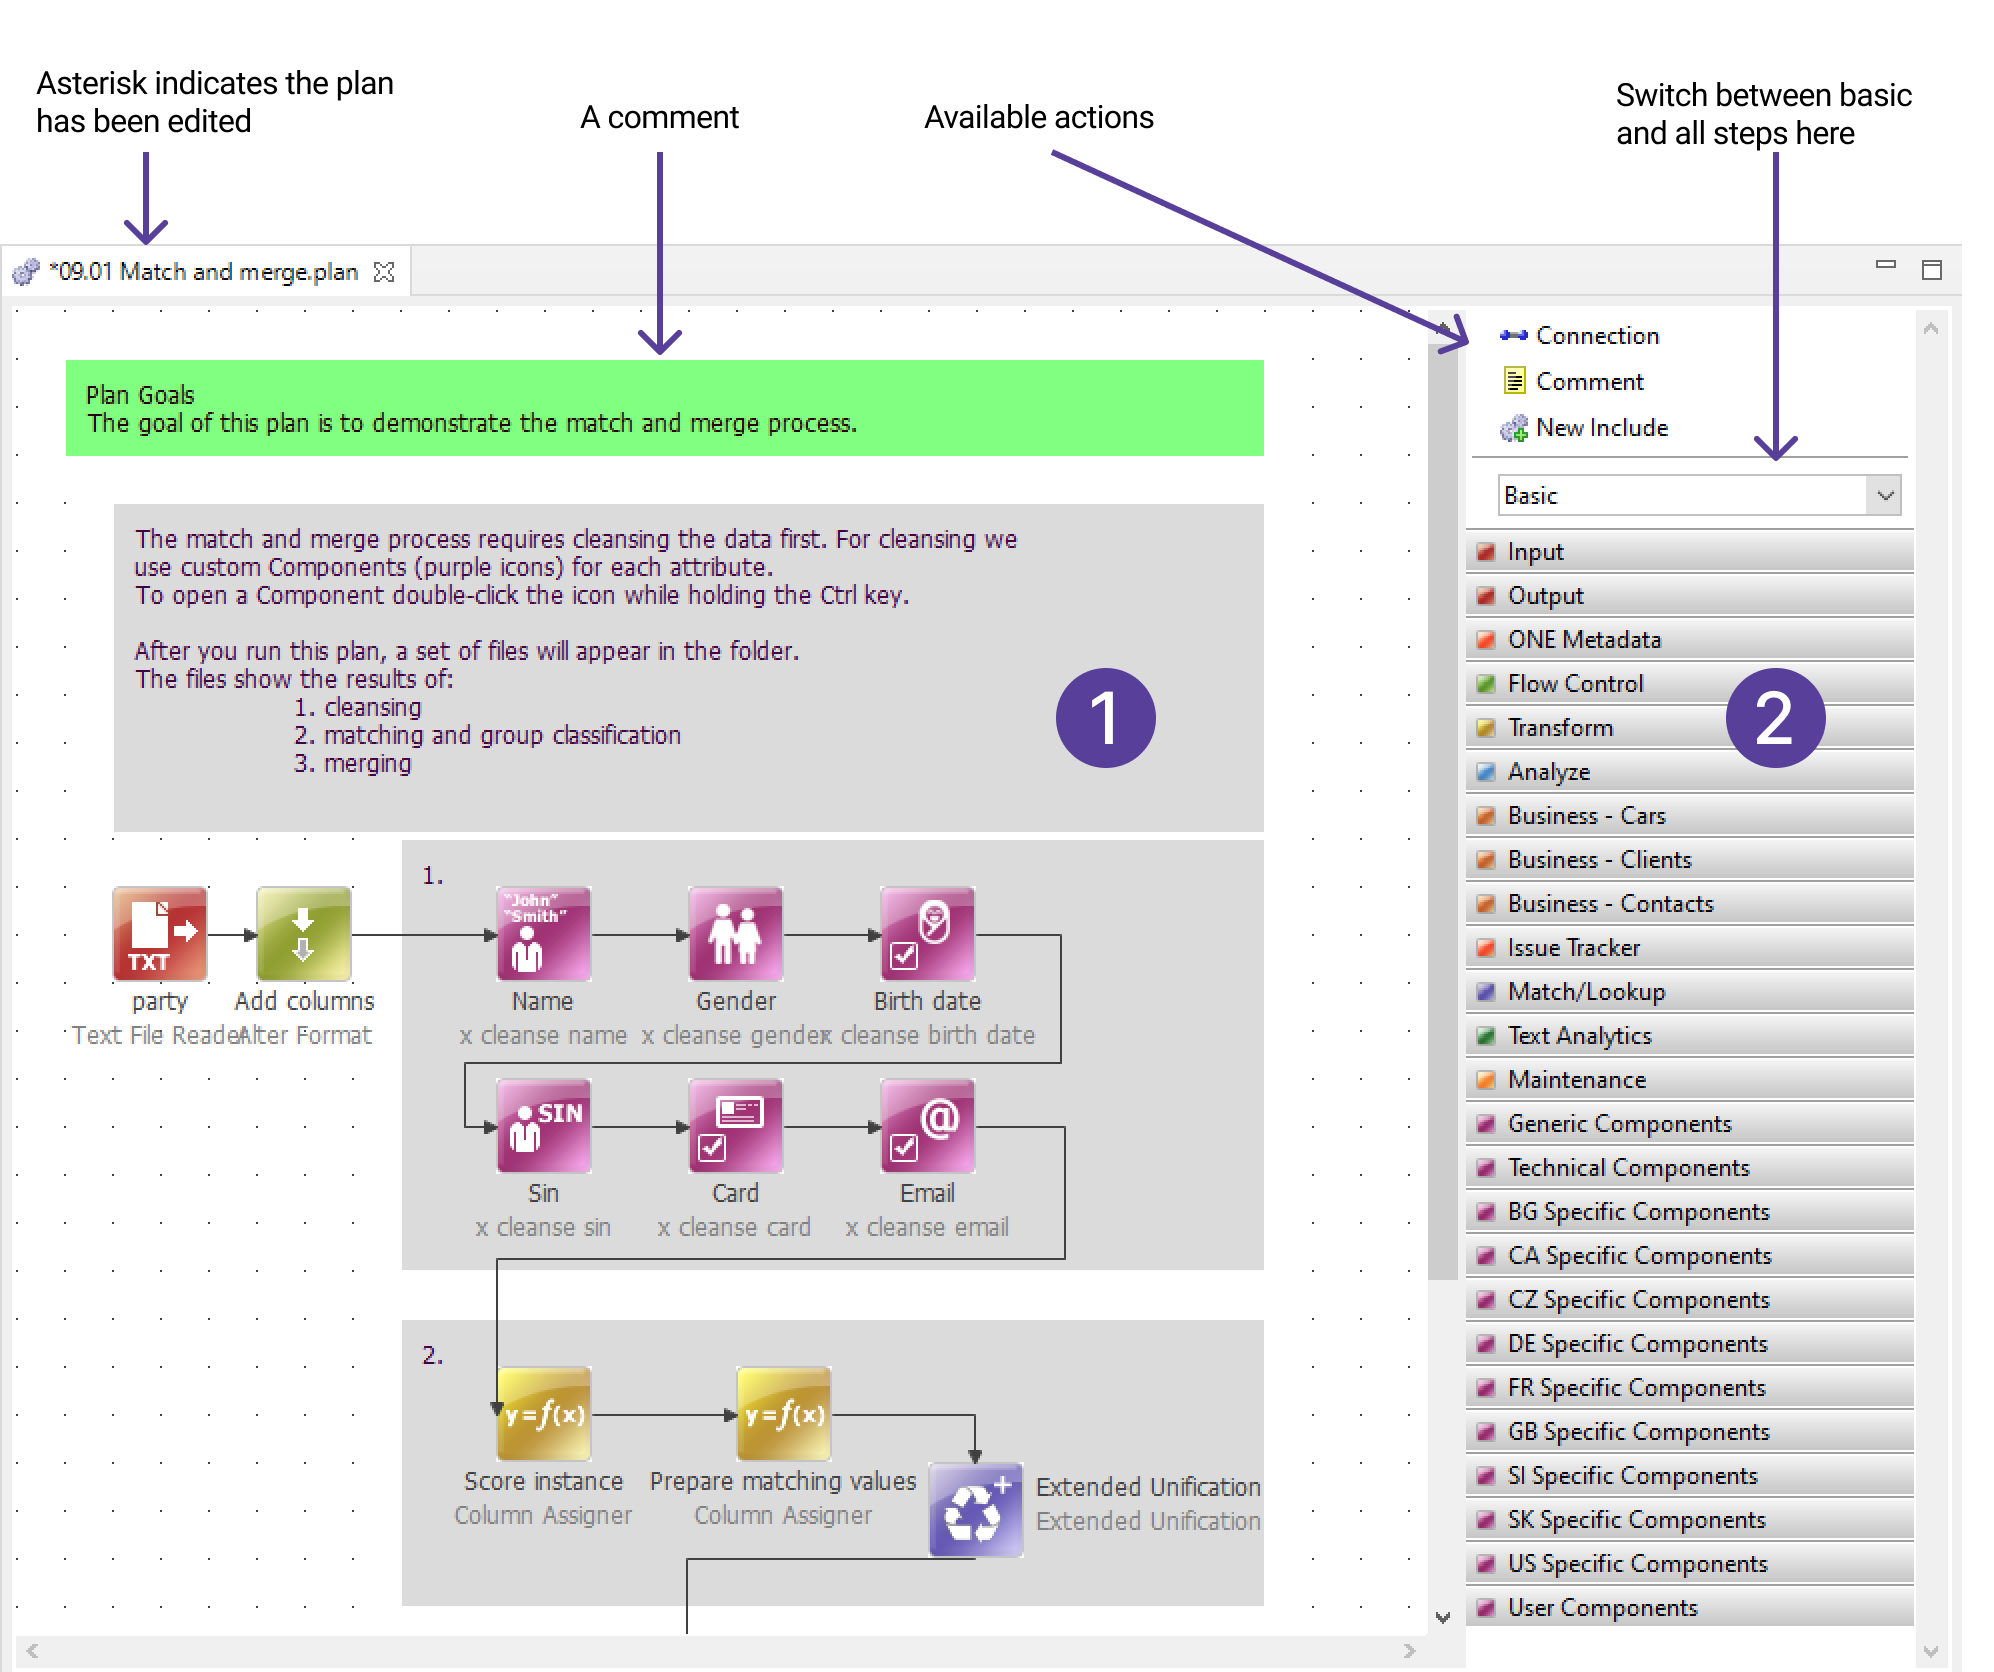
The Plan Editor is your workspace for crafting plans. It comprises two core components:
- Canvas (1): This is where you define the logic of your plan by connecting different steps together.
- Palette (2): Here, you'll find a wide array of steps and actions that can be added to your plan.
Creating a New Plan File
Starting a new plan file is a breeze:
- Right-click on a project or folder in the explorer panel.
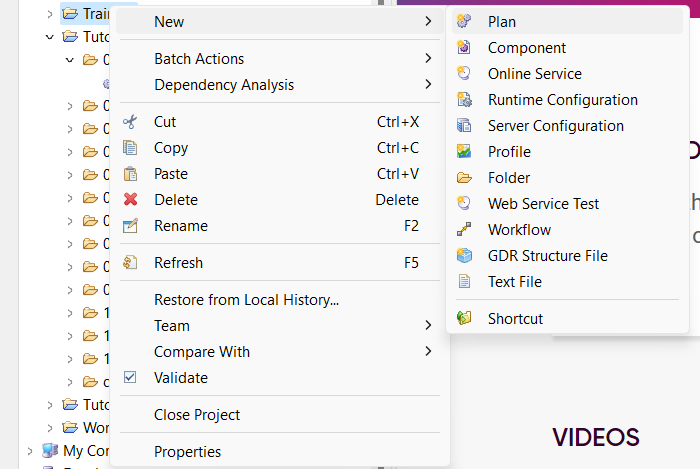
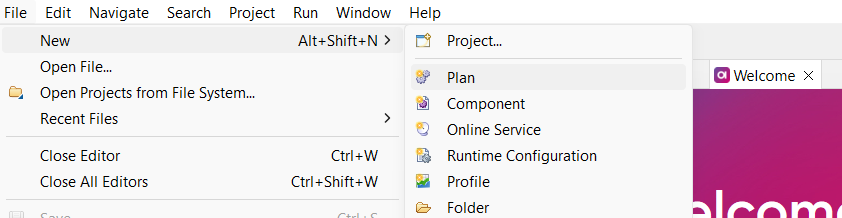
- Select New > Plan. Alternatively, use the toolbar and select Plan.
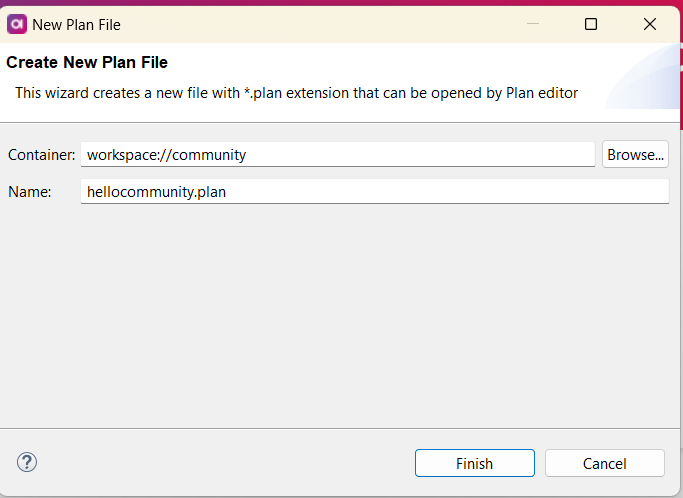
- Specify a Name for your plan and designate its storage location (Container).
Adding Steps to the Canvas
Bringing functionality to your plan involves adding steps to the canvas. You can do this in two ways:
- Drag and drop required steps from the Palette onto the Canvas.
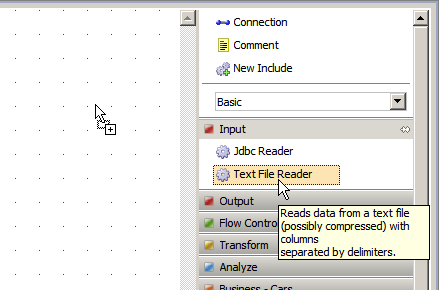
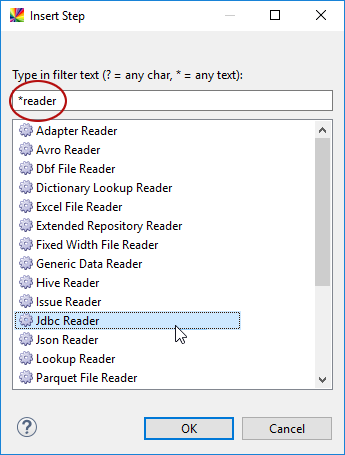
- Use the shortcut CTRL + I or Insert and choose the desired step from a filterable list.
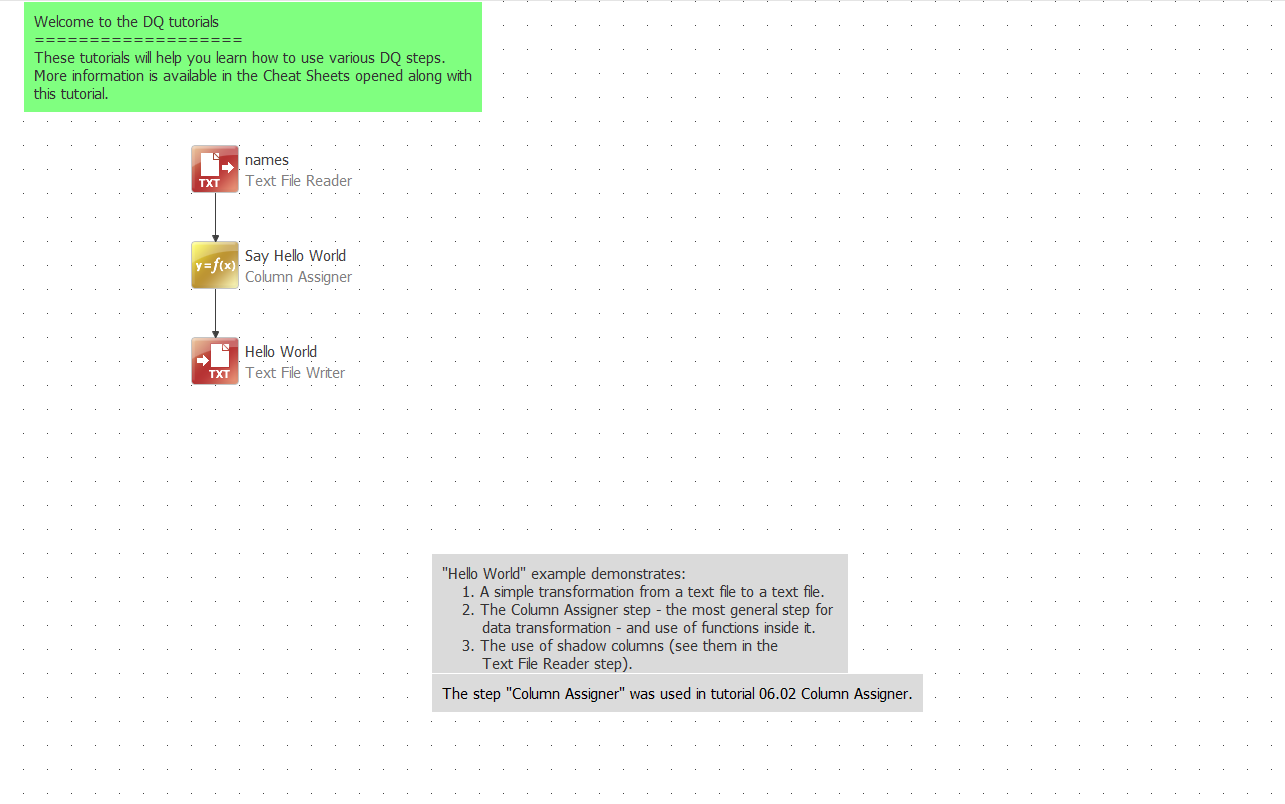
To get a hands-on understanding of how specific steps function, explore the tutorial project located at DQ Projects > New > Project > Tutorials Project. You can also refer to DQC Tutorials.
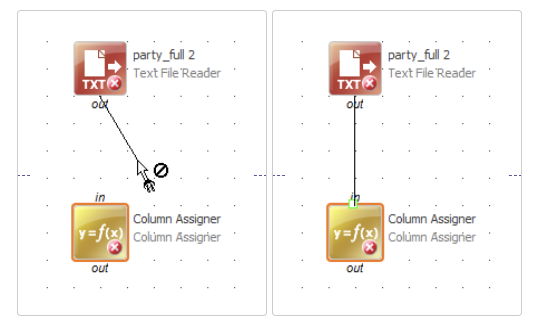
Connecting Steps
Seamlessly connect two steps by dragging from the out endpoint of one step to the in endpoint of another. Enhance your efficiency with ONE Desktop Shortcuts and Mouse Gestures in the Plan Editor.
Editing Step Properties
Most steps require configuration to execute their functions effectively. Accessing step properties is the key:
- Double-click a step or right-click it and choose Edit Properties.
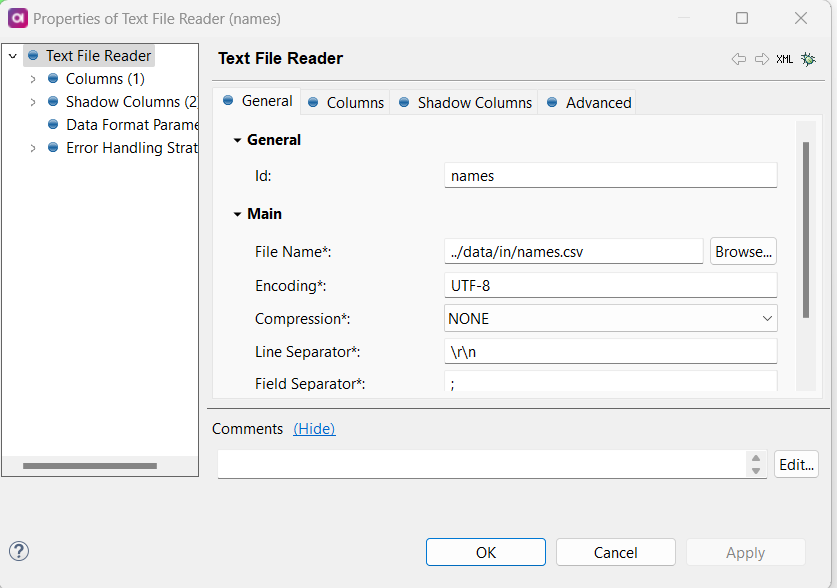
- Utilize Ctrl+Space to access available functions and input columns. For a list of input columns, use Ctrl+Space+Space.

Bypassing and Disabling Steps
- Bypassing a step temporarily disables it without breaking the connection with adjacent steps. Right-click the desired step and click Bypass.
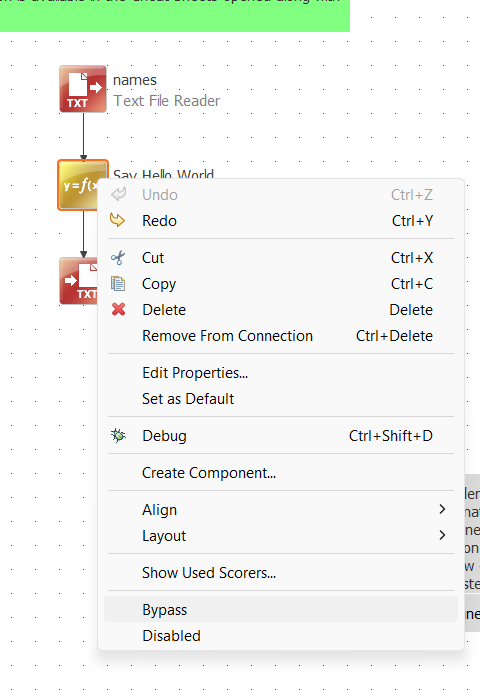
- Disabling a step temporarily turns it off and breaks connections with preceding and succeeding steps. Right-click the desired step and select Disabled.
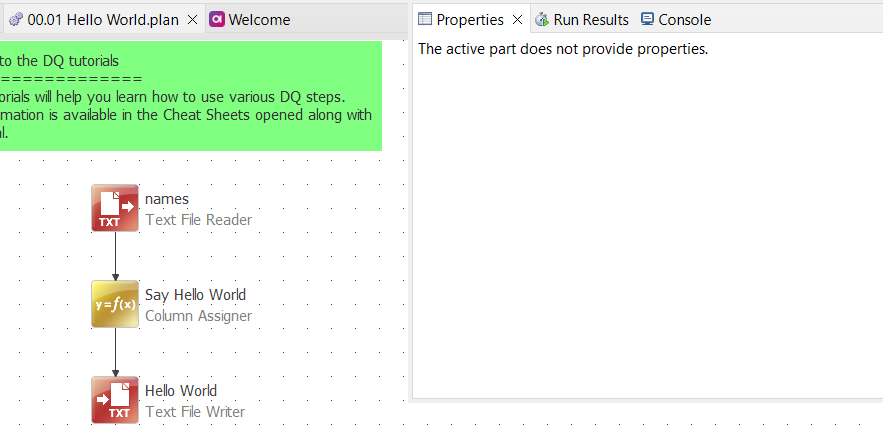
Handling Errors
Plan construction errors are reported in the Properties tab of the Status Panel. Selecting a step will display warnings and errors specific to that step. Double-clicking an error will open the step properties dialog to the error-containing field.
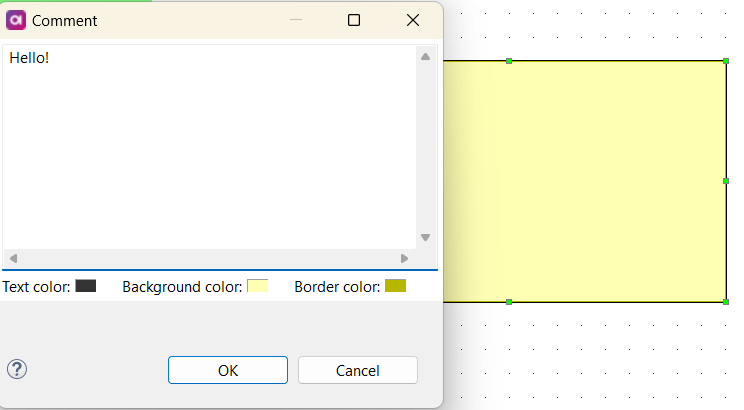
Adding Comments
Easily explain your plan's logic by adding comments. Select Comment from the Palette and place it on the Canvas. To edit the comment, simply double-click it and use the comment editor to customize text, background, border color, and more.
What are your top tips on building plans? 🤓 Share them in the comments below 👇


