

Hi everyone,
Today’s post is specifically on Collibra! So if you work with Collibra and are curious about how to integrate it with Ataccama ONE Desktop read on. This post will cover how you can harness the power of the Collibra Reader and Collibra Writer steps to effortlessly manage Data Quality (DQ) Rules.
Prerequisites
Before we dive in, ensure you have the following essentials:
- Ataccama ONE Desktop: Make sure it's installed on your machine with a valid license.
- Collibra: You need an active Collibra instance, complete with valid credentials for accessing and managing assets.
Setting Up a Collibra Server Connection
Let's establish a connection to Collibra from ONE Desktop:
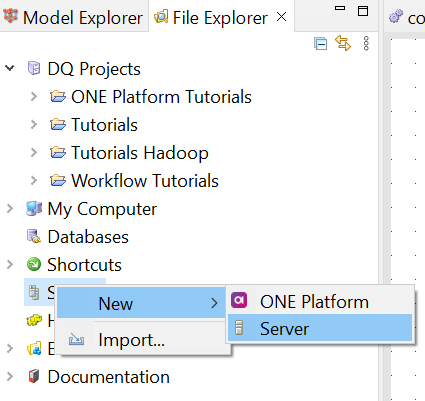
- In ONE Desktop, right-click on Servers, and choose New > Server.
- Fill in the details:
- Implementation: Choose
Generic. - Name: Give your connection a meaningful name.
- URL: Provide the URL of your Collibra instance.
- Authentication: Select
Basic. - Username: Enter your Collibra username.
- Password: Input your Collibra password.

- Implementation: Choose
- Click Finish.
Reading Data Quality Rules from Collibra
Now, let's extract DQ rule definitions from Collibra into a text file:
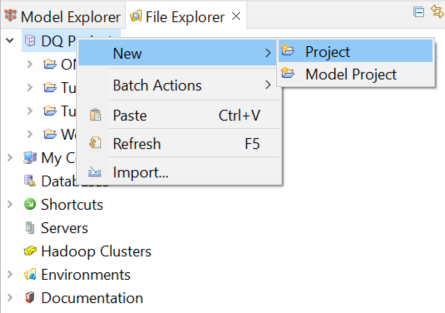
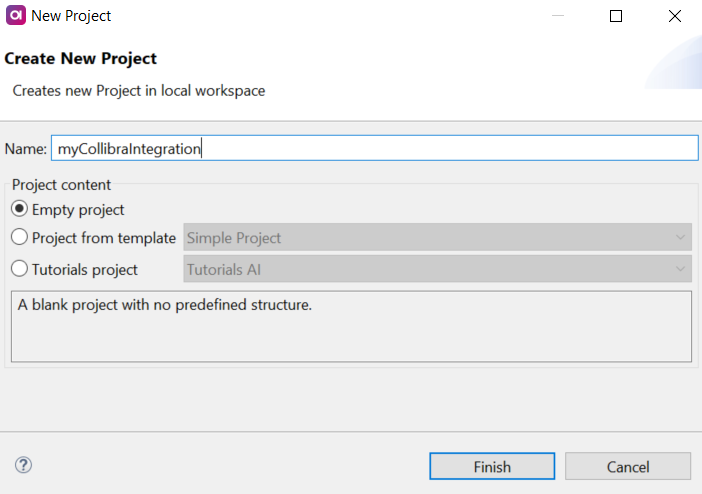
- Start by creating a project in Ataccama ONE Desktop to keep your work organized. Right-click on DQ Projects and select New > Project.
- Name your project and click Finish.
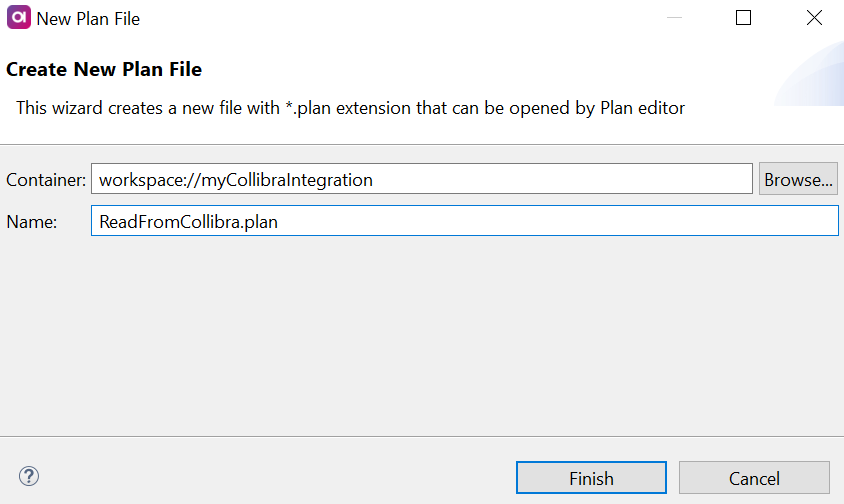
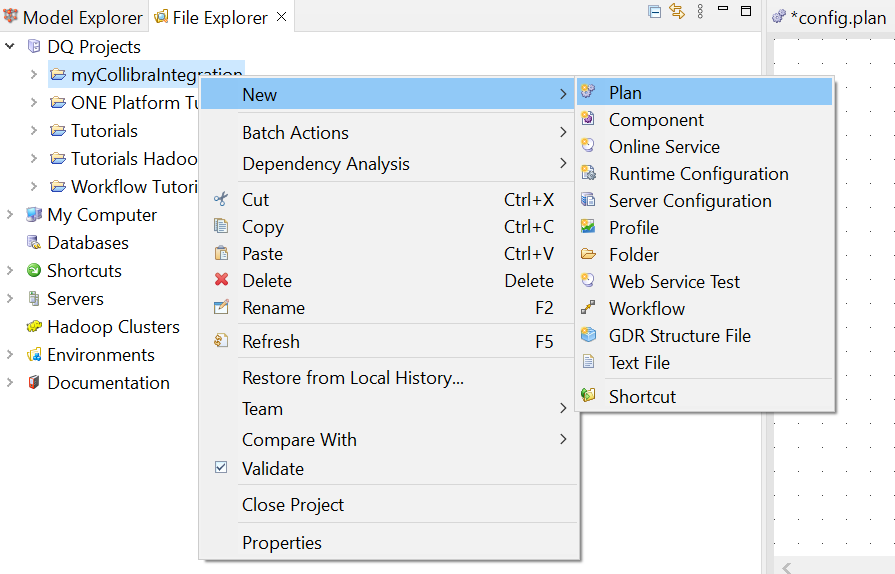
- Within the project directory, right-click and select New > Plan.
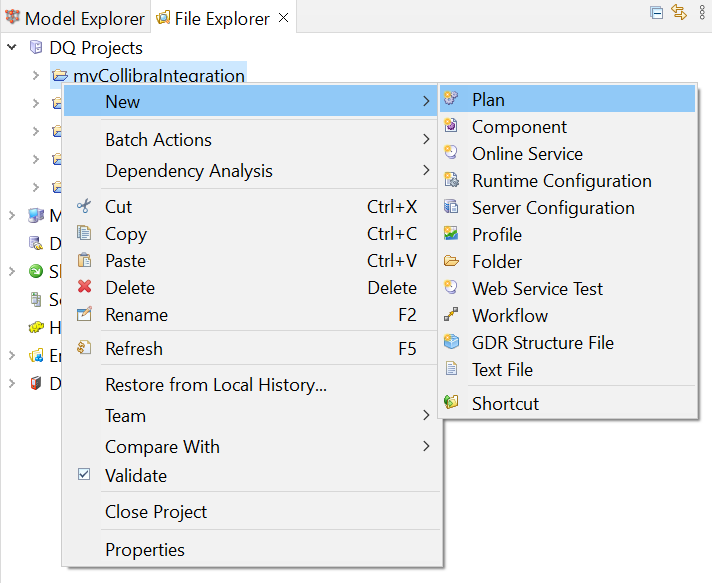
- Give your plan a name and click Finish. This opens the plan canvas for implementation.
- Right-click on the canvas and choose Insert Step (or use the shortcut Ctrl + I).
- Select Collibra Reader, then click OK to place it on the canvas.
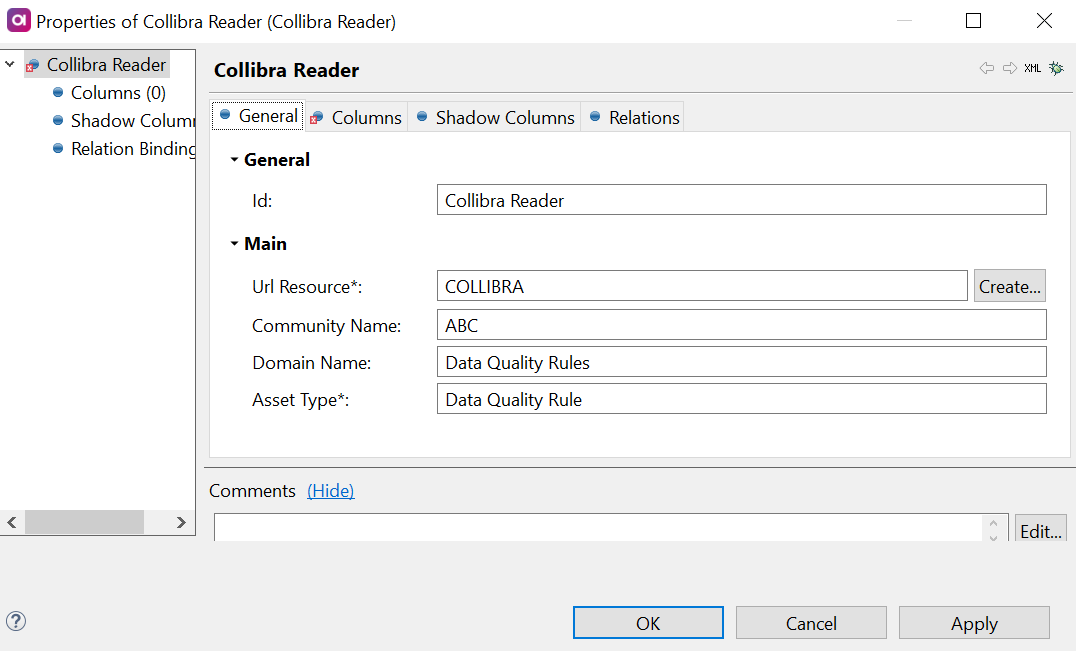
- Double-click the step to configure it. On the General tab, provide the following information:
- URL Resource: Select the Collibra server you created.
- Community Name: Specify the Collibra community you want to read from (found in Collibra).
- Domain Name: Define the domain within the community (found in Collibra).
- Asset Type: Choose the type of asset you want to read (found in Collibra).
- Configure which columns from Collibra's data quality rules you wish to read on the Columns tab. Start by mapping the default columns:
- Asset Id Column: Rule identifier.
- Asset Name Column: Name of the DQ rule.
- Asset Type Column: Type of asset (e.g., Data Quality Rules).
- Domain Id Column: Domain identifier.
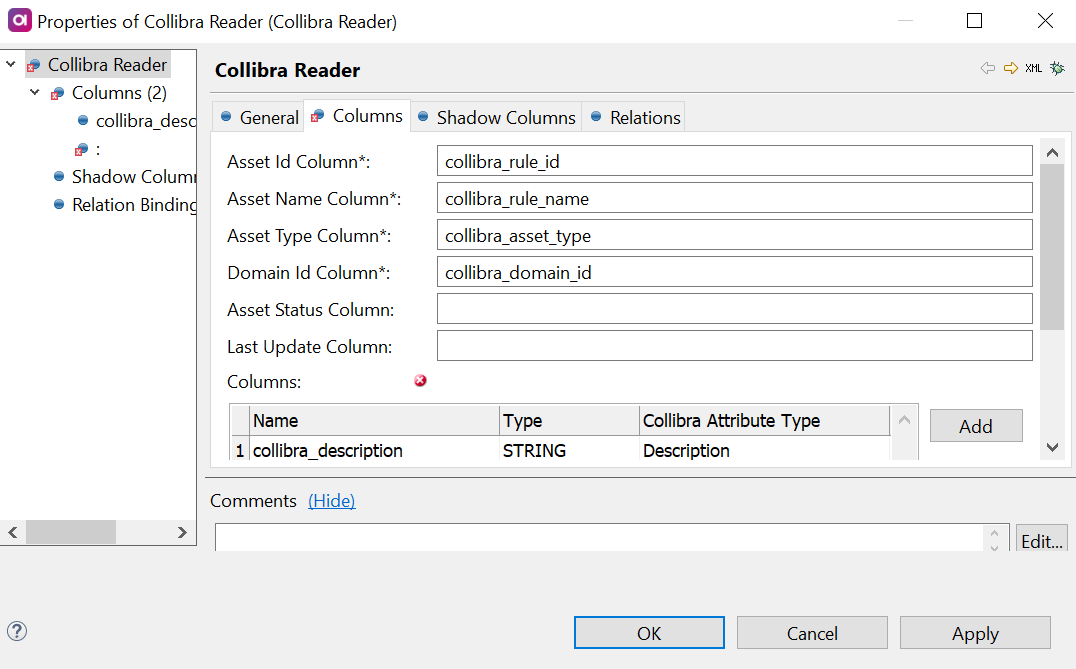
- Import the value of the Description field in Collibra by creating a new column.

- After configuring, click Apply and then OK to save your settings.
- With the Collibra Reader step set up, you can now output the results to a file using the Text File Writer step. Add this step to the canvas, and double-click to configure.
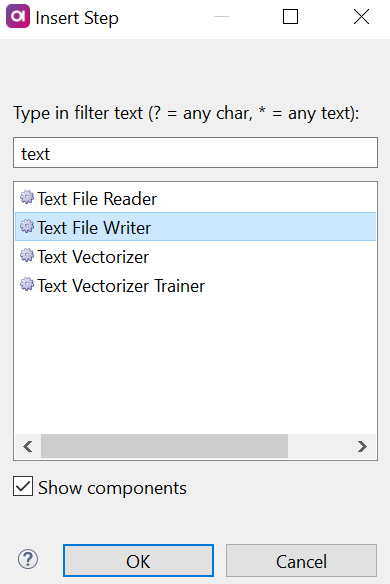
- Specify the output file's name with a
.txtextension, and select OK.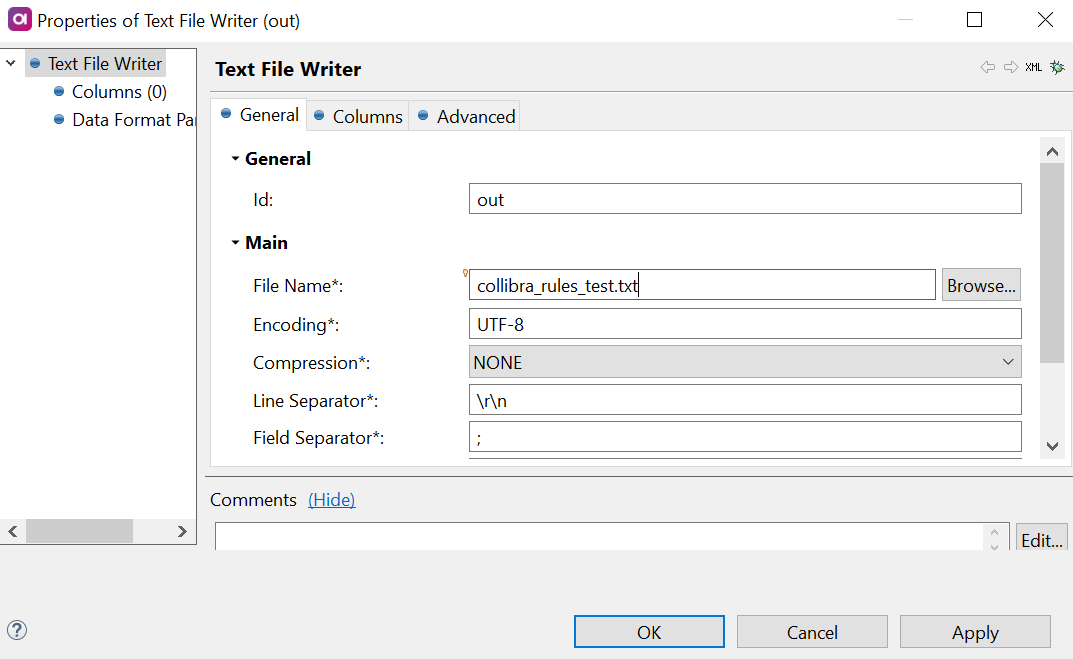
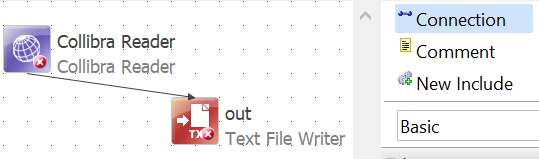
- Create a connection between the Collibra Reader and Text File Writer steps.
- Right-click anywhere on the canvas and select Run.

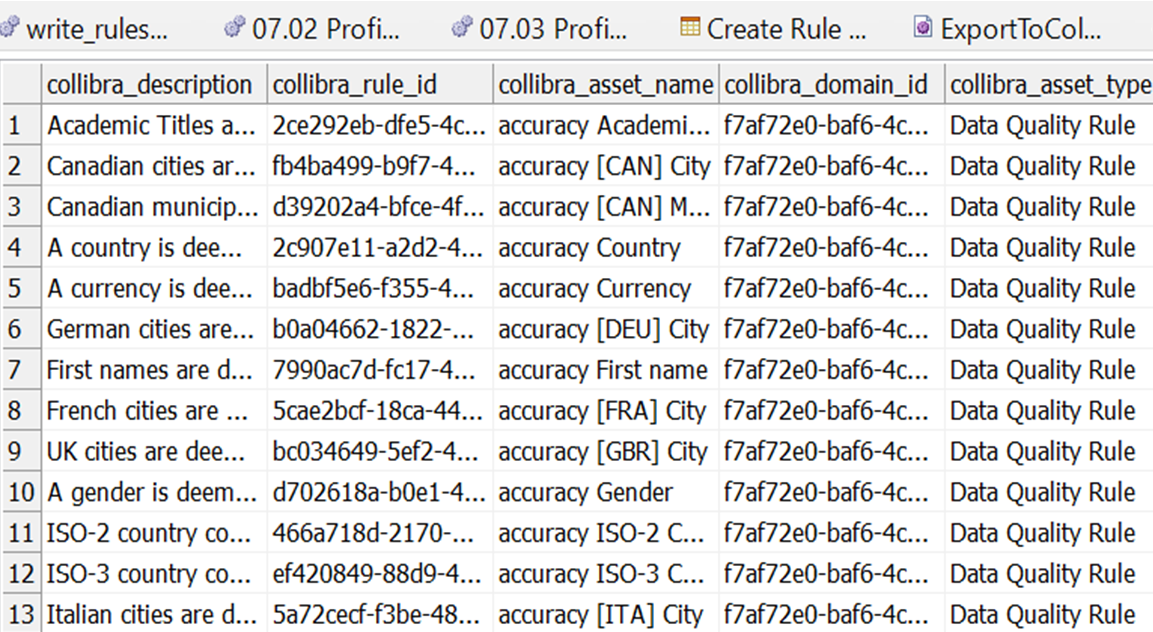
- After execution, hold the Ctrl key and double-click the Text File Writer step to view the result.
Writing Data Quality Rules to Collibra
To create a new rule definition from scratch and write it back to Collibra using the Collibra Writer Step, follow these steps:
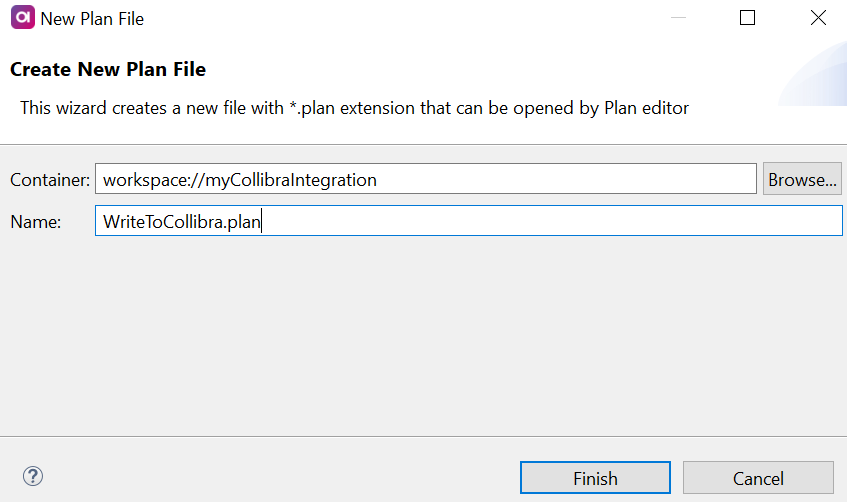
- Right-click the desired directory (e.g., the one used in the previous section) and choose New > Plan.
- Provide a name for your plan and click Finish. This opens the plan canvas.
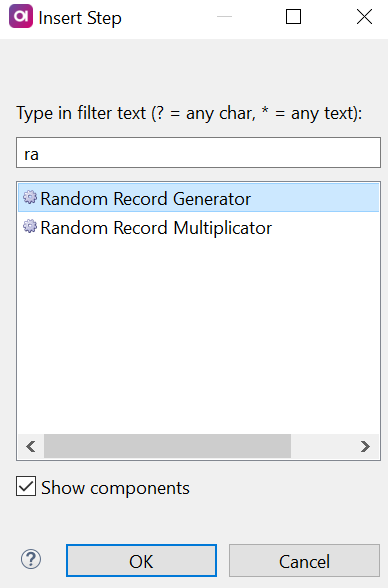
- Insert the Random Record Generator step.
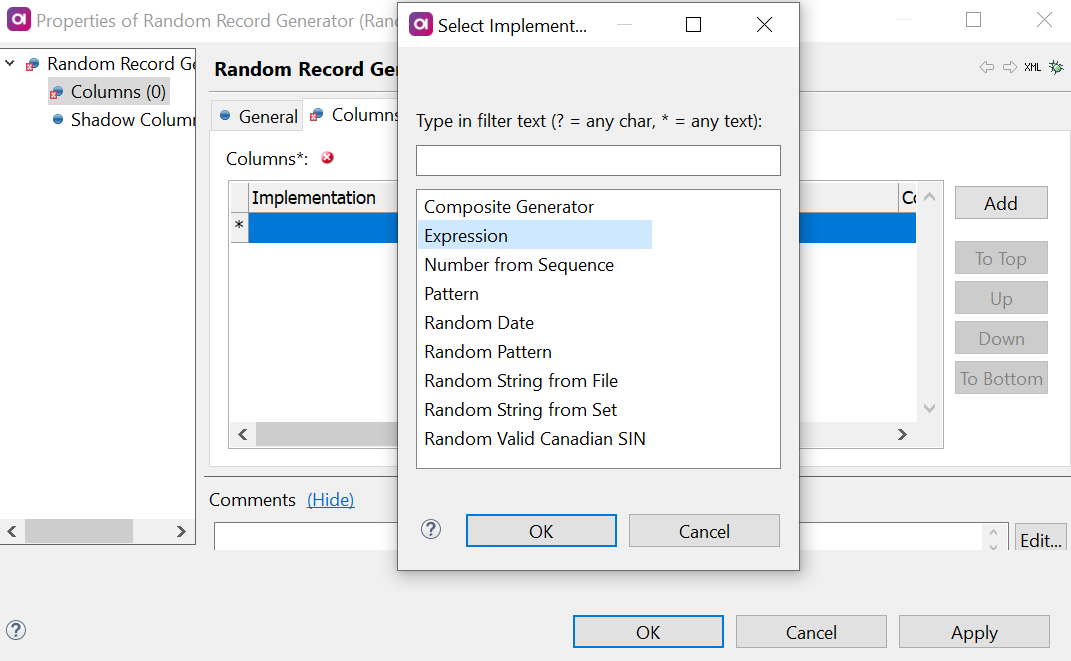
- Double-click the Random Generator step to configure it. On the General tab, set Record Count to 1.
- On the Columns tab, click Add to select Expression from the Select Implementation dialog.
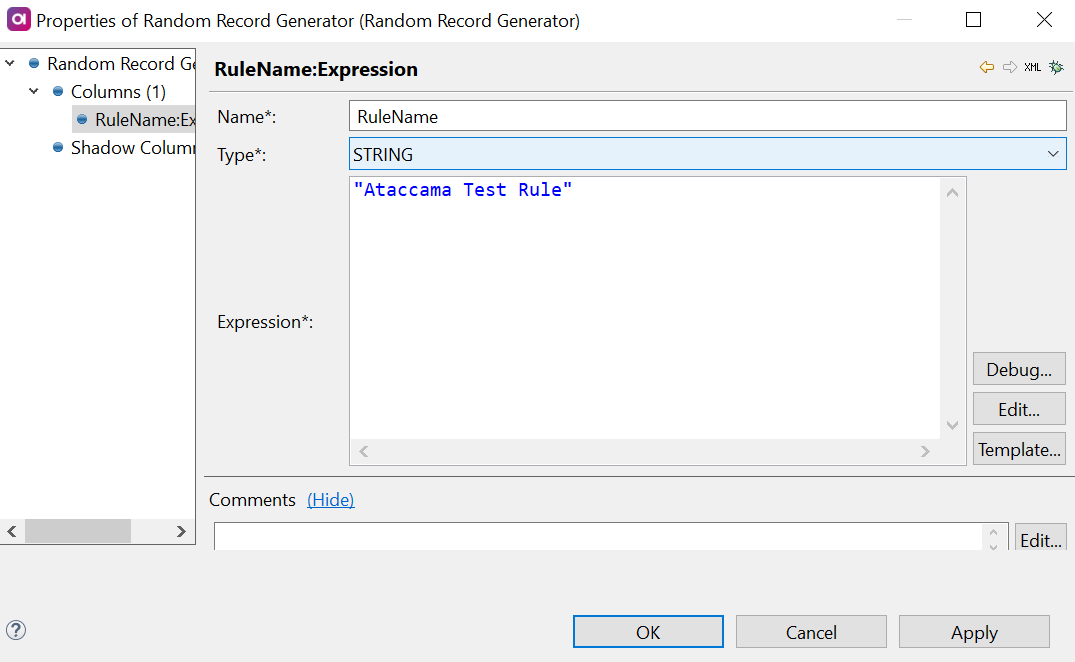
- Fill in the fields:
- Name: RuleName.
- Type: String.
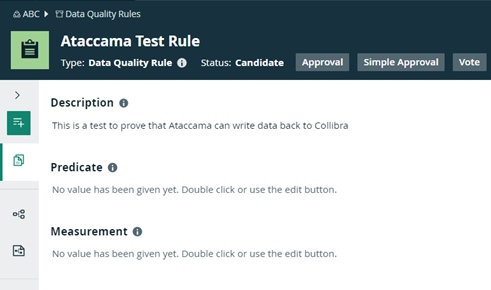
- Expression: "Ataccama Test Rule".
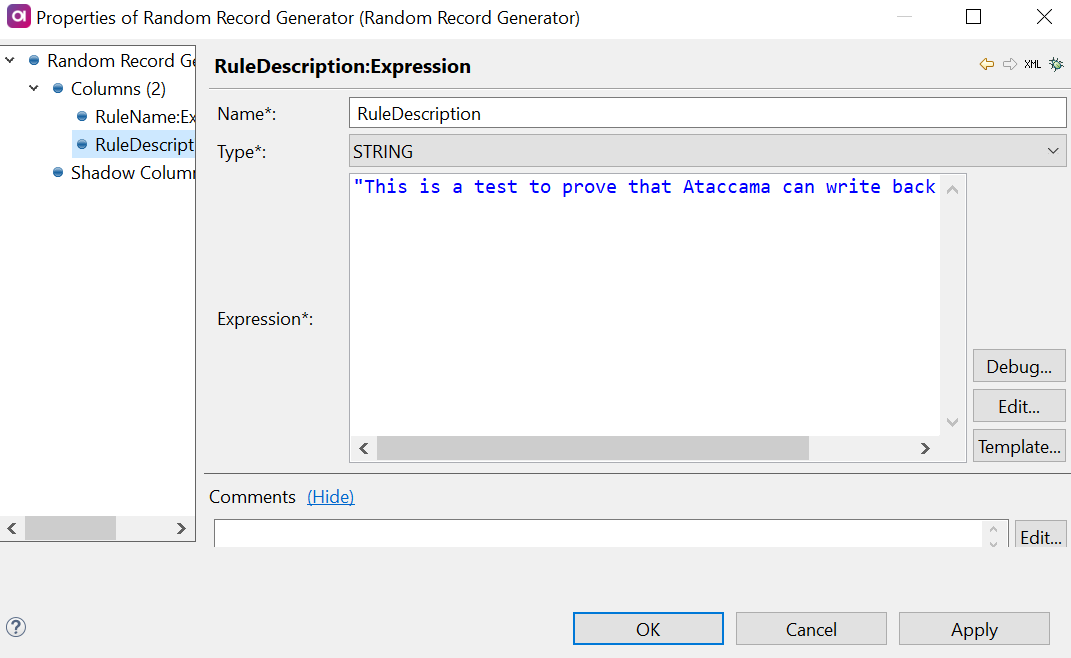
- Add another column following step 5:
- Name: RuleDescription.
- Type: String.
- Expression: "This is a test to prove that Ataccama can write data back to Collibra".
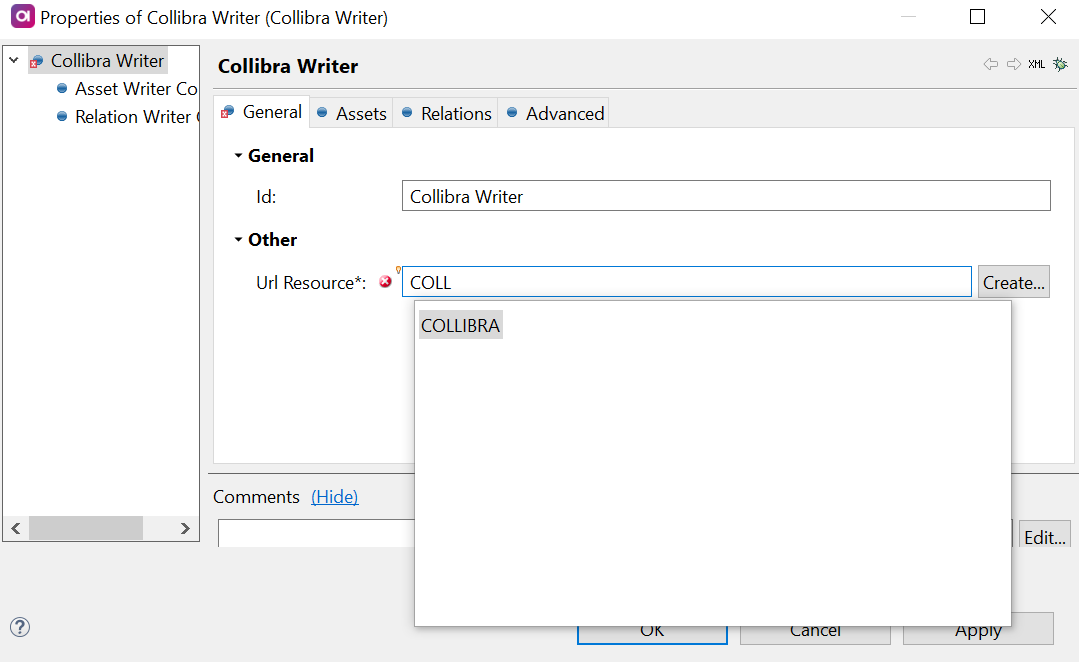
- Insert a Collibra Writer step.
- Configure the Collibra Writer step by setting the Url Resource as the name of the server created earlier in this guide.
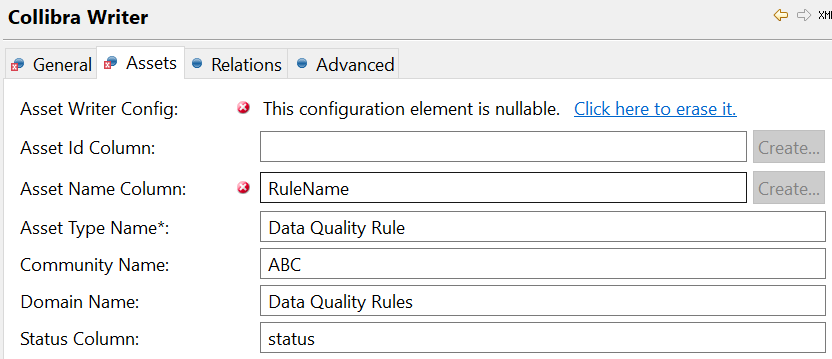
- On the Assets tab, create a new configuration with the following settings:
- Asset Name Column: The name of the column created in step 6.
- Asset Type Name: The asset type corresponding to Collibra.
- Community Name: The target community in Collibra.
- Domain Name: The community domain in Collibra.
- Status Column: The desired status column name.
- Write the value of the Description field to Collibra in Asset Writer Columns, using the column name from step 7.

- Establish a connection between the Collibra Writer and Random Record Generator steps.
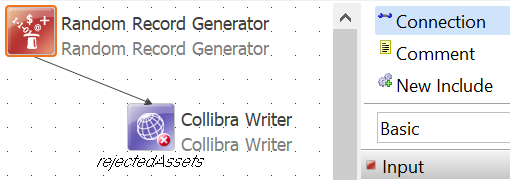
- Right-click anywhere on the canvas and select Run.
- After successfully running the plan, you can verify that the rule is created in Collibra.
Follow these steps to successfully build the Collibra integration in Ataccama ONE Desktop for efficient data governance and quality control. Let us know if you have any questions in the comments 👇


