


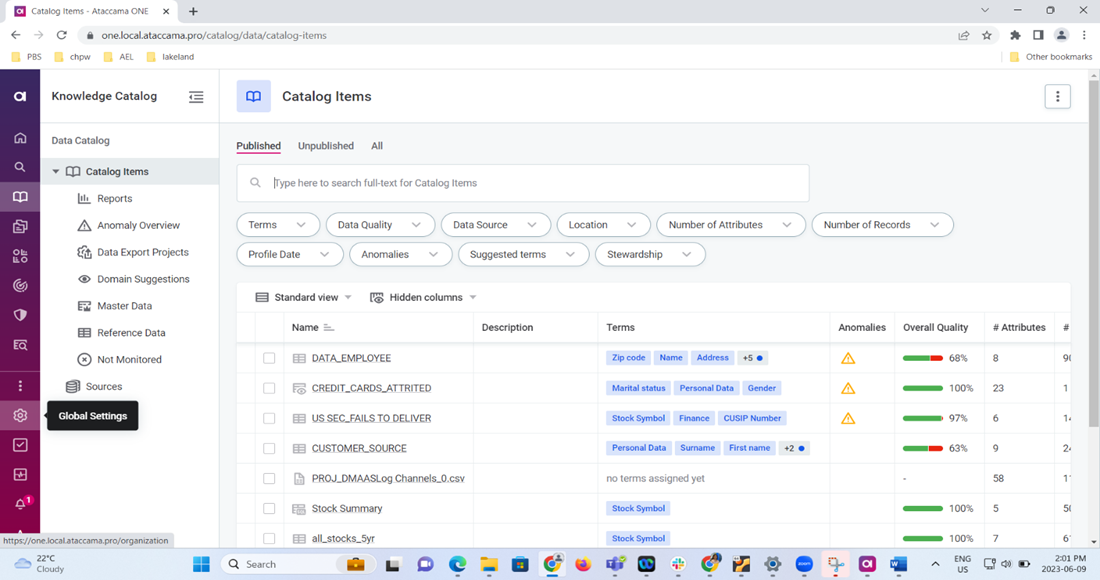
Hi everyone, I'm Sathya, Solutions Consultant at Ataccama. In this post I am going to discuss about adding Data Classification and relationship types.
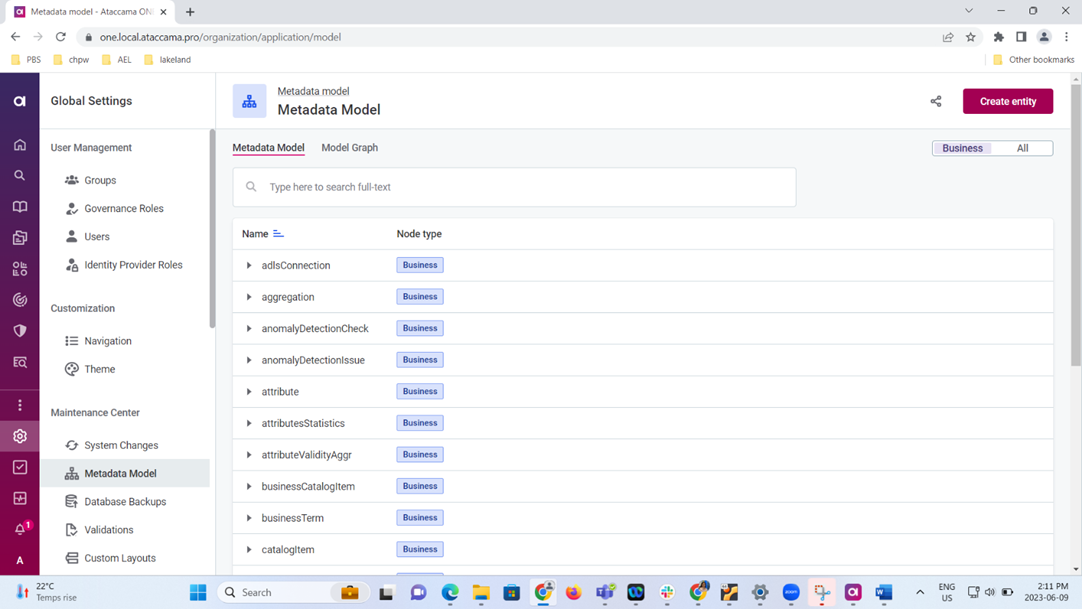
Step 1: Go to Global setting and you will see Metadata Model, click on Create Entity
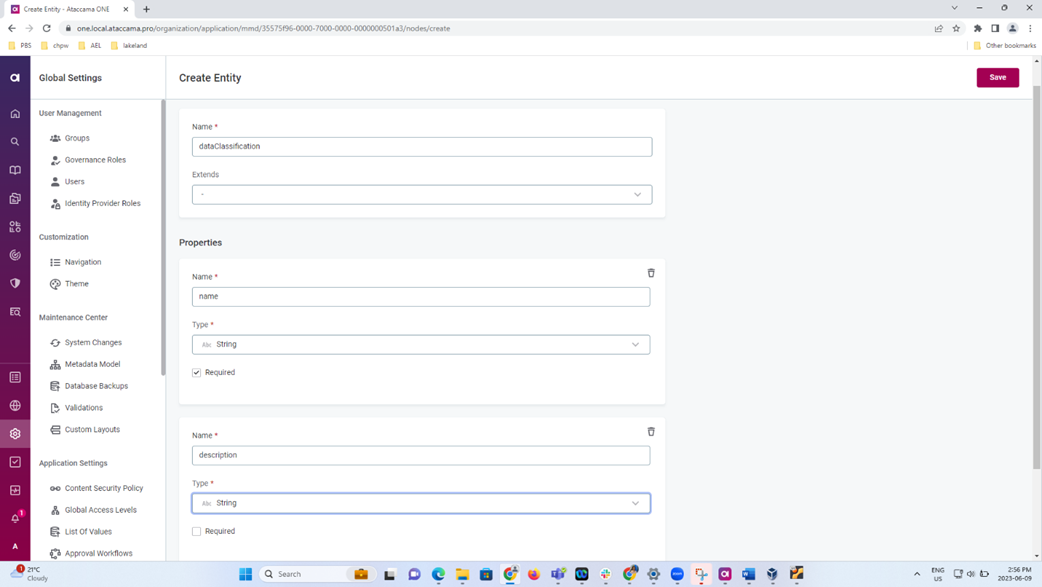
Step 2: Once Create Entity page opens, fill the Name of the Entity: Data Classification
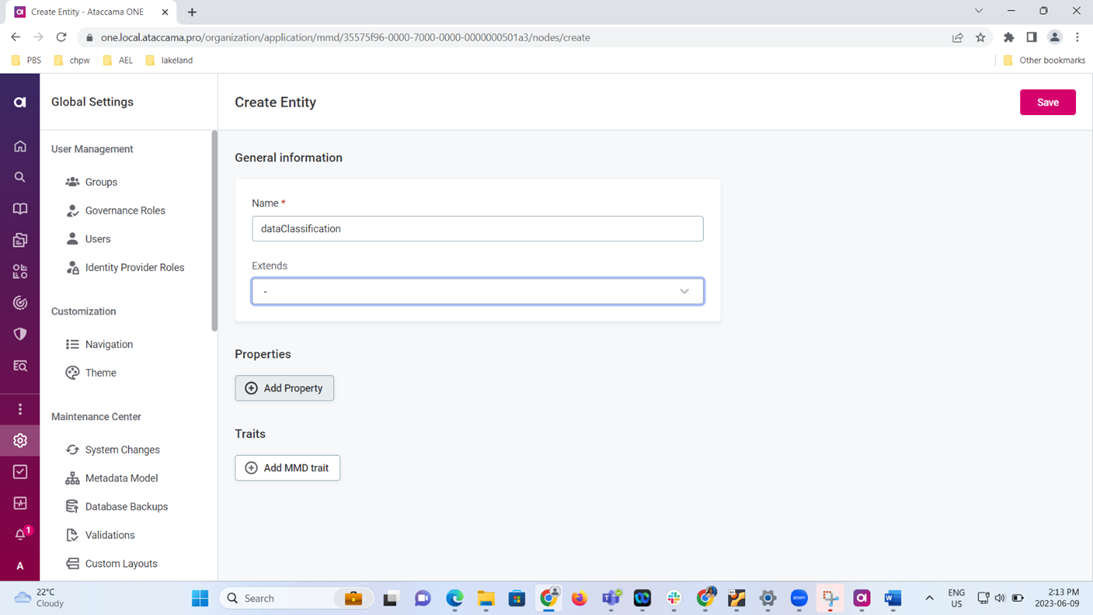
Step 3:
Click Add Property and fill in the property needed for the Entity: Name and Description with its data type and hit save
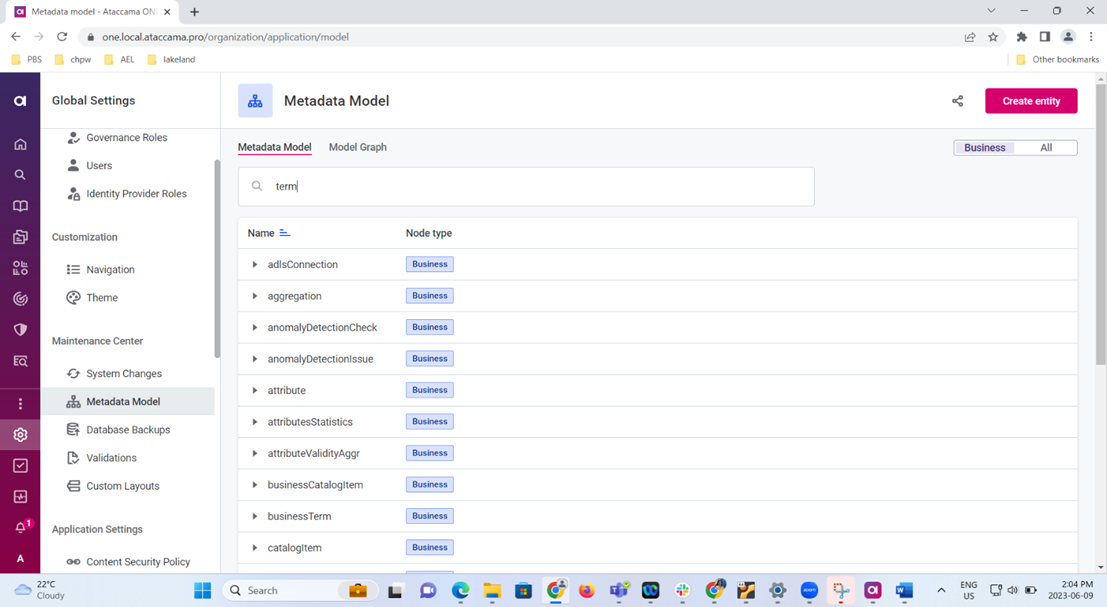
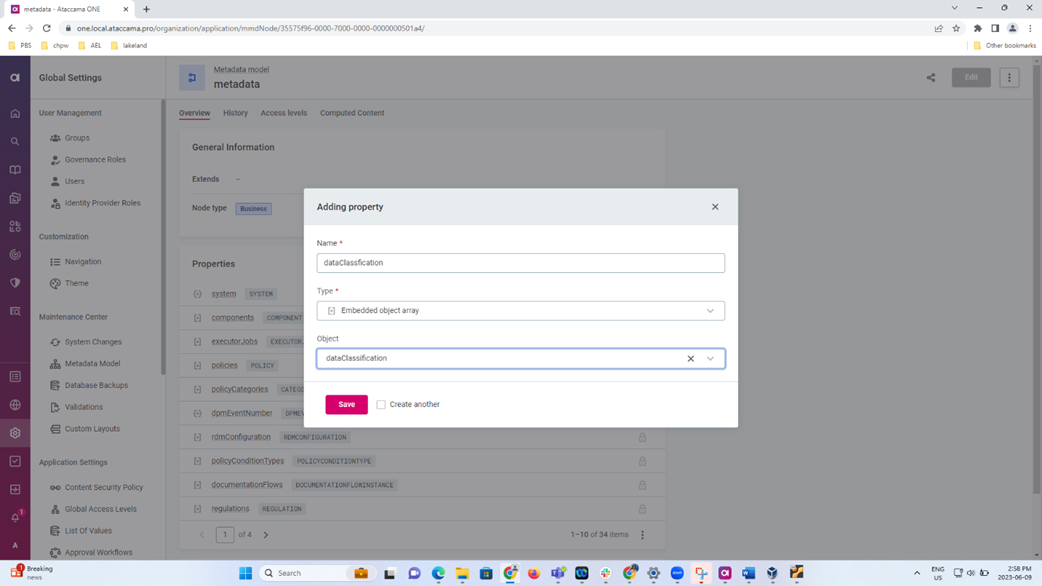
Step 4: Goto Metadata Model under Global settings and search for metadata

Step 5: Click Add property: Fill in name, type: Embedded Object Array and Object type:dataClassification
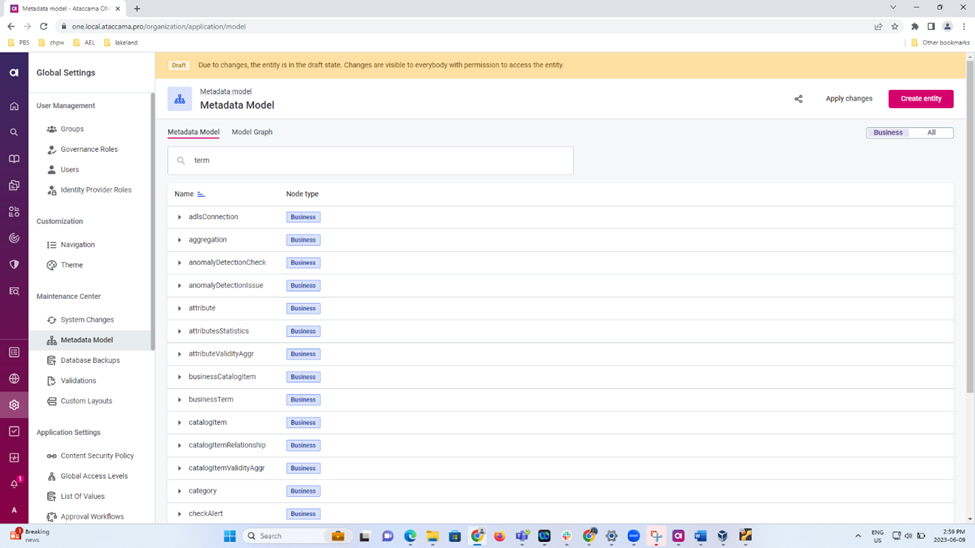
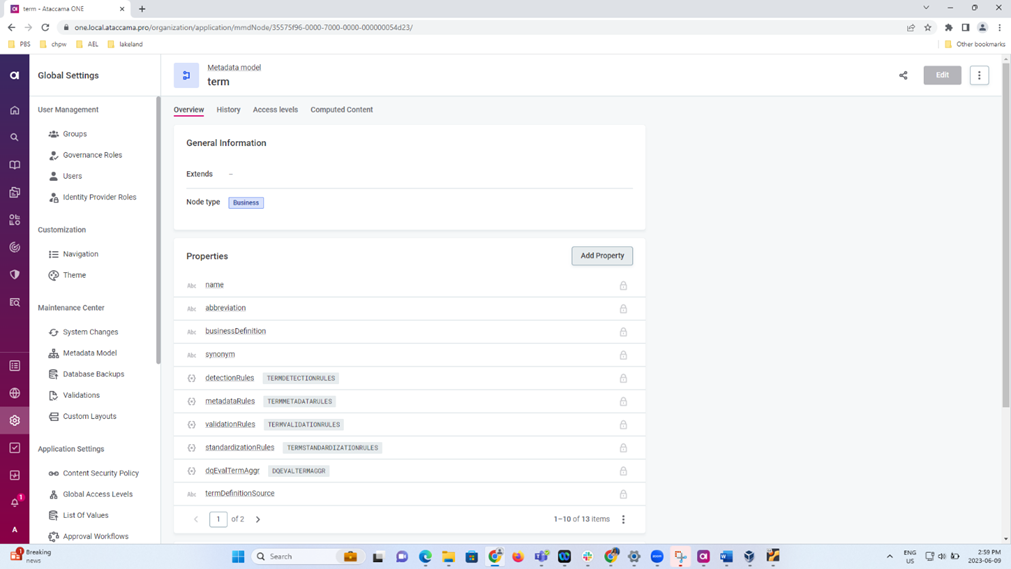
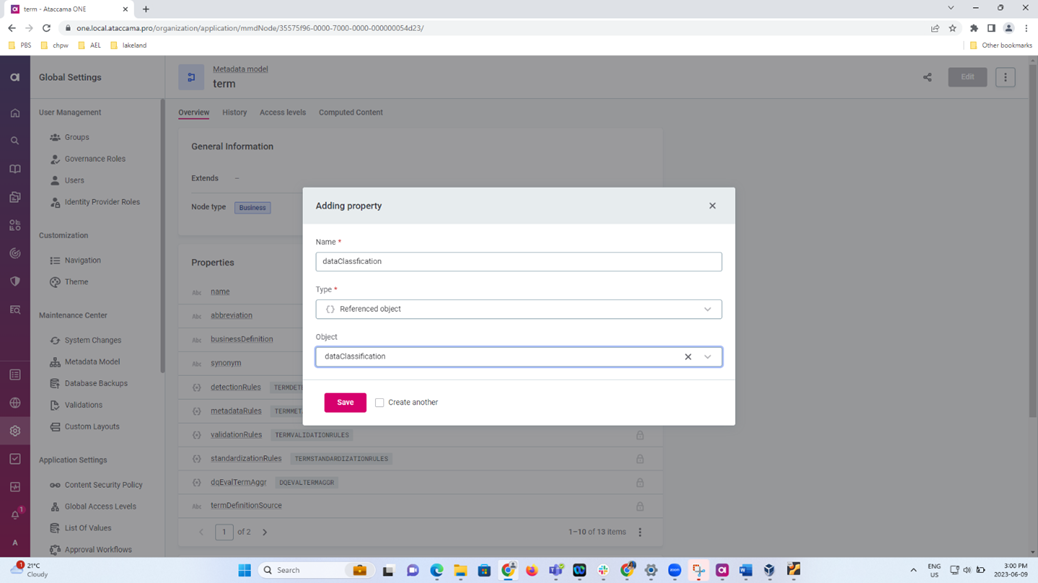
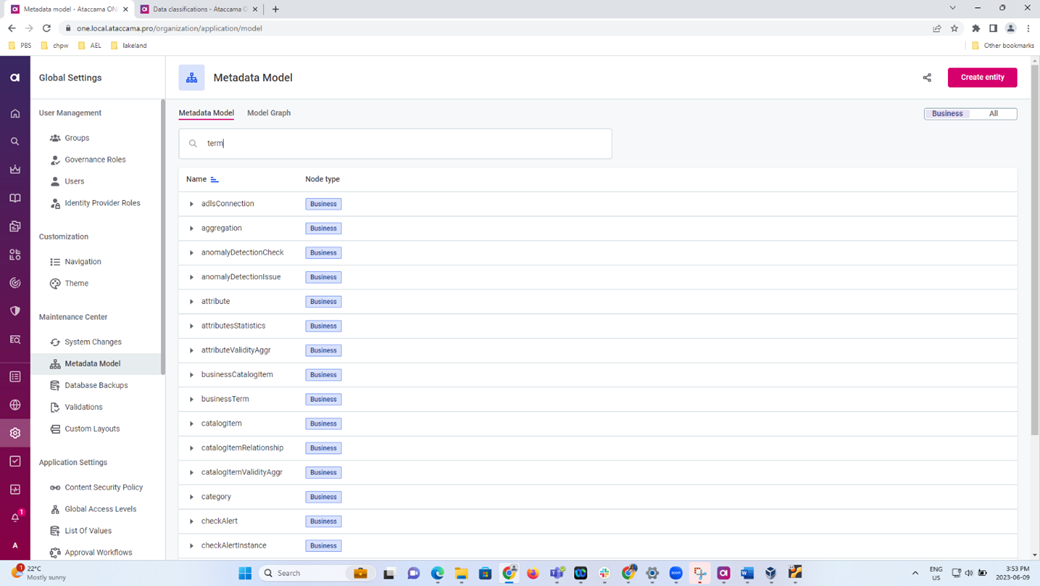
Step 6: Goto Metadata Model under Global settings and search for term
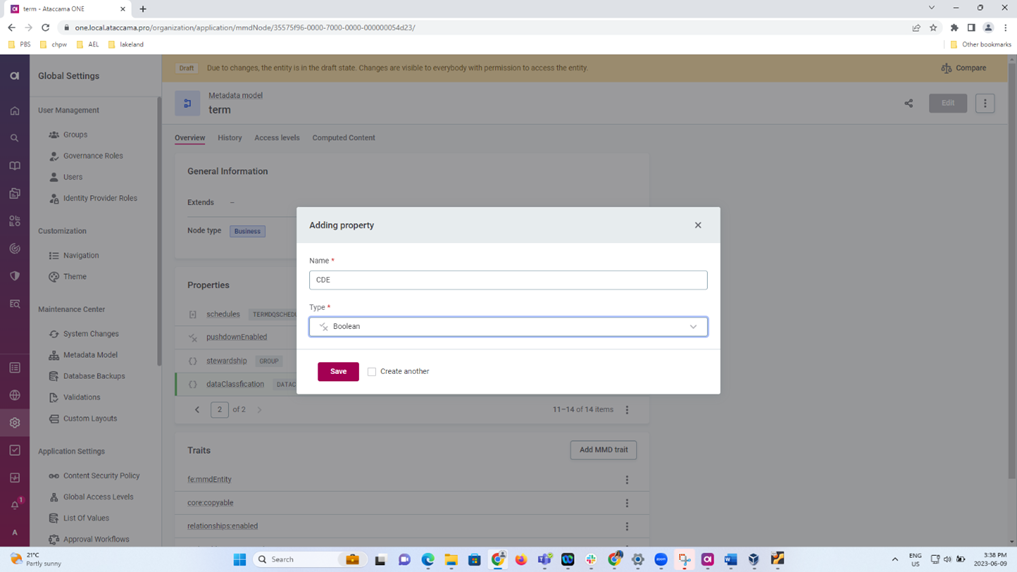
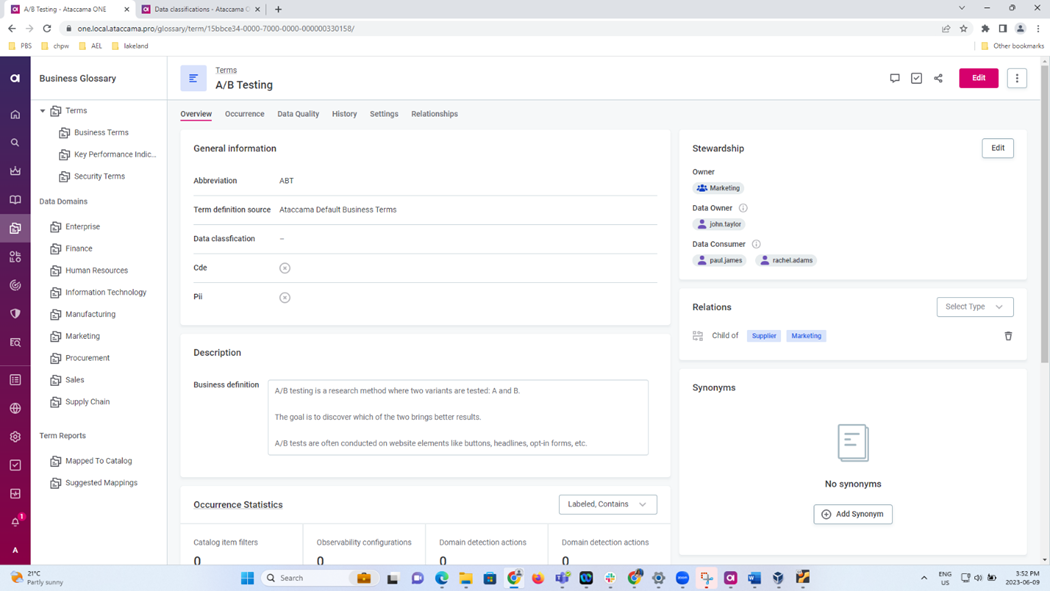
Step 7: Click add property and Fill in data Classification type as Referenced Object, PII and CDE as Boolean
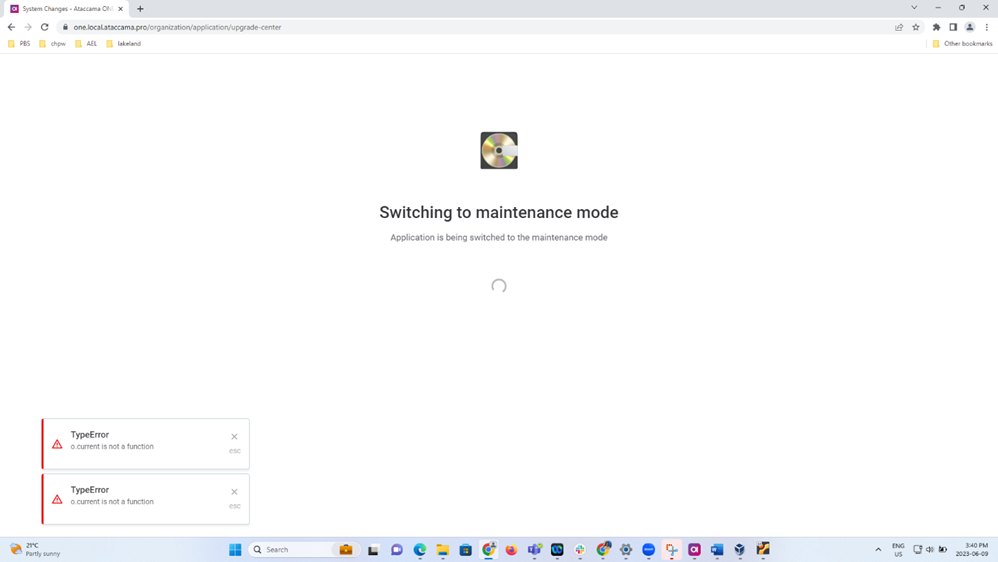
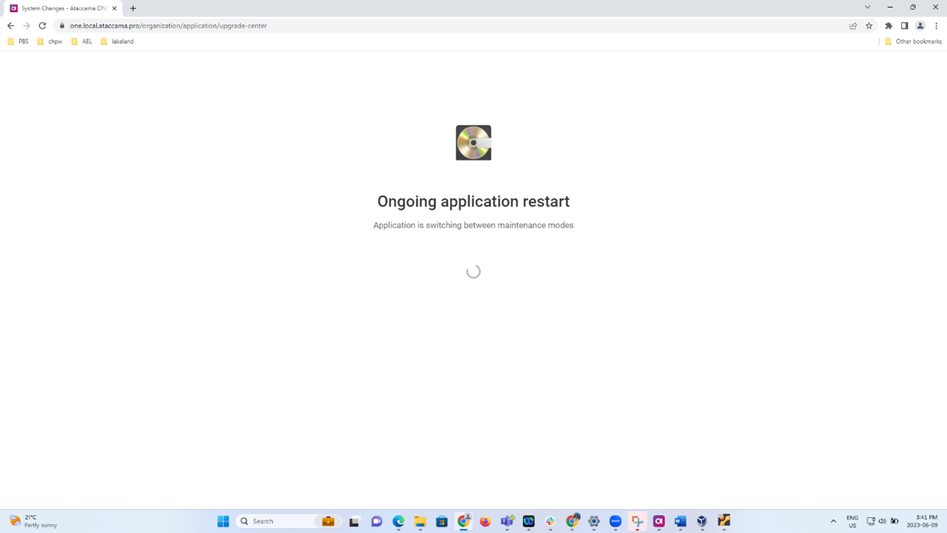
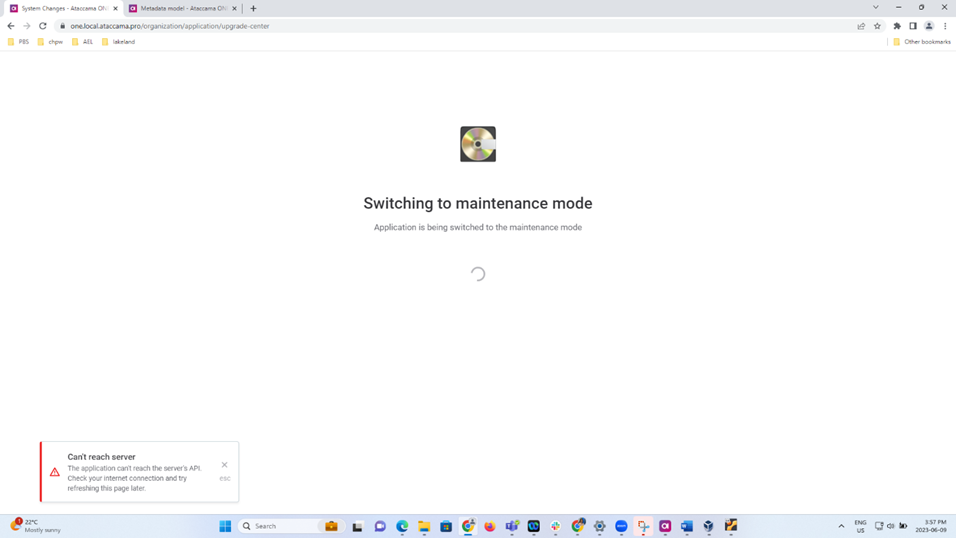
Step 8: Hit Apply changes and the System will be Switching to Maintenance mode
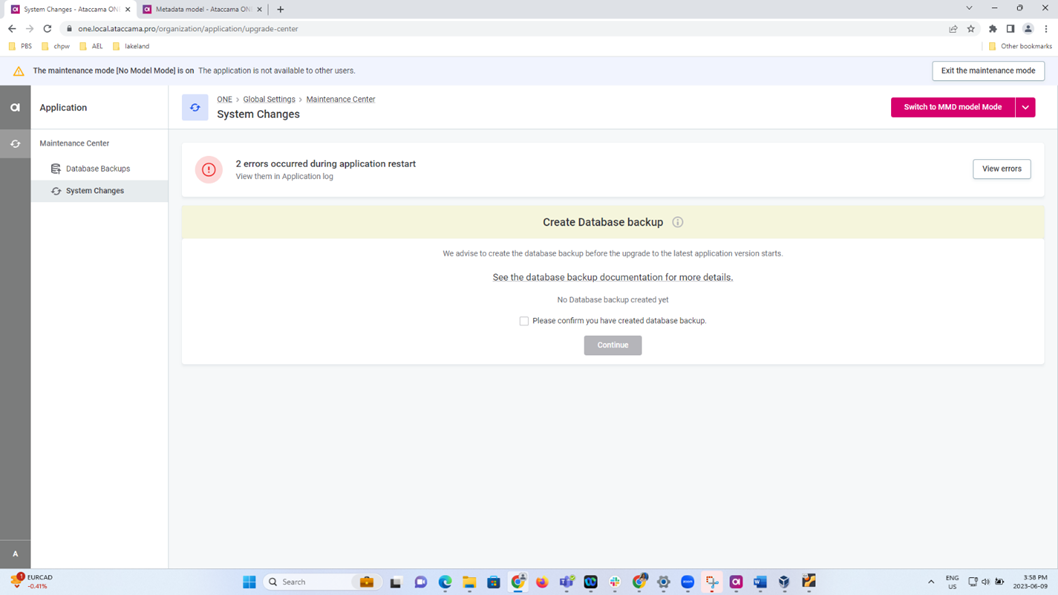
Step 9: Click DB backup and the application restarts.
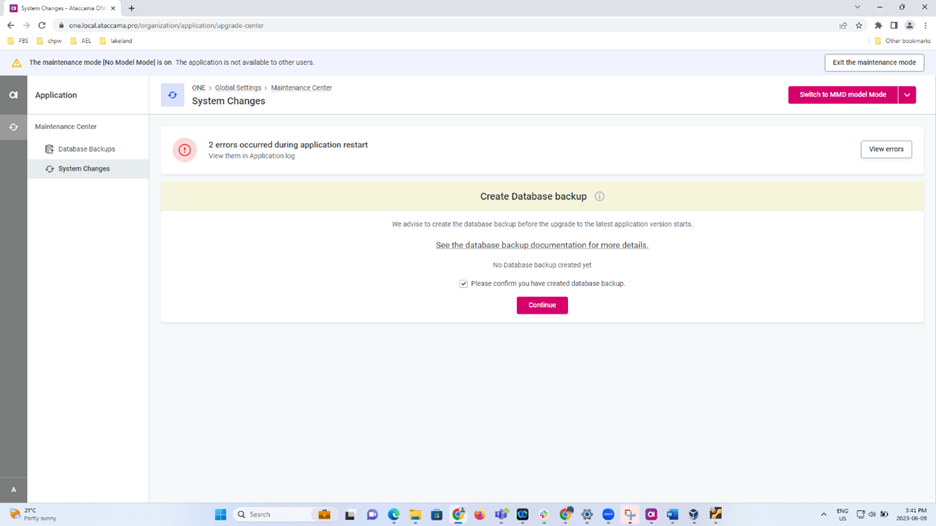
Step 10: Click on Run changes again and all the changes updated successfully in MMM
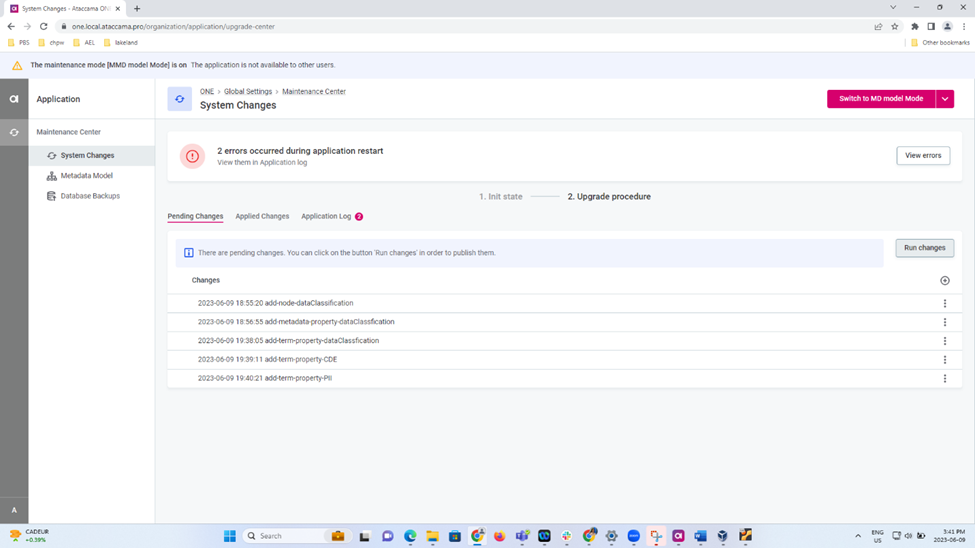

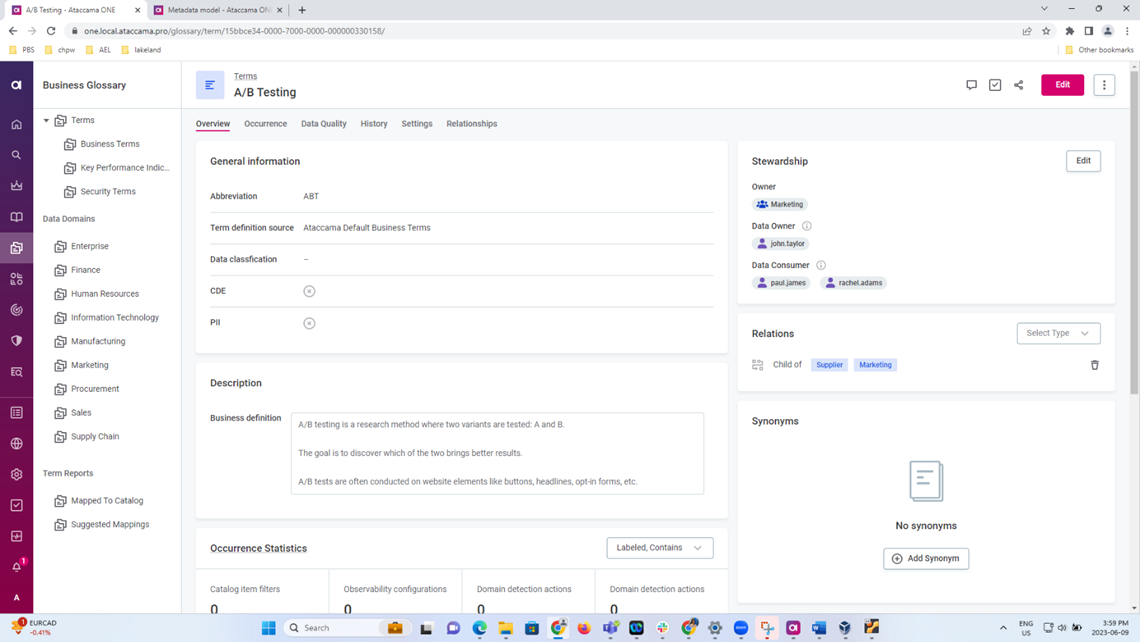
Step 11: All the changes are updated
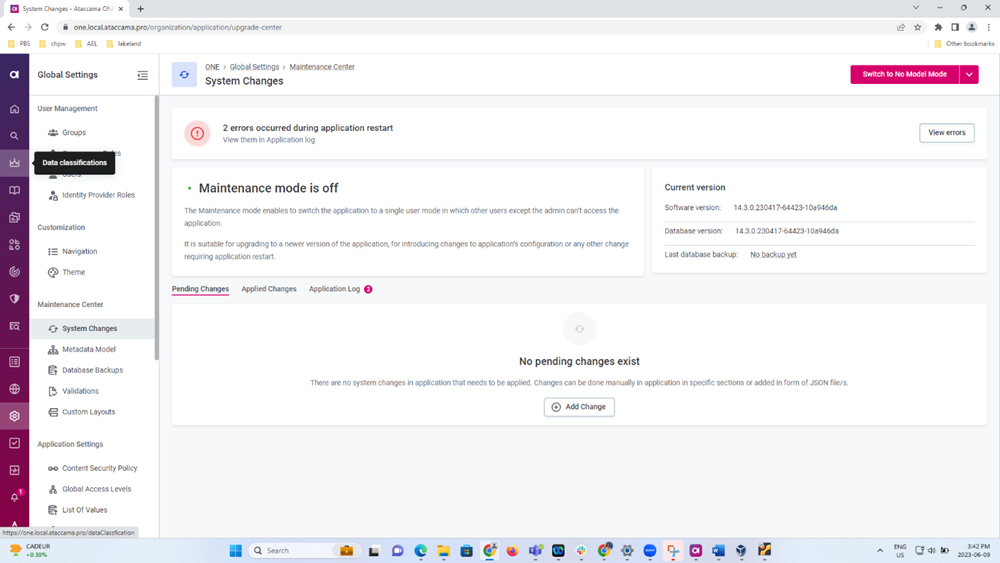
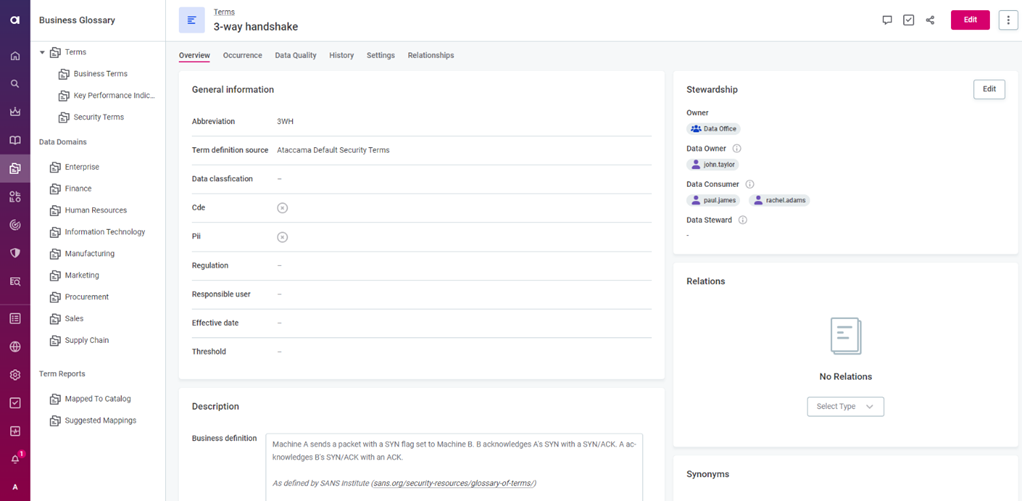
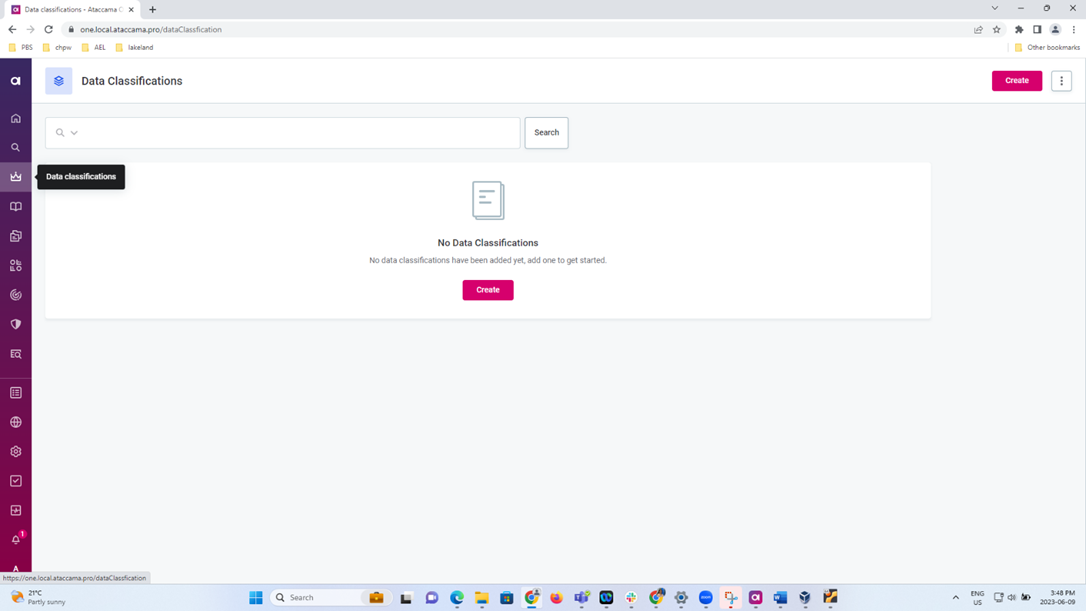
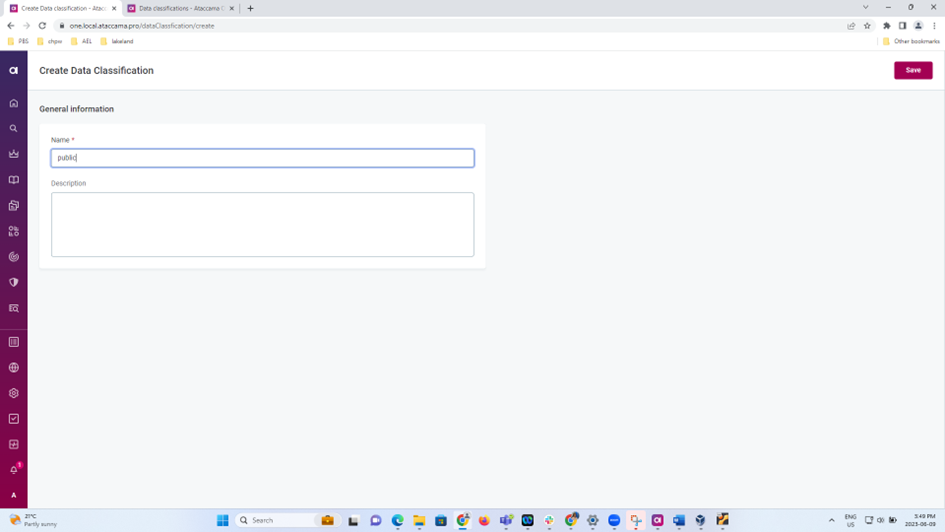
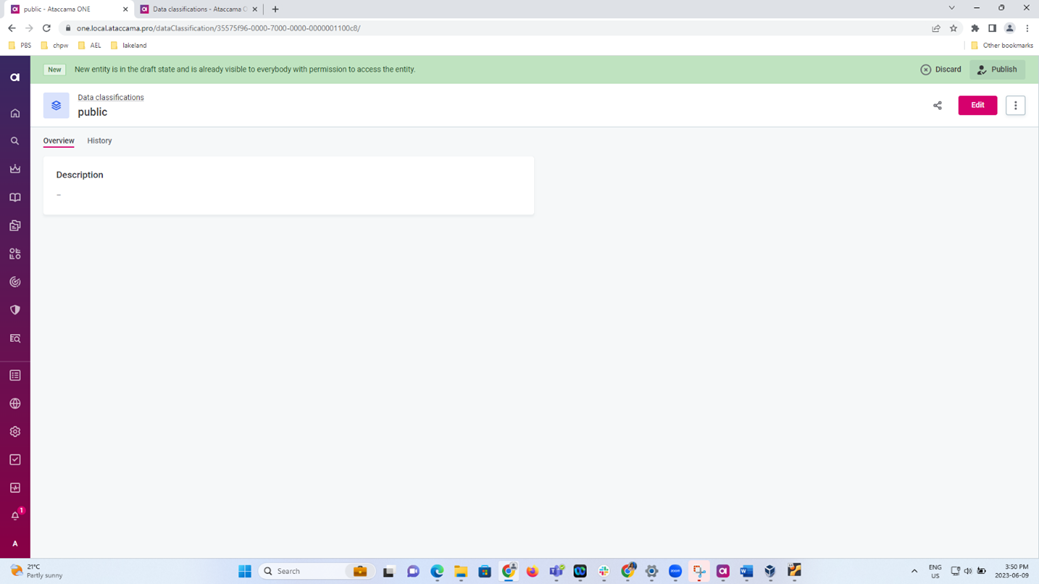
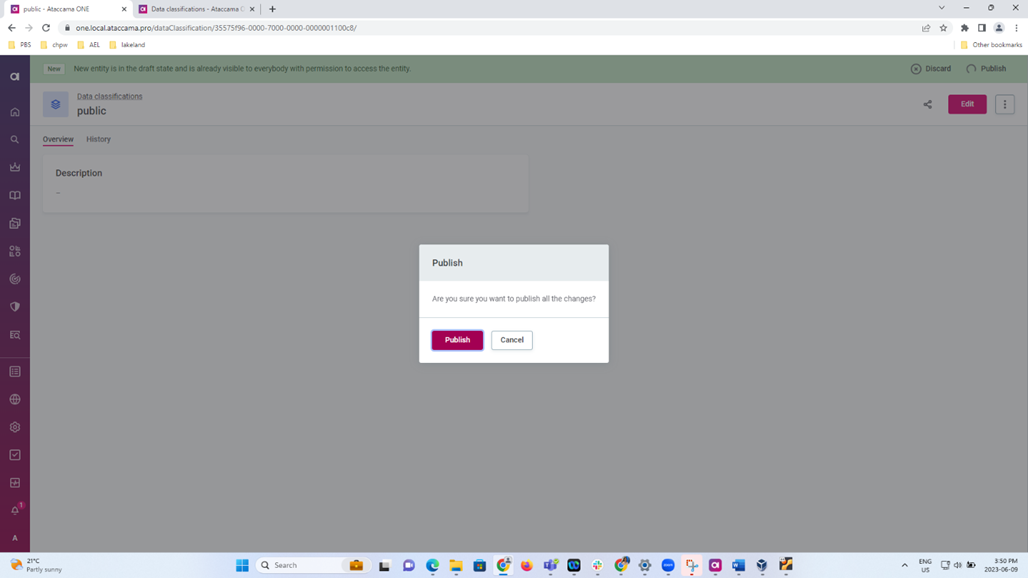
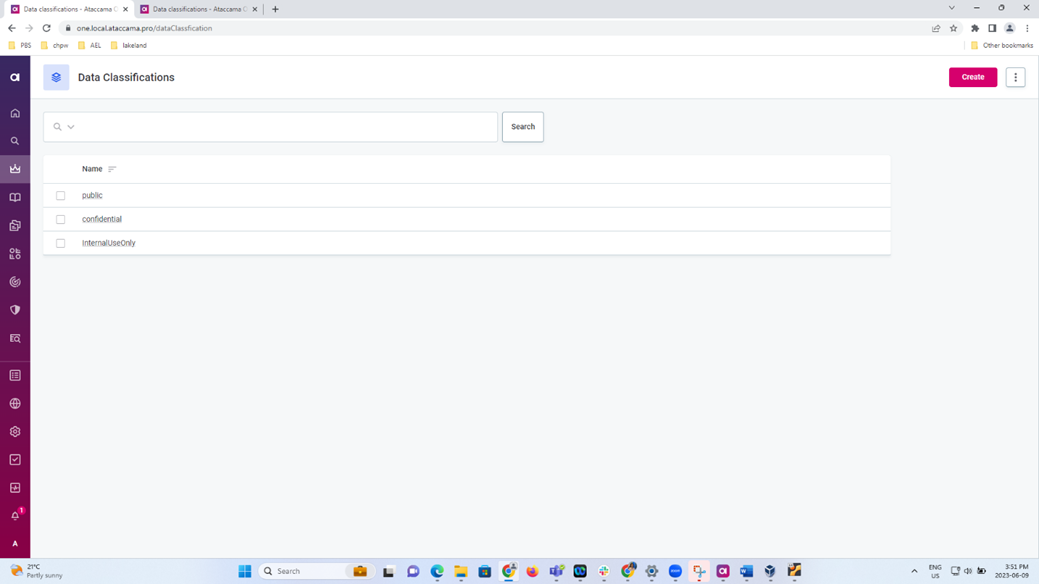
Step 12: To add new Data Classification: Public, Confidential and Internal Use Only and publish.

Step 13: To change the properties CDE and PII to upper case, property traits has to be added.
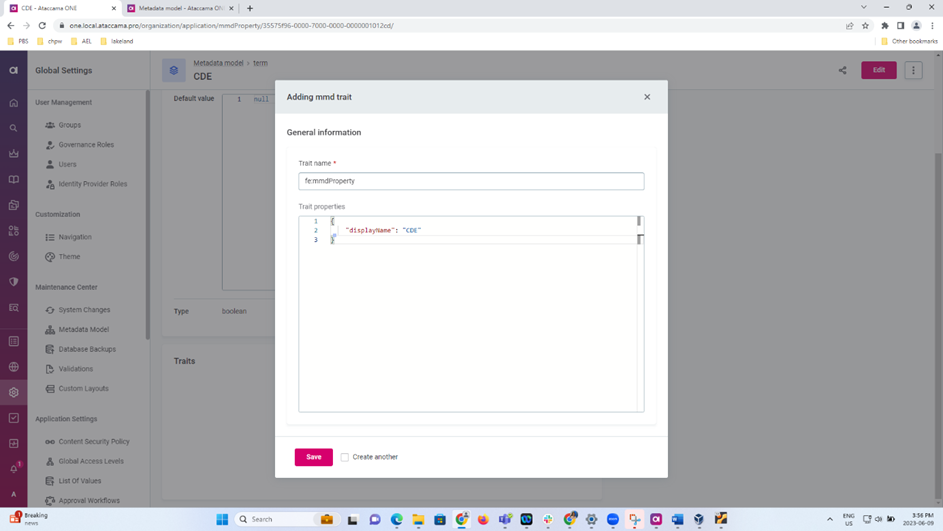
Step 14: Goto Metadata model and search for the Entity Term. Goto the property CDE and Click Add MMM trait
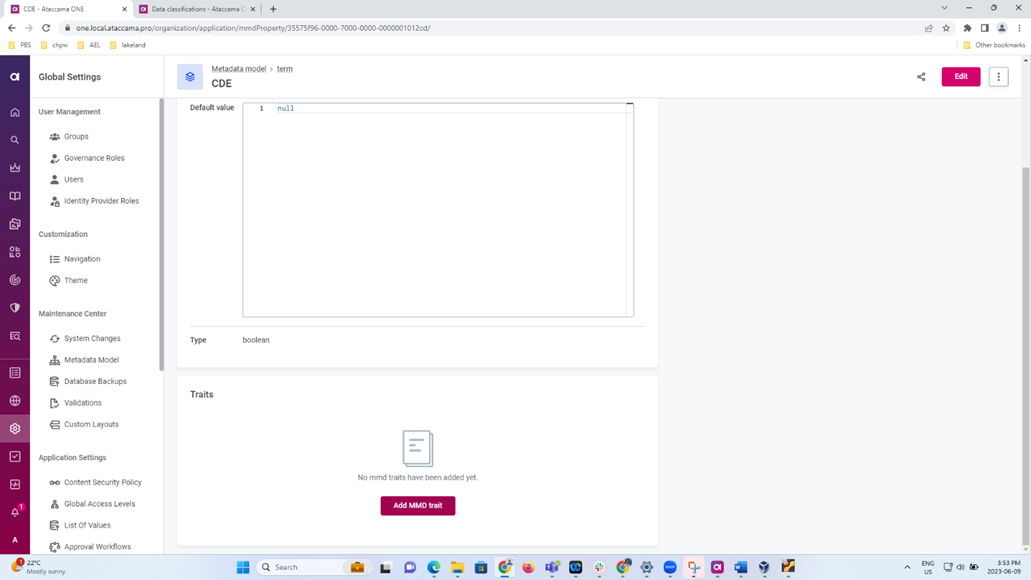
Step 15:
Fill in Trait name as fe:mmdProperty and Trait properties as
{
"displayName": "My property"
}
Step 16: Hit apply changes and system switches to Maintenance mode
Step 17: Click DB backup and run changes
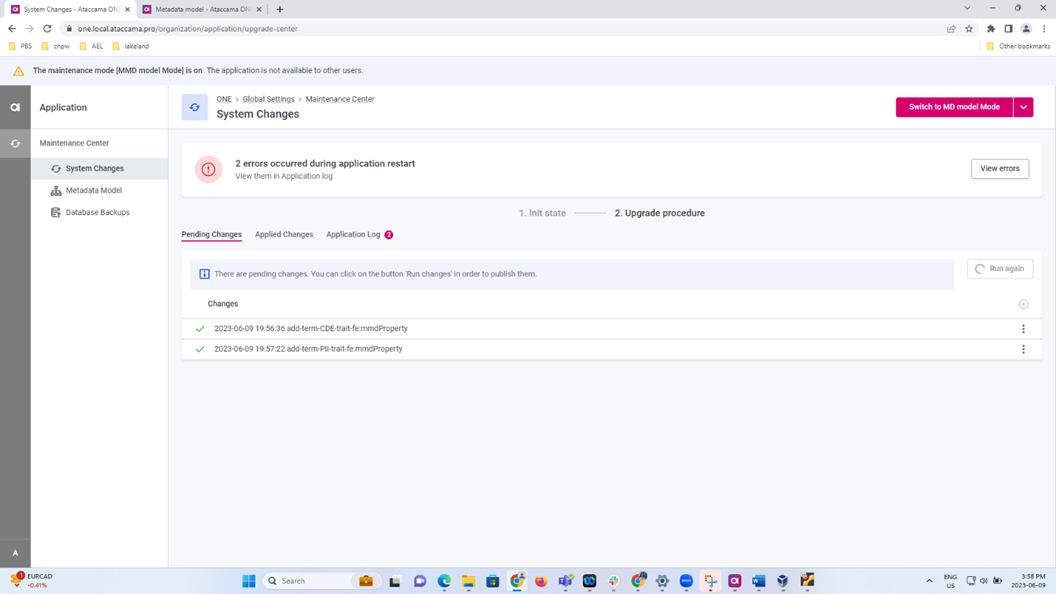
Step 18: All the properties are changed accordingly
I hope you found this article useful, please let us know if you have any questions or thoughts in the comments below