


Hi everyone, I'm Sathya, Solutions Consultant at Ataccama. In this post I am going to talk about creating Data Domain , relationship using AQL expression.
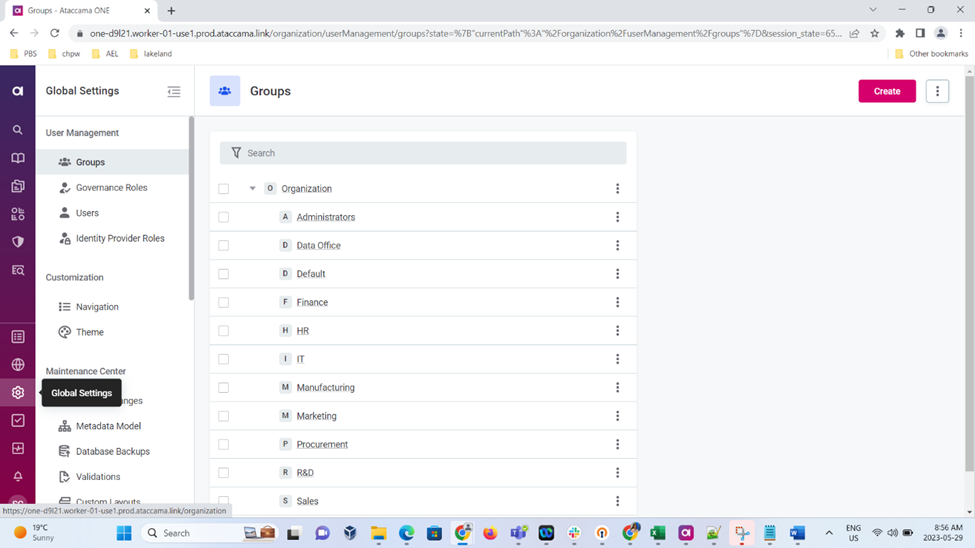
Step 1: On the organization tab, go to Global settings
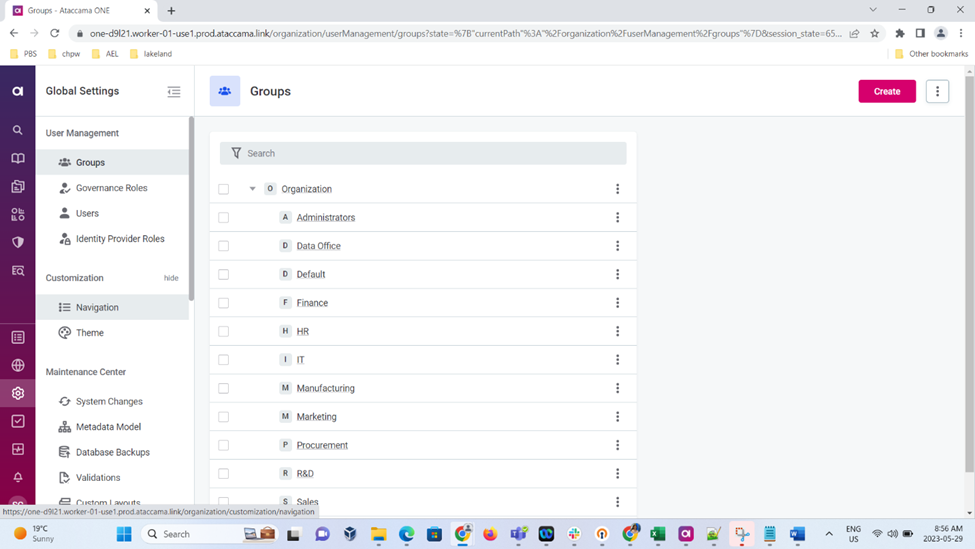
Step 2: Click Navigation Icon
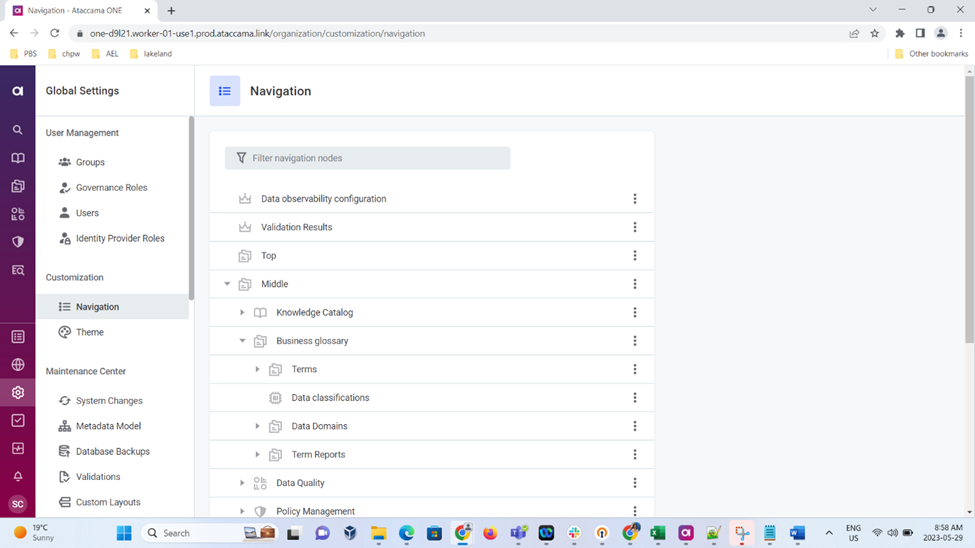
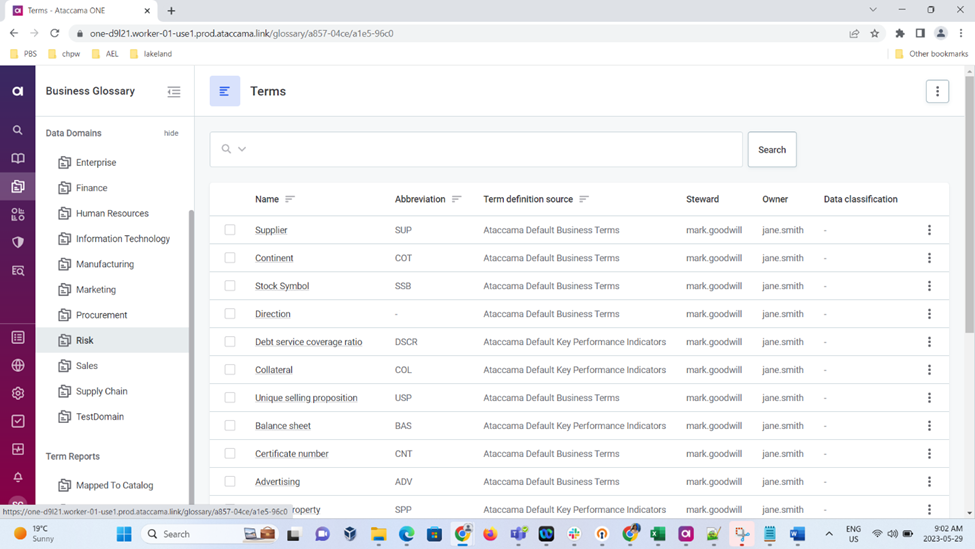
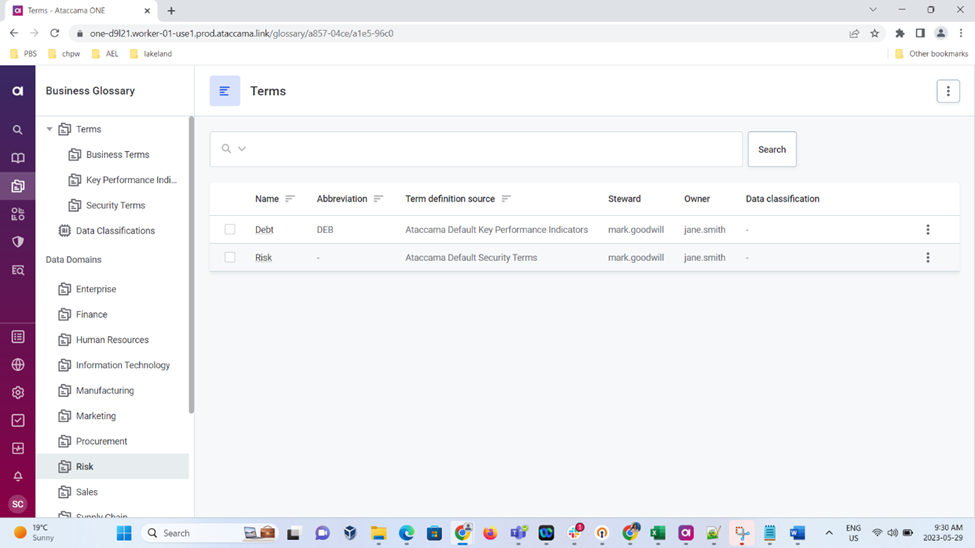
Step 3: List of entities will be listed, under Business glossary we will have Data Domains
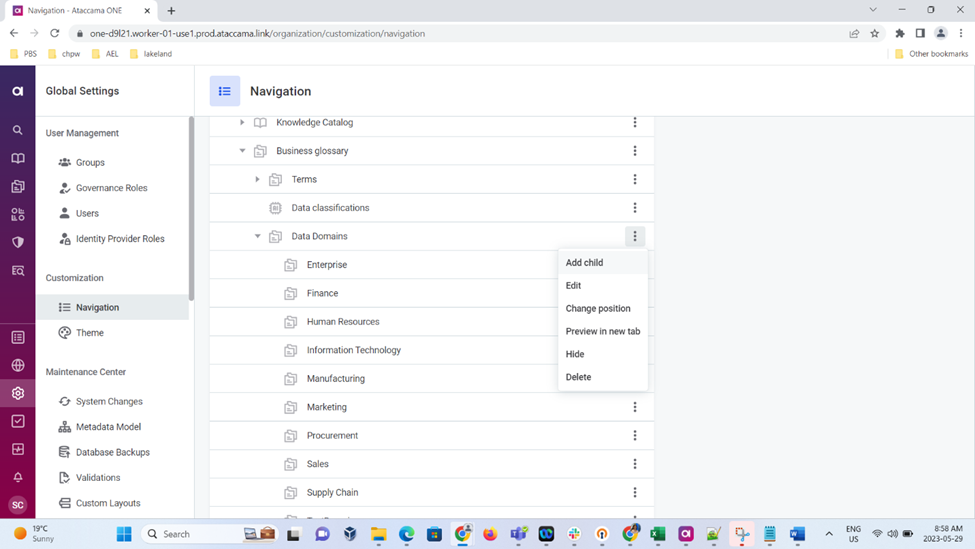
Step 4: Click on the 3 dots and click Add Child option to add a child to the list.
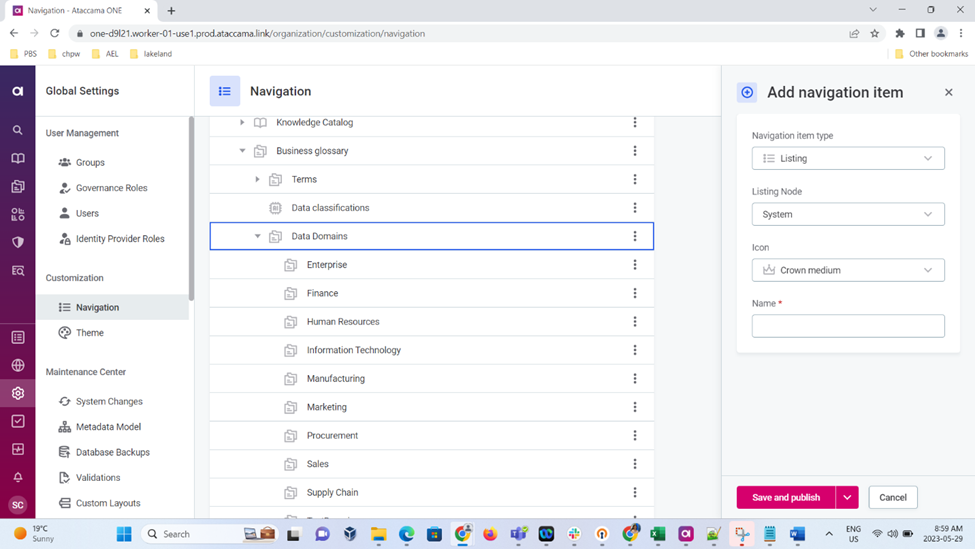
Step 5: Pop up window appears, fill in the details as follows:
- Navigation item type: Listing
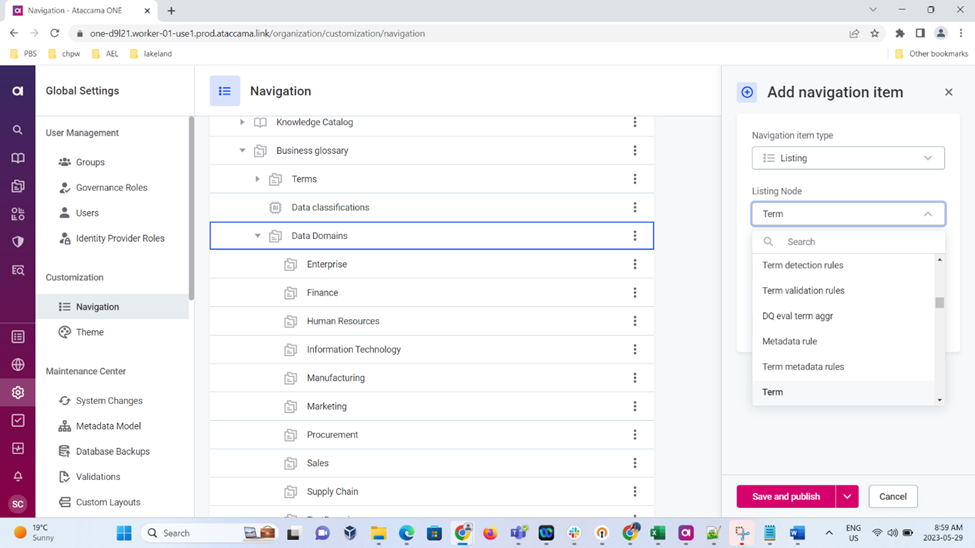
- Listing Node: Term
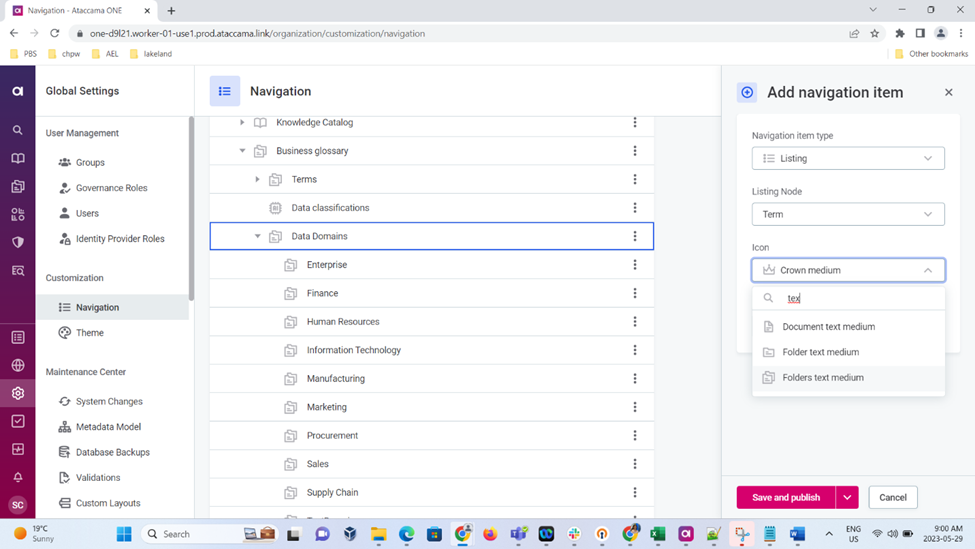
- Icon: Folders Text Medium
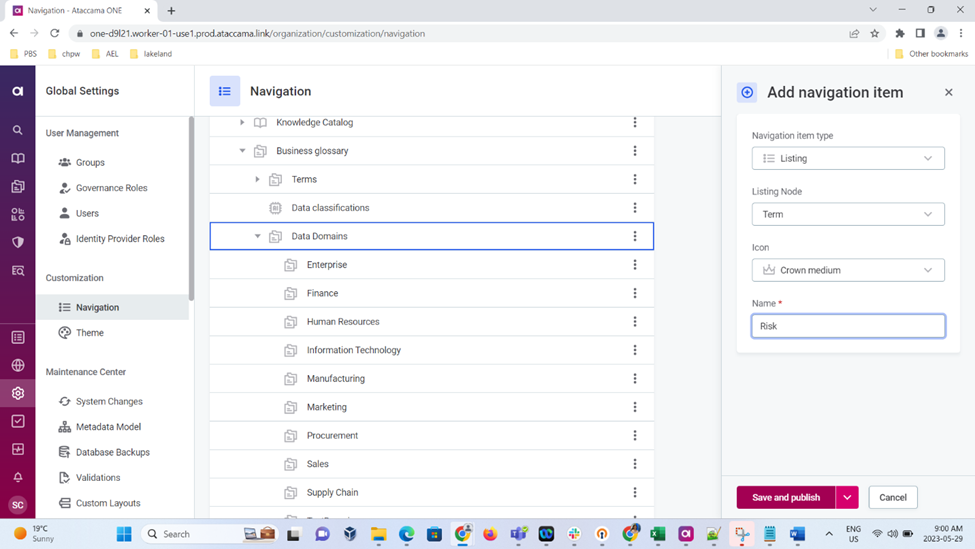
- Name: Fill the name of the Data Domain
- Save and publish.
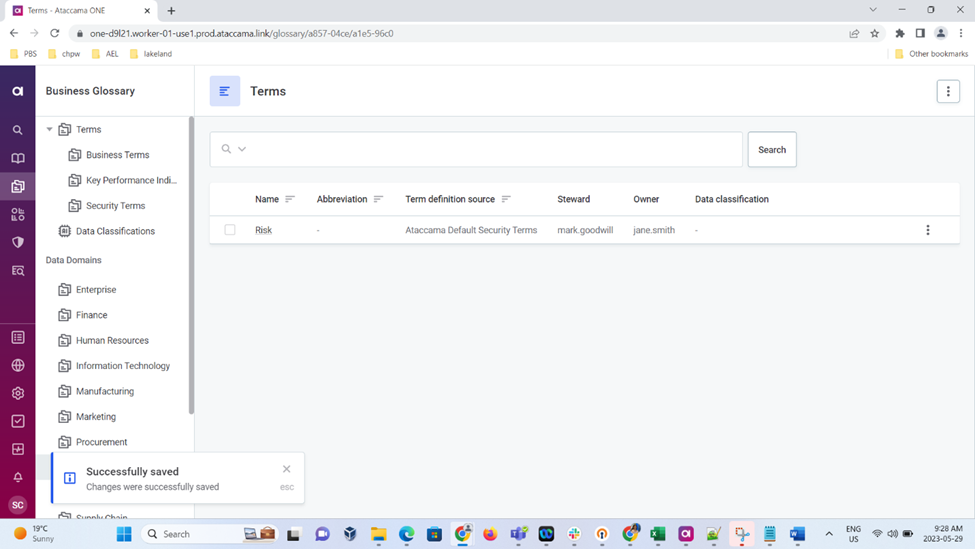
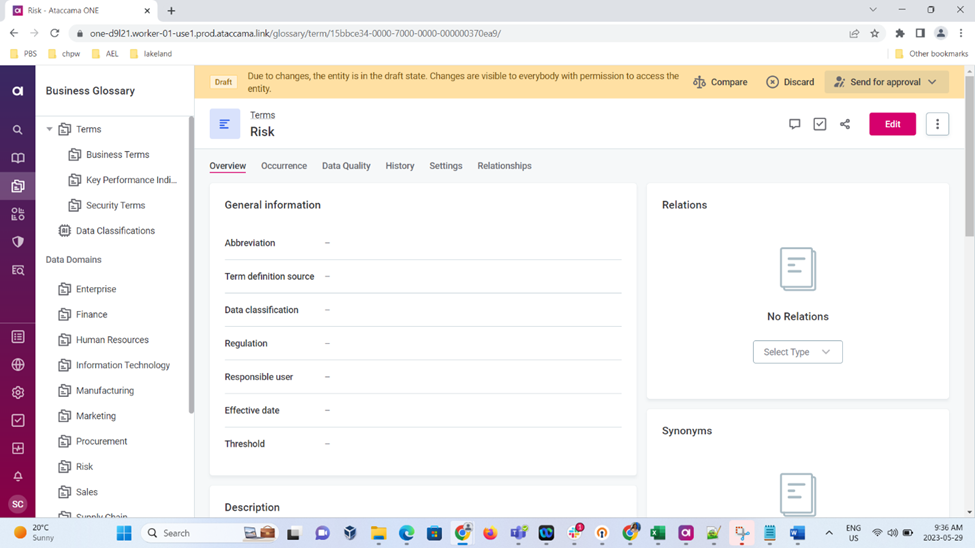
Step 6: All the terms will be added to the Data domain. To filter out we have to update the AQL expression.
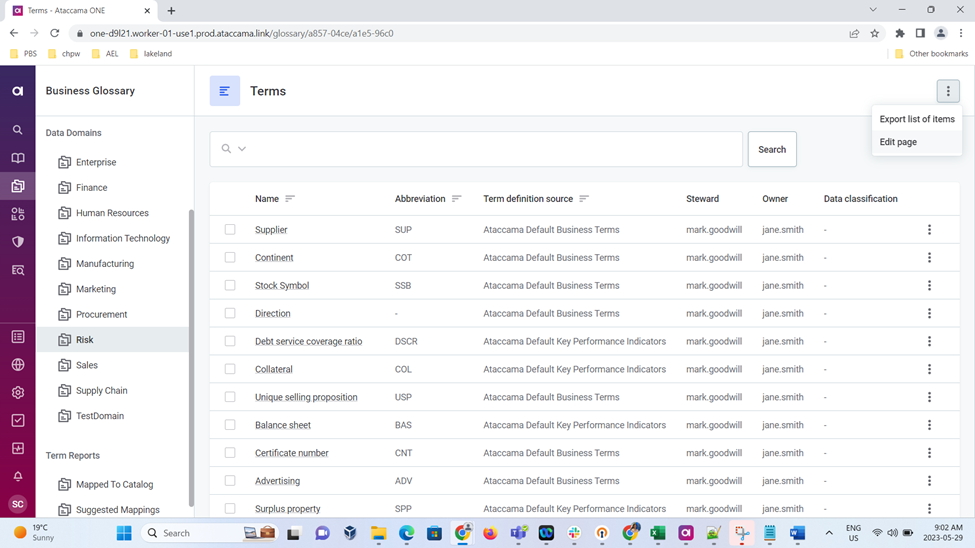
Step 7:Click on the 3 dots on the right corner of the terms page where the data domain is displayed and choose Edit page.
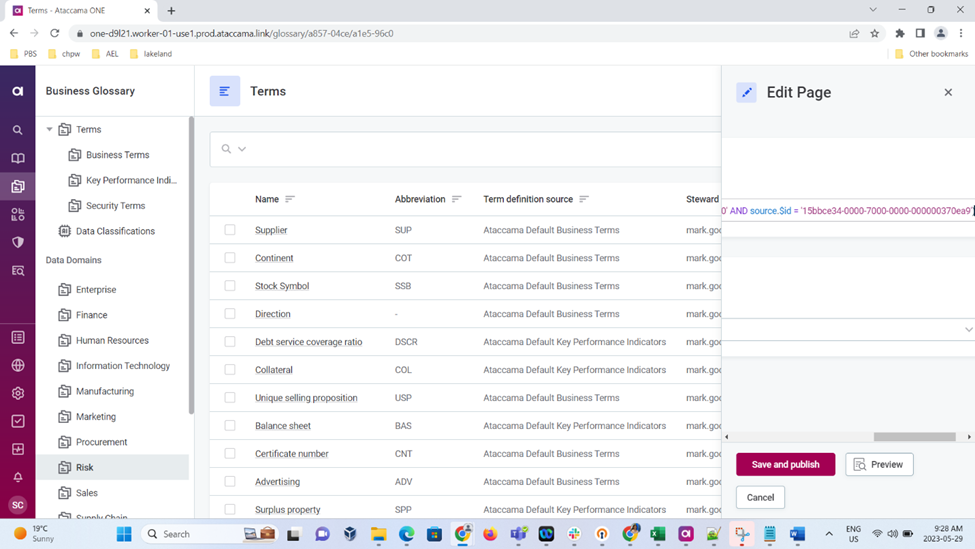
Step 8: In the Filter part we must fill in the AQL Expression
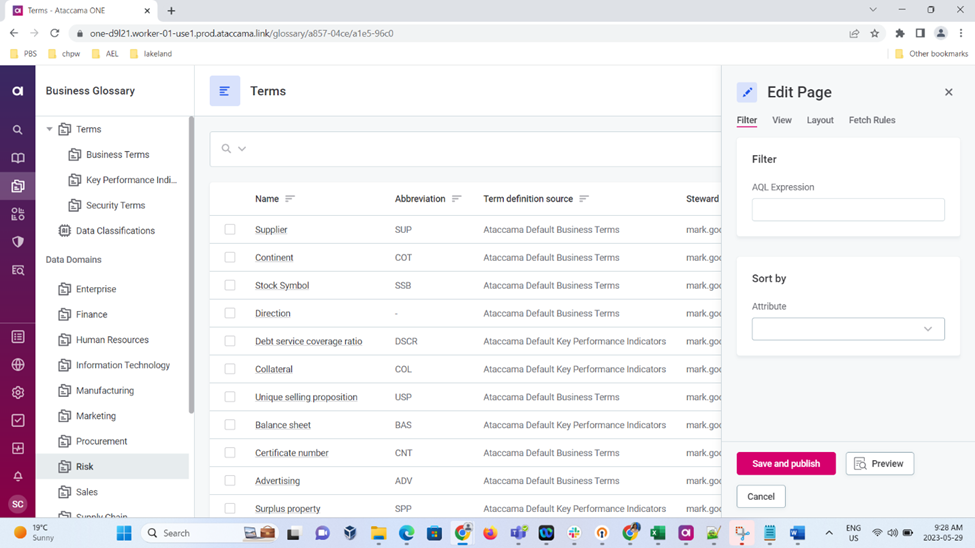
Step 9: Syntax for AQL expression:
name is "(name of the dataDomain)" OR @termRelationship(target).any(type.$id = (relationshiptypeid)' AND source.$id = 'parentTermId’)
Step 10:Once the AQL expression is saved and published the parent term appears in the Data domain layout.
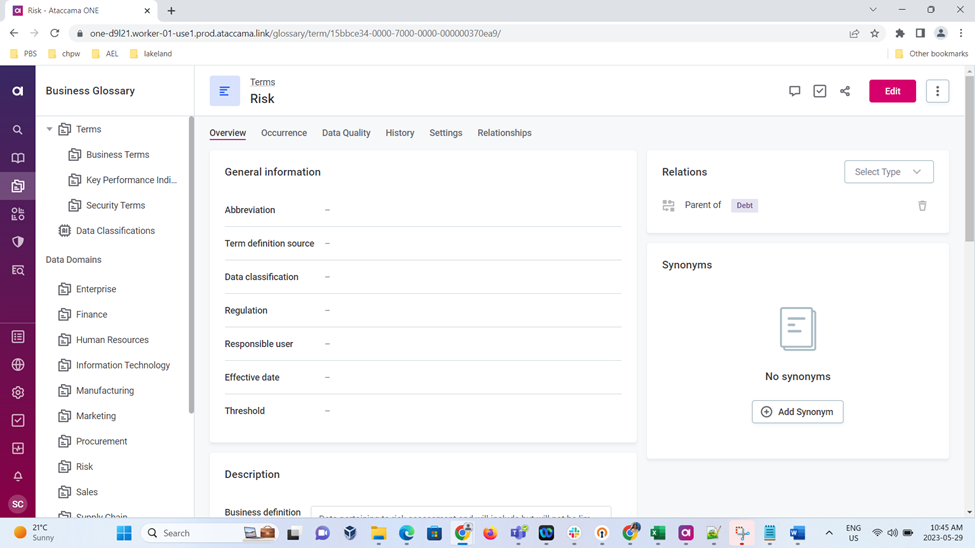
Step 11: We must create the parent child relationship between the data domain and terms that has to be included in the Data domain. Choose the child term that you wanted to create a relationship, go to Relations tab, and select from the drop down.
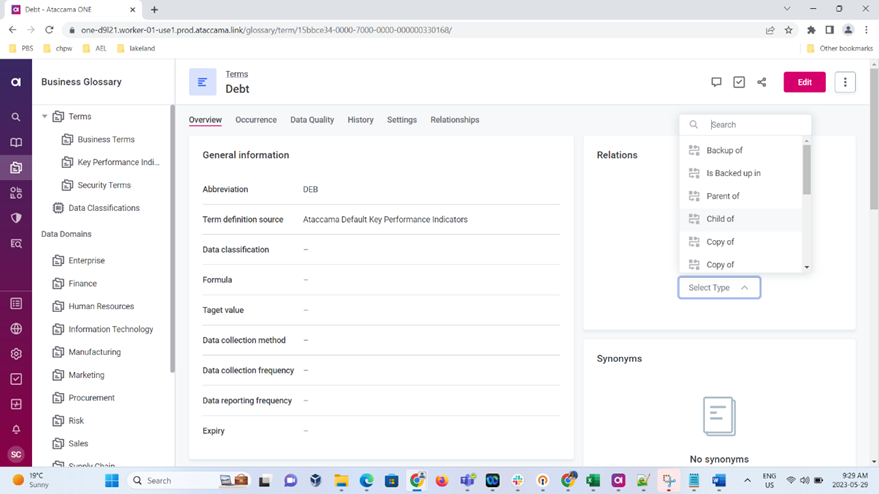
Step 12: Add the term to the relations tab
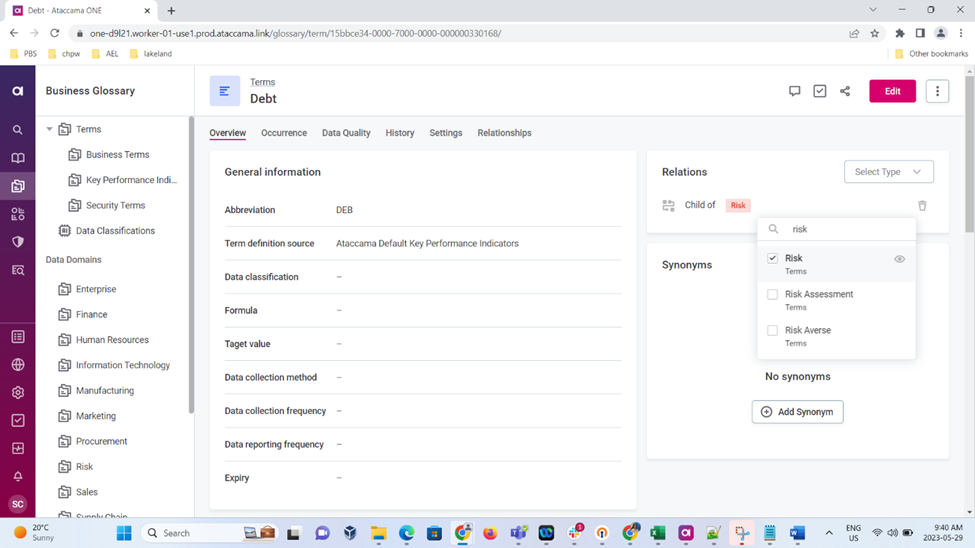
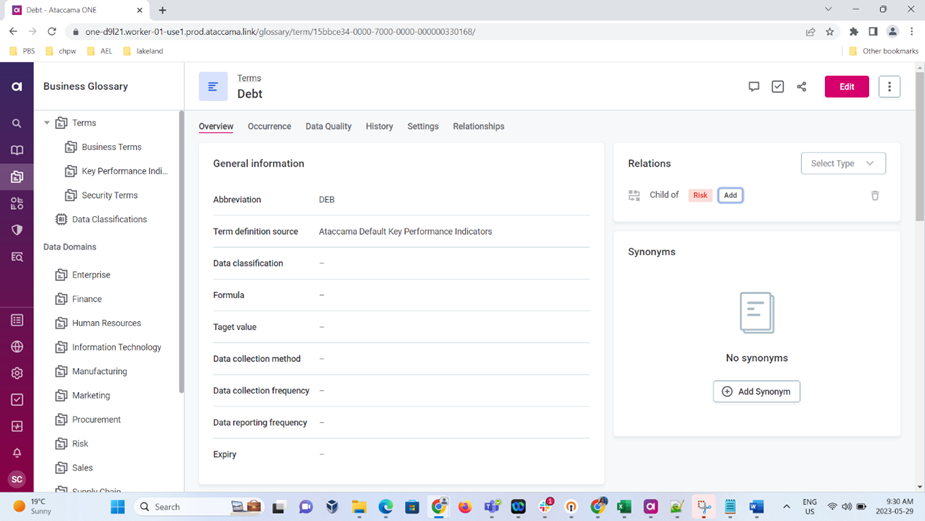
Step 13: The related term from the previous step gets listed in the Data domain that we created.
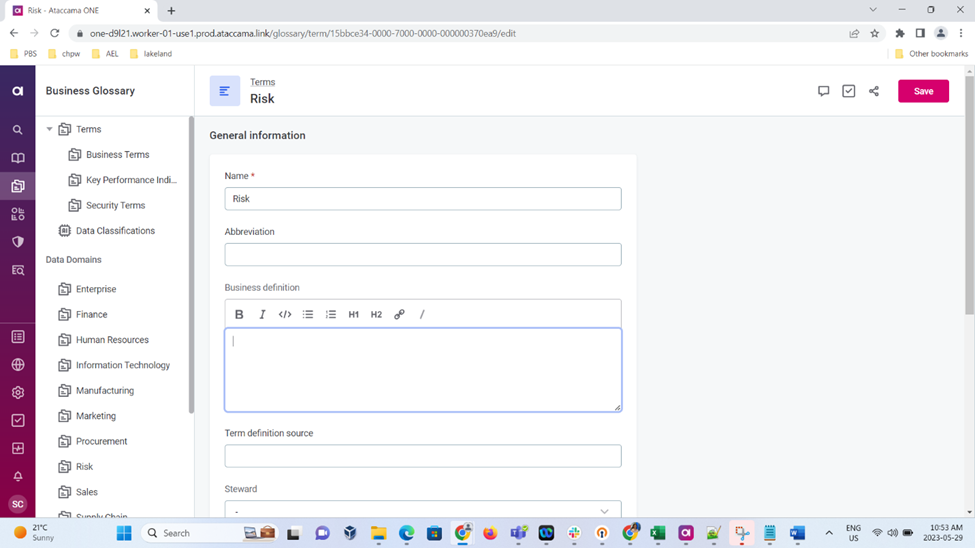
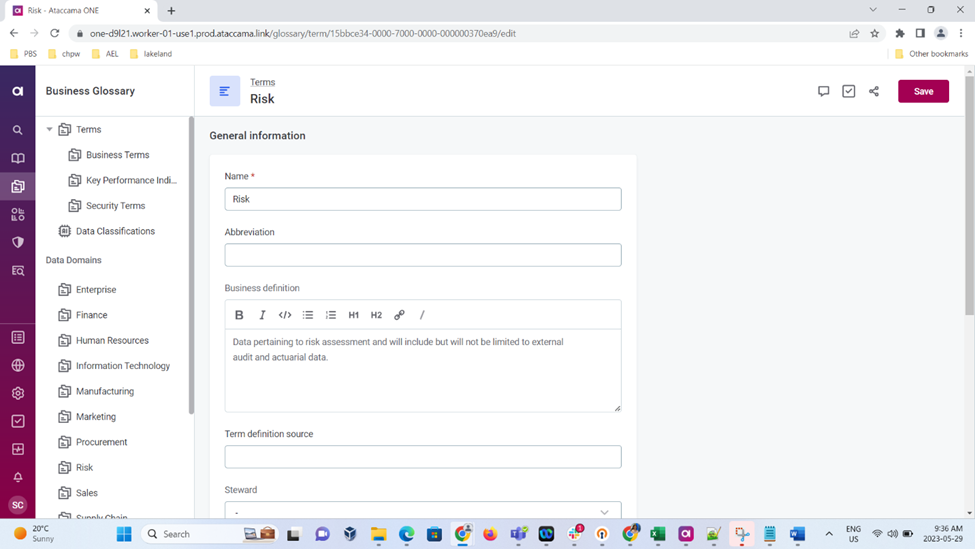
Step 14: To edit the properties for the data domain, click on the edit.
Step 15: Fill in the required fields and hit save.
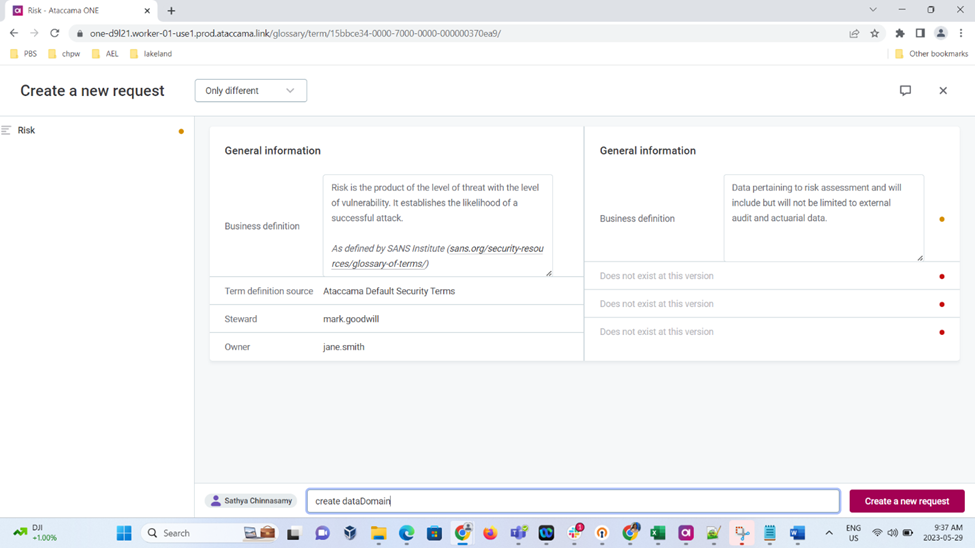
Step 16: Term has to be published, so click send for approval on the top right corner, in the drop down choose create new request.
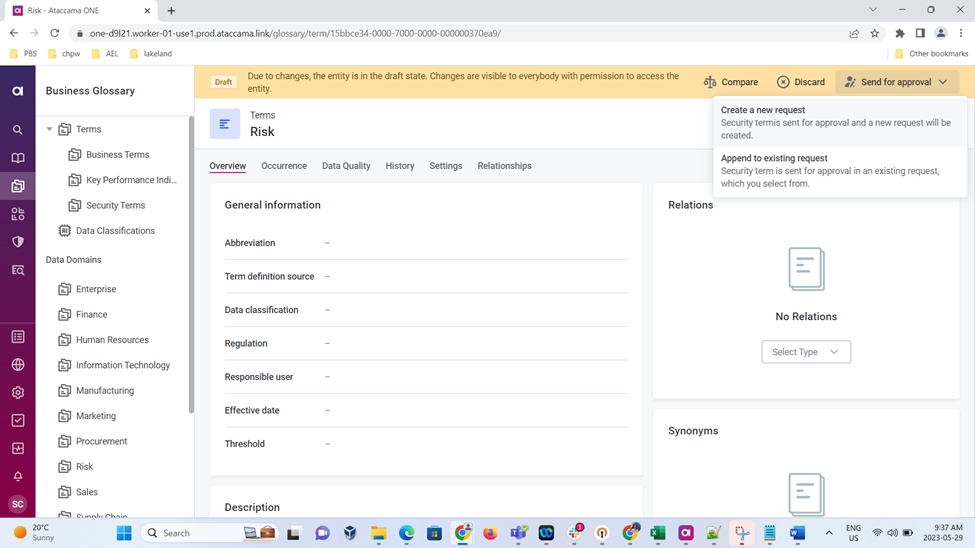
Step 17: Fill in the name of the approval flow, click create new request, approve and publish.
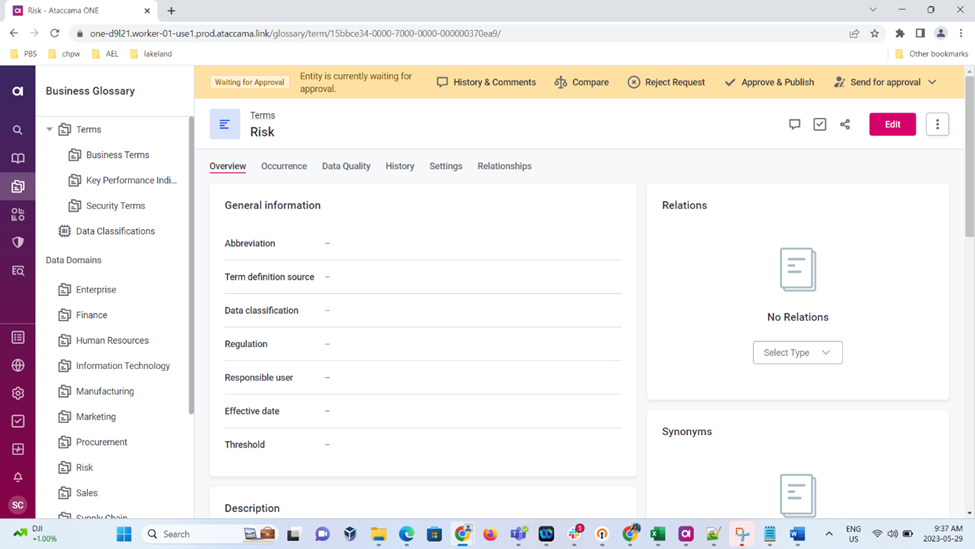
Step 18:Term is now published with the updated property details.

I hope you found this article useful, please let us know if you have any questions or thoughts in the comments below.