


OAuth 2.0 is an authorization framework that allows third-party applications to access resources in a secure manner. Keycloak is an open-source identity and access management solution that provides OAuth 2.0 authorization services. This article will provide steps on how to use OAuth 2.0 via Keycloak for API requests.
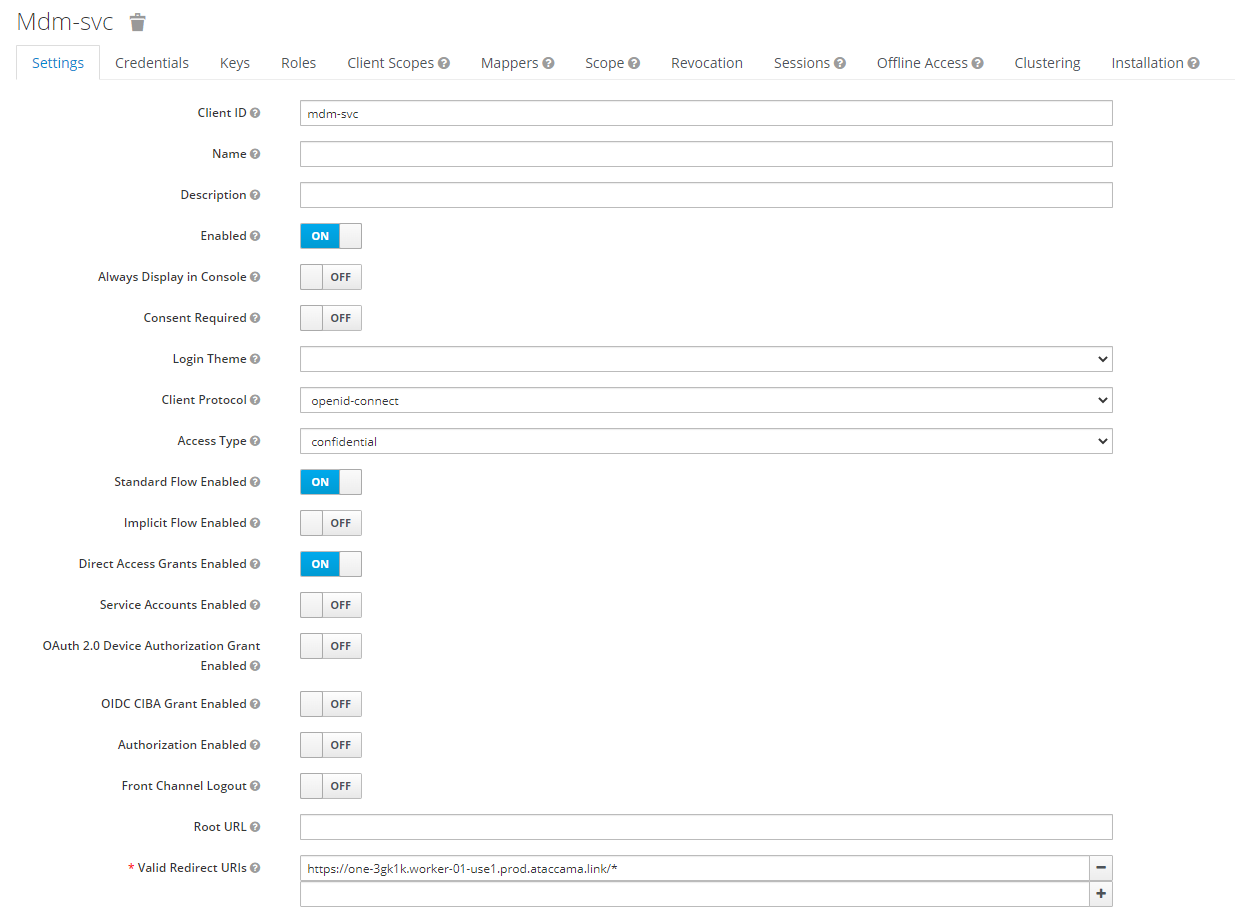
First, create a client in Keycloak. This client will contain the necessary information needed to make API requests. In the Keycloak admin console, navigate to the "Clients" section and click "Create". Fill in the necessary information, such as the client ID and save the Client.

Once saved, change the Access Type to "Confidential". Additionally, modify the Valid Redirect URL, to the base url of the application and an asterisk. For example, if the keycloak url is:
Keycloak URL: https://one-3gk1k.worker-01-use1.prod.ataccama.link/auth/
Base URL:https://one-3gk1k.worker-01-use1.prod.ataccama.link/
The Valid Redirect URI will be:
https://one-3gk1k.worker-01-use1.prod.ataccama.link/*
Next, configure the API request to use the Keycloak Client ID for authentication and authorization. In the API's request headers, add the appropriate OAuth 2.0 authentication parameters to obtain an access token from Keycloak. This access token will be used to authenticate and authorize API requests. The following information will be needed:
- Grant Type —> Client Credentials
- Access Token URL —> {keycloak-url}/realms/ataccamaone/protocol/openid-connect/token
- Client ID —> Client ID created in previous step
- Client Secret —> This can be found in the Credentials Tab, of the newly created Client in Keycloak
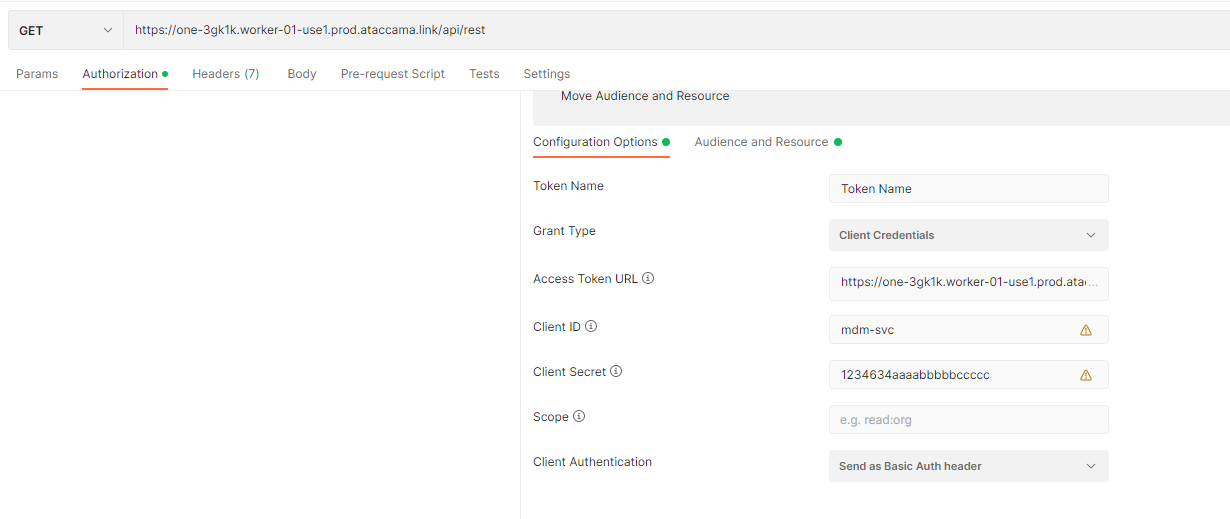
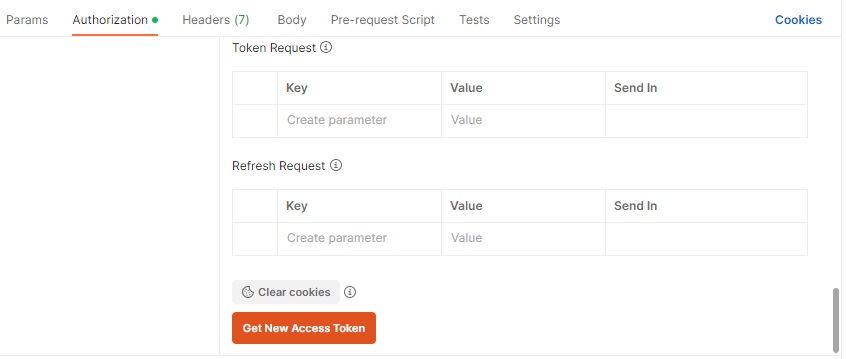
Using postman as the client application to send the API request, the access token can be obtained by going to the Authorization tab of the request, and at the bottom of the Authorization screen, click, Get New Access Token.
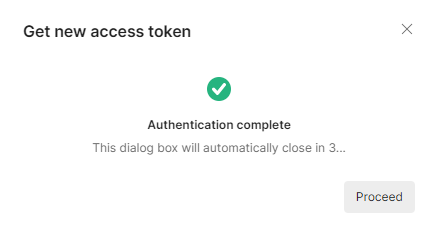
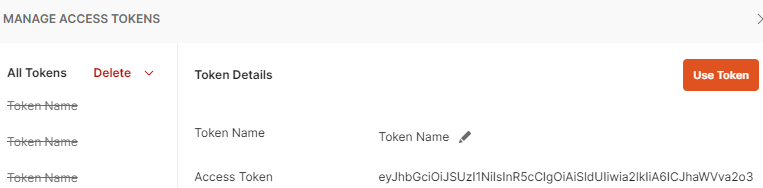
Once the access token has been obtained, be sure to include it in the header of any API requests that require authentication and authorization. Using Postman, select Use Token, this will ensure that the client making the request is authorized to access the requested endpoint(s).
In conclusion, using OAuth 2.0 via Keycloak for API requests provides a secure and reliable way to authenticate and authorize third-party applications. By creating a client in Keycloak and configuring the API to use Keycloak for authentication and authorization, you can ensure that only authorized applications can access your resources.
Have you tried to use leverage keycloak for your API Requests already? What are your thoughts on this approach? Let us know in the comments!


