Hi everyone!
In the last part of Monitoring Projects Configurations, we will talk about how to easily import configurations from one monitoring project to another, making your data quality monitoring more efficient. If you’ve missed Part 1&2 you can find them below:
Import the Configuration
Instead of creating a new project from scratch, you can copy the configuration of one monitoring project and apply it to another. This is particularly useful when you want to replicate settings from a testing environment to a production environment. The copied configuration includes all checks, invalid samples, reports structure, and DQ filters.
To import the configuration:
- Navigate to the project where you want to apply the configuration.

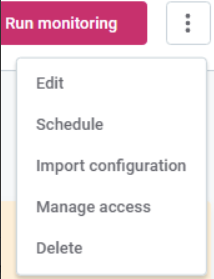
- Expand the more options menu and select Import configuration.
- Choose the monitoring project from which you want to copy the configuration, from the list provided.
- Check if the preselected catalog items are correct. You can modify the list by deleting items or selecting different ones from the catalog.
- Make sure the structure of the catalog items matches to proceed with the import.
- Click Start import at the bottom of the page. The configuration will be copied to the new monitoring project instantly.
Set a Purpose
Setting a purpose for catalog items is optional but helpful. It helps preselect catalog items for a monitoring project without manual assignment. To link a project with catalog items, ensure that both the project and items have the same purpose.
To set the purpose:
- For the project, go to the Overview tab, click Add purpose in the Purpose widget, and choose from the preconfigured list.
- For catalog items, go to the Overview tab of the item, click Add purpose in the Purpose widget, and select from the preconfigured list.
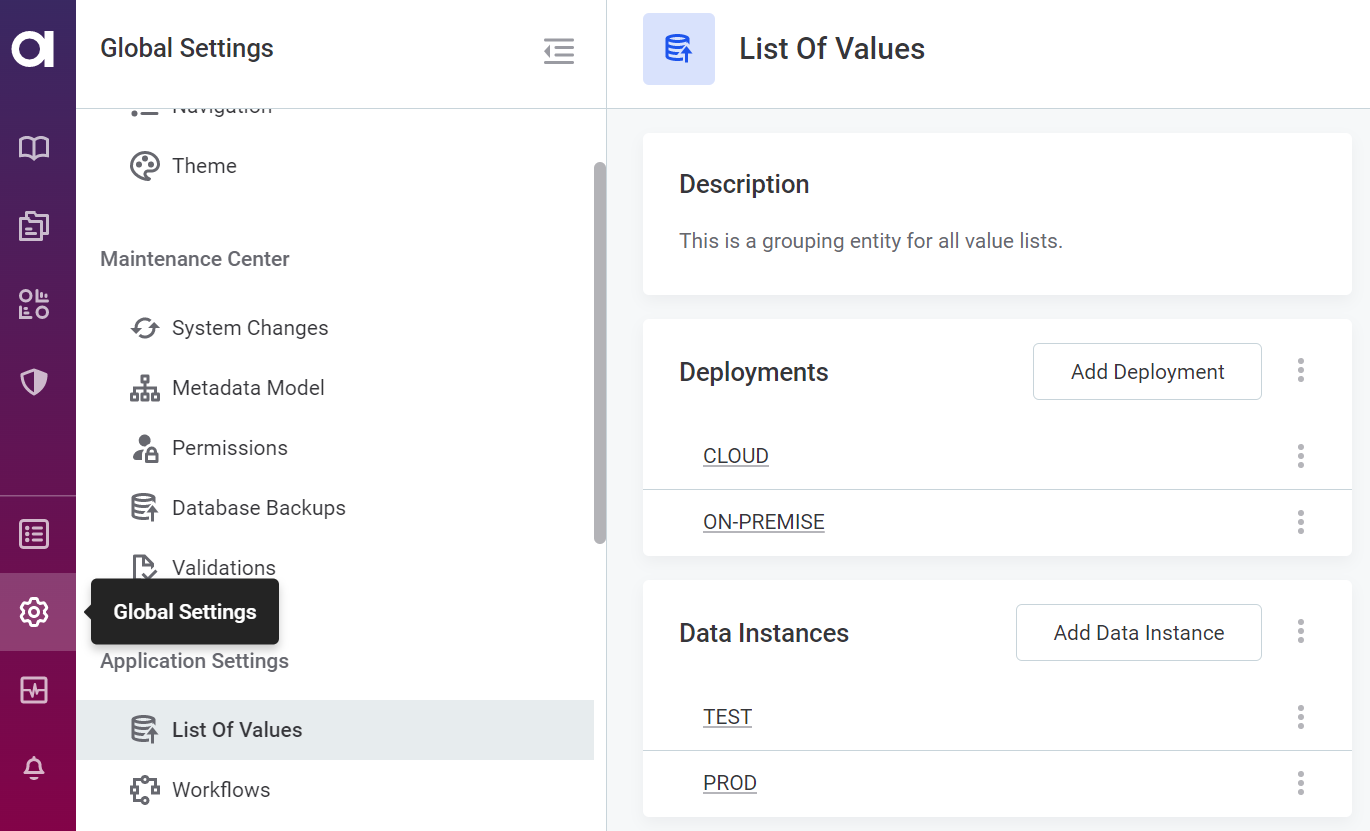
The list of purposes can be managed by power users via the List of Values in the Organization tab.
Example Use Case
Let's consider a 'development' and a 'production' environment:
- Users can test projects on the development environment and later apply the same configuration to the production environment.
- Users can comfortably test the report without affecting the production dashboard.
To achieve this:
- Add both a DEV and a PROD purpose in List of Values.

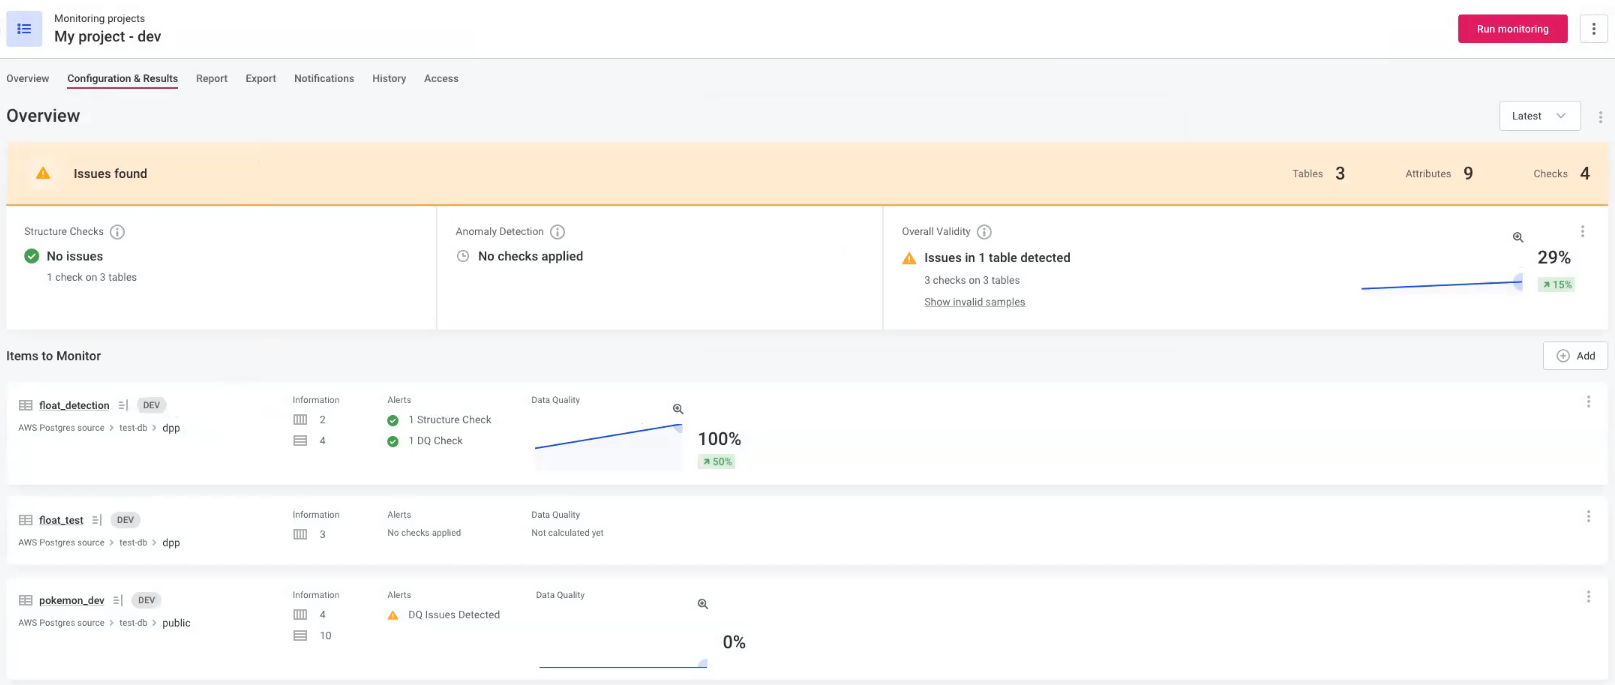
- Configure a monitoring project for the development environment and assign the DEV purpose.

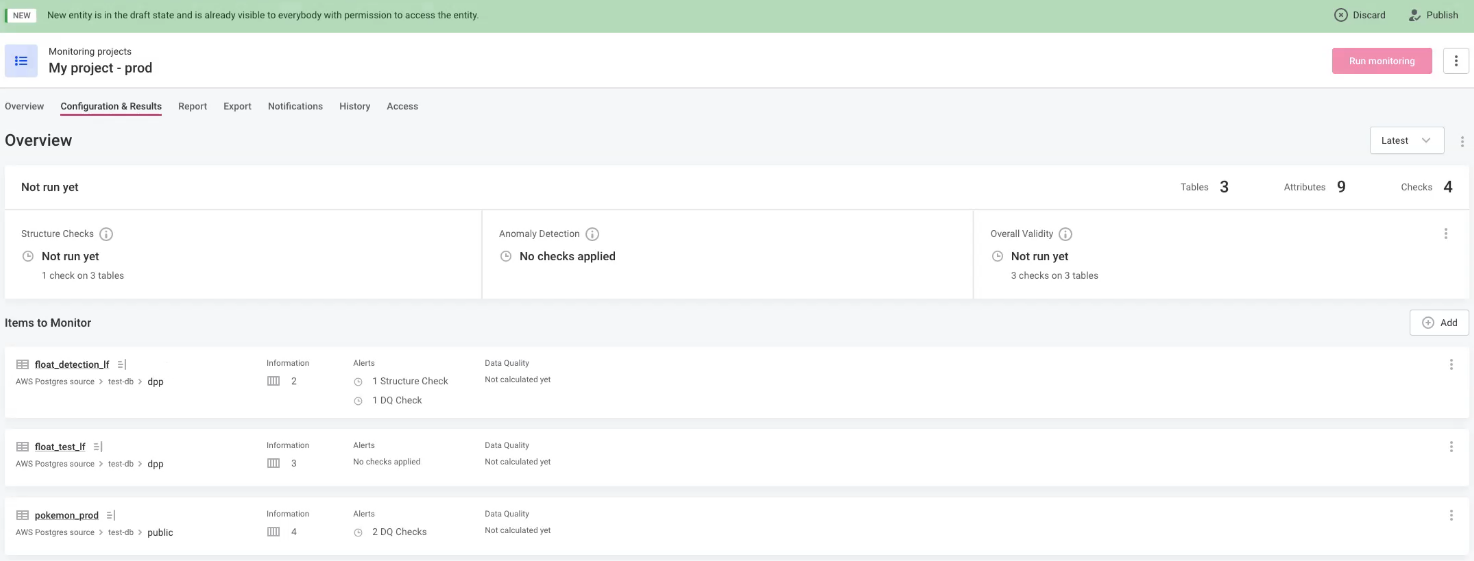
- Create a monitoring project for the production environment and assign the PROD purpose.
- Copy the monitoring project configuration from development to production.
- Link the tables that correspond to development and production environments.

- Click Start import to import the configuration to the production monitoring project.

Try out these steps to start using the configuration import feature! If you have any questions please share them in the comments 
