Hi everyone!
Data quality management often requires comparing data from various sources and performing cross-entity checks to ensure accuracy and consistency. In this post, I’ll walk you through the process of creating cross-entity checks. Let’s get started 👇🏻
An Overview of the General Steps
To perform cross-entity checks, you need to follow these five key steps:
-
Create a Virtual Catalog Item (VCI) in IDE: The Virtual Catalog Item acts as a container to hold the tables you want to compare.
-
Join the Necessary Tables: Identify and join the relevant tables from your data sources that can be merged for comparison.
-
Sync the VCI with the Web Application: Ensure that the Virtual Catalog Item you created is synchronized with the web application for further processing.
-
Create a Rule to Compare Data: Develop a rule that specifies the comparison logic for data across different tables.
-
Create a Monitoring Project: Set up a monitoring project to compare table values at a specific periodicity. Note that you'll need the Data Quality (DQ) suite to work with rules and monitoring projects effectively.
Let's go through an example where we compare the "customernumber" and "customername" columns in two Catalog Items: "Customers" and "Orders." The goal is to ensure that the values in these columns are the same across both Catalog Items. Here's how you can achieve this:
-
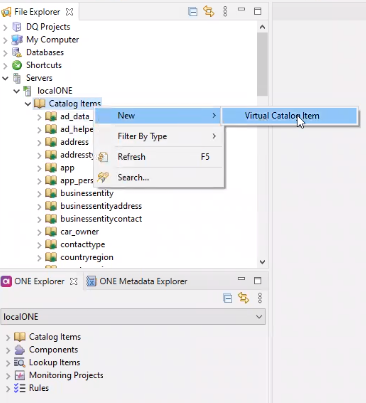
In ONE Desktop, navigate to the File Explorer and right-click on Catalog Items.
-
Select "New" and then "Virtual Catalog Item."
-
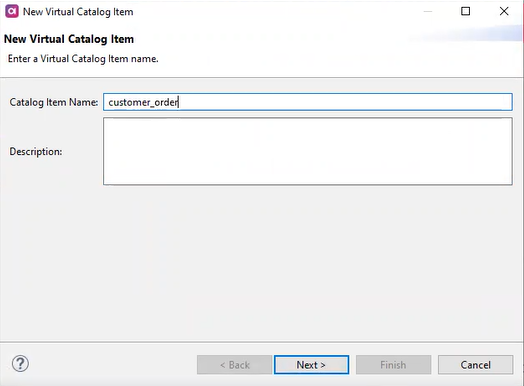
Provide a name and description for the Virtual Catalog Item (VCI) and click "Next."
-
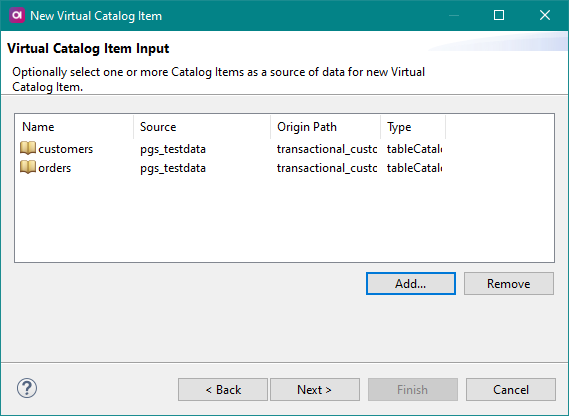
Add an existing Catalog Item by clicking "Add."
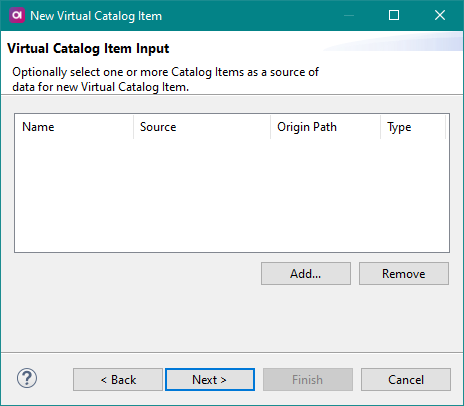
-
Select the Catalog Items you want to compare, in this case, the "Customers" and "Orders" tables, and click "OK."
-
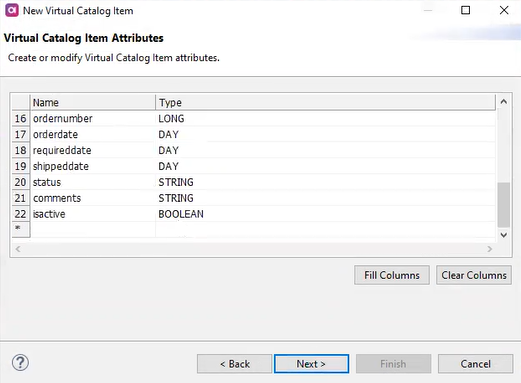
Choose the columns you want to include in the VCI and click "Next."
-
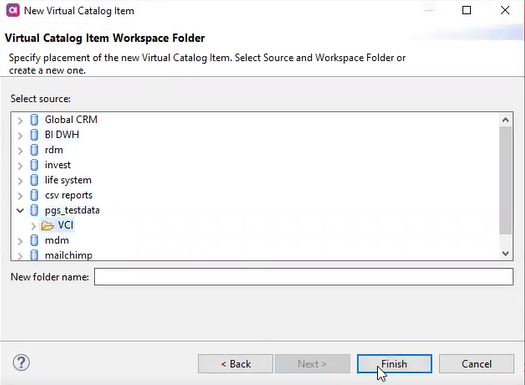
Click "Next" again, and in the "Virtual Catalog Item Workspace Folder" dialog, define a folder name or select an existing one. Click "Finish."
-
The Virtual Catalog Item is now created.
-
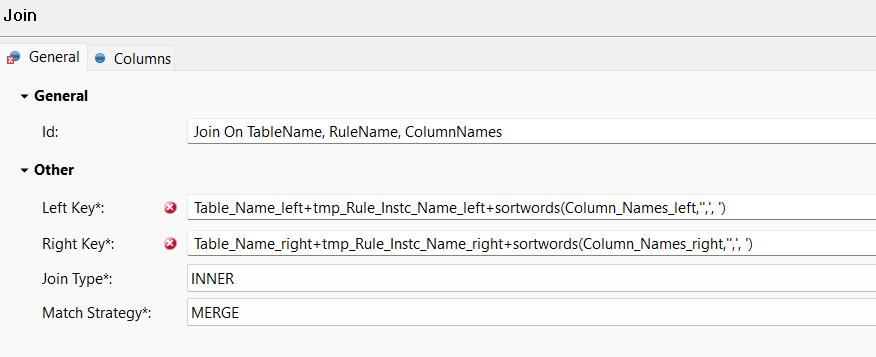
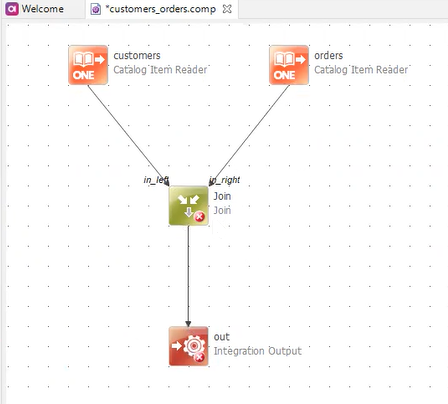
In the opened VCI plan, add the Join step and connect it with the tables and output.
-
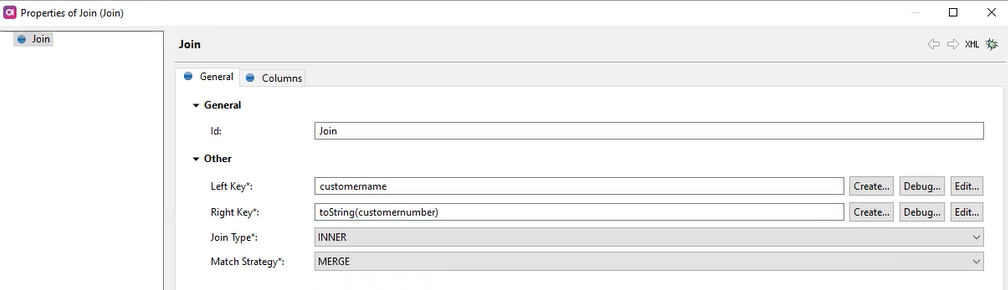
Configure the Join parameters:
- Select the "left" and "right" keys from the respective tables.
- Choose the Join Type.
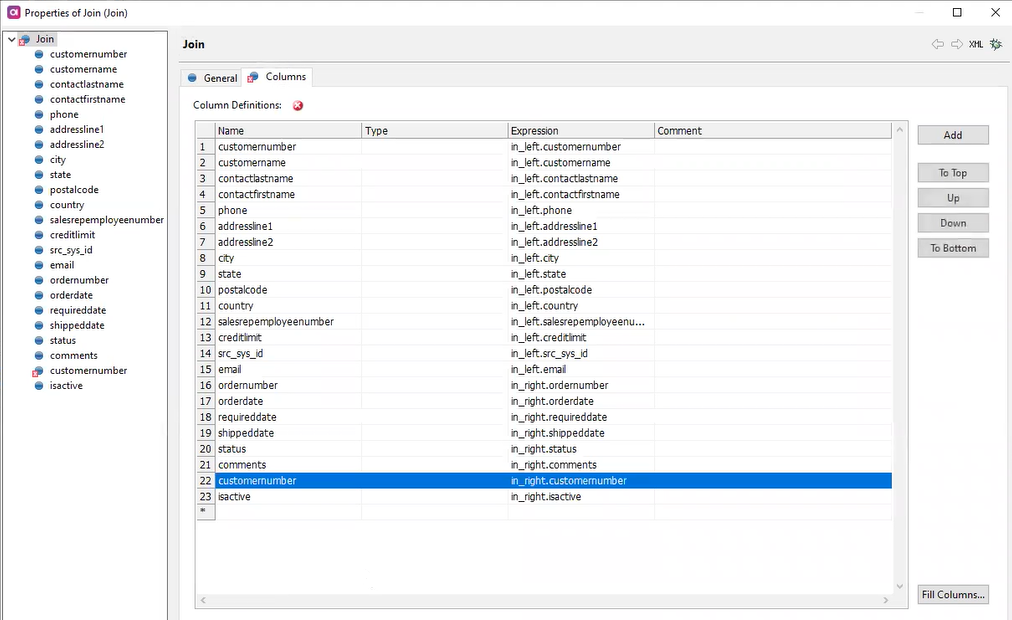
- In the Columns tab, specify the columns that should be present after the Join step. Eliminate any duplicate ones.
-
Click "OK."
-
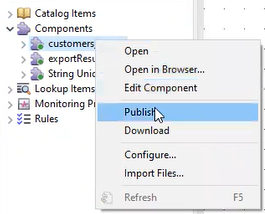
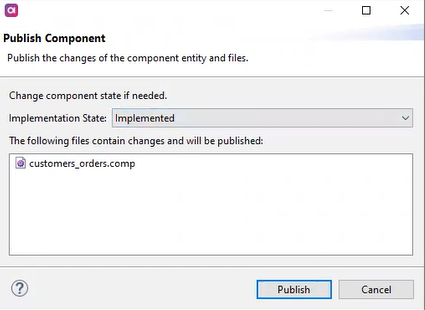
Publish the component. Your VCI is now accessible in the web application.
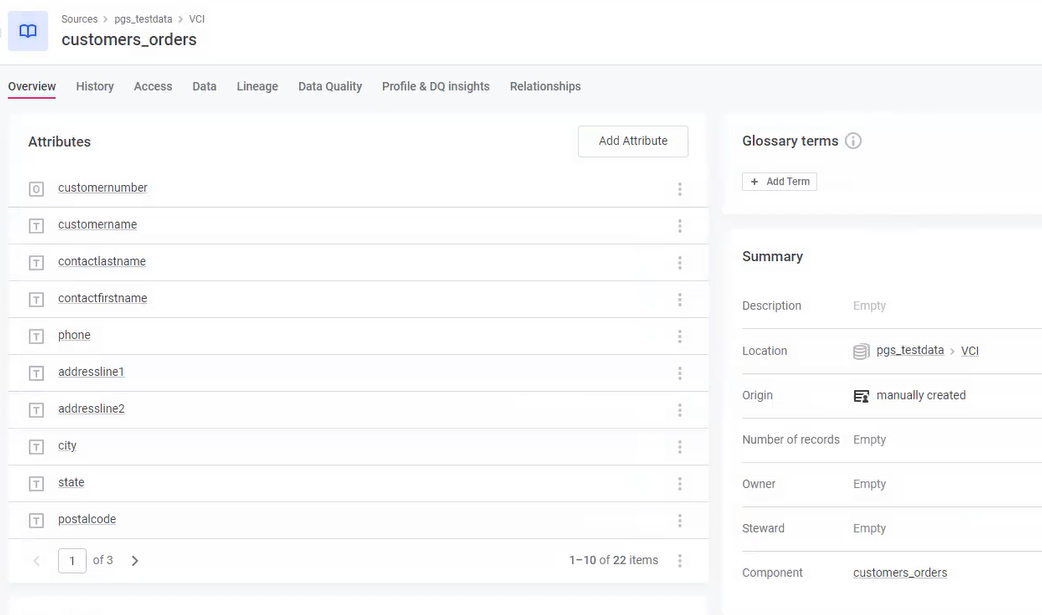
-
Profile the table.
-
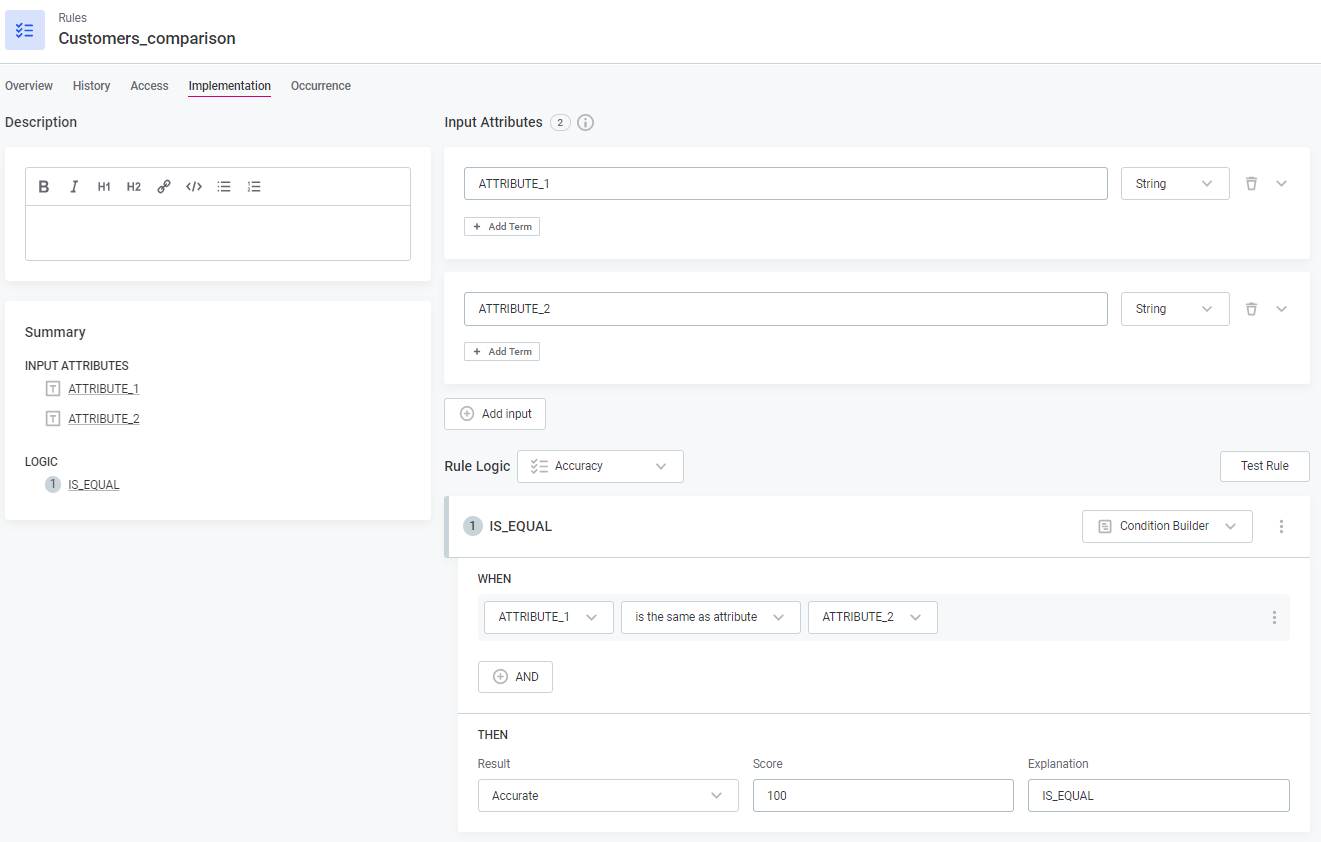
Create a rule (or use an existing one) to compare two attributes for equality. For example, use the rule logic: "Attribute1 is the same as Attribute2." Publish the changes.
-
Create a new Monitoring Project and select the "Customers-Orders" item.
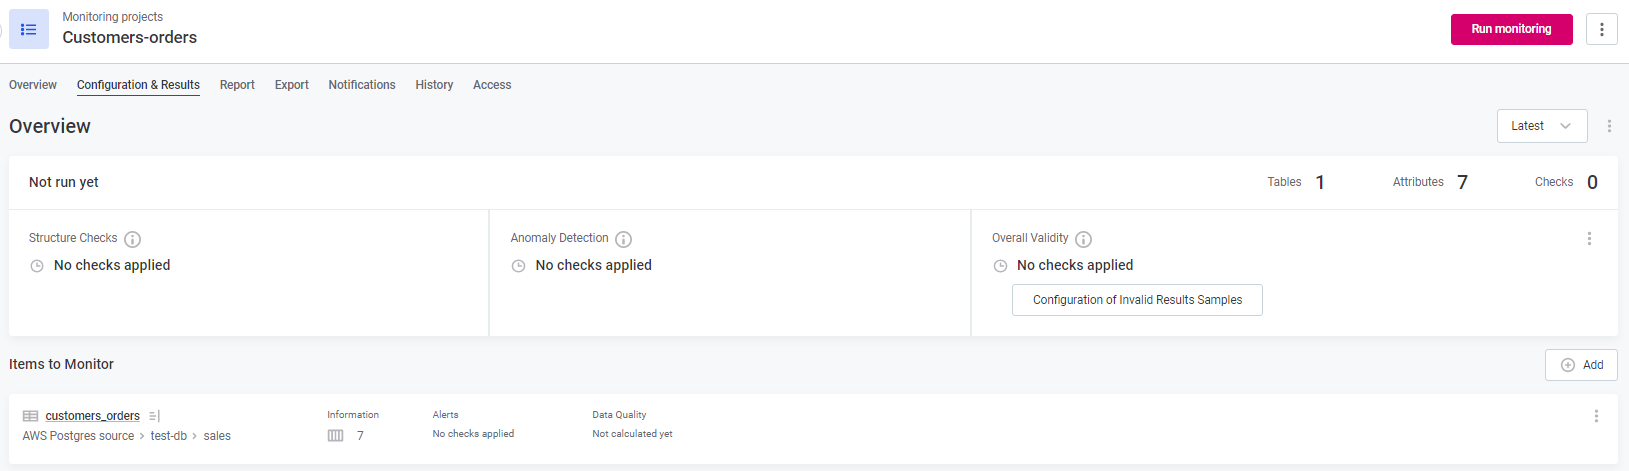
-
Apply the comparison rule as a DQ Check to the attributes you want to compare. Set the project's periodicity if needed and run the monitoring. You can view the results in the Monitoring Project.
Follow these steps to efficiently join tables for cross-entity checks and ensure the integrity of your data across different sources. Let us know if you have any questions in the comments below 👇🏻🙋🏻♀️