Hi everyone,
In this post we will cover databases that play a vital role in Ataccama solutions, serving as data sources, and repositories, and enabling data profiling. Here are some tips & tricks to help you effectively work with databases in Ataccama.
Connecting to a Database
-
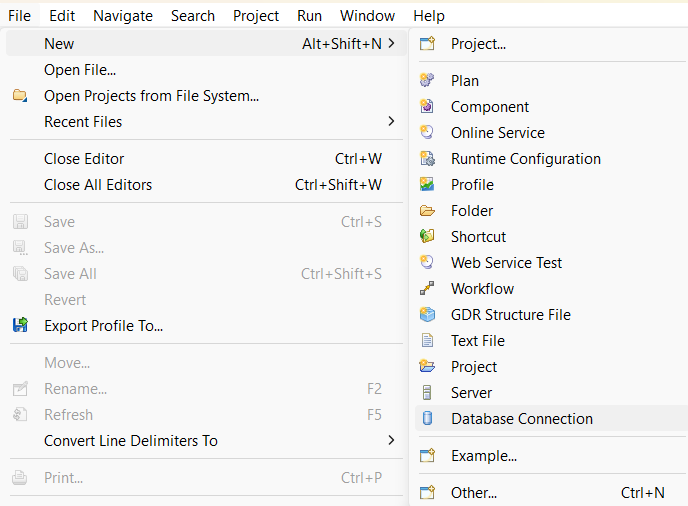
To establish a connection with a database, right-click the Databases node in the File Explorer and select New Database Connection.

-
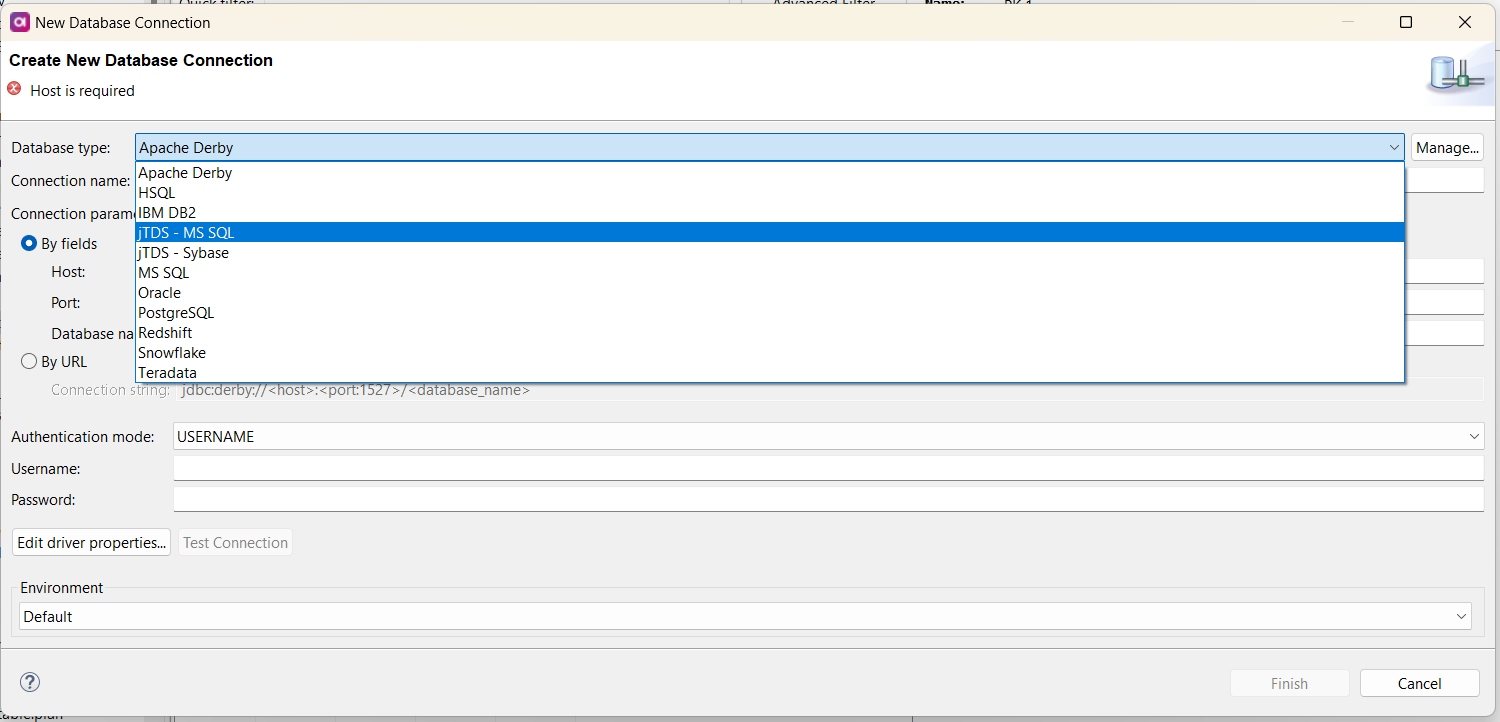
Configure the connection by providing the following information:
- Database type: Specify the database connection type.
- Connection name: Define a name for the new database connection.
- Host: Specify the hostname or IP of the database host.
- Port: Provide the port allocated for the database connection.
- Database name: Catalog: Specify the name of the database instance located on the host.
- Username: Enter the username to connect to the database.
- Password: Enter the password to connect to the database.

-
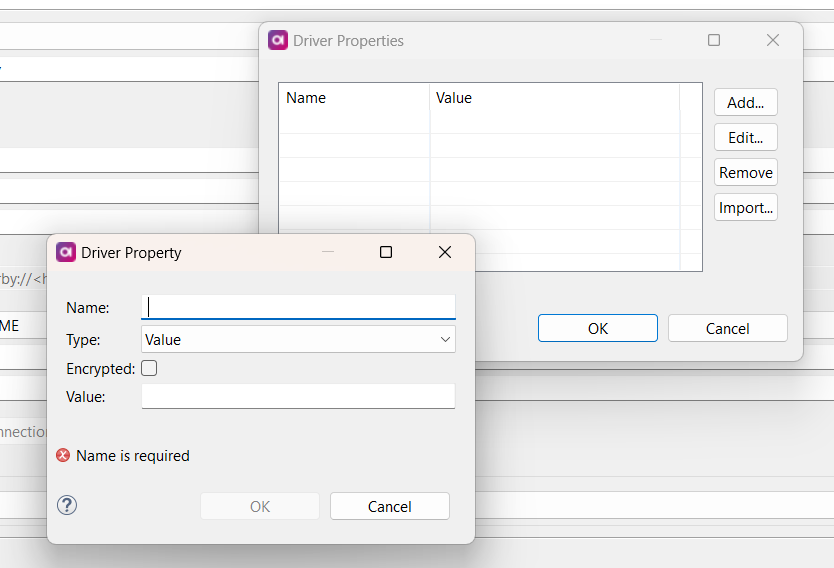
Use the Edit Driver Properties... option to set additional JDBC properties for this data source, including name, type (value or file), and encryption options.

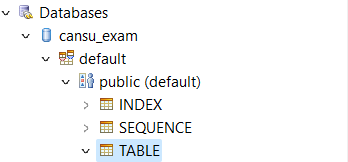
After configuring the database connection, it will appear in the Databases node in the explorer panel. Right-click the connection name and select Connect to establish a connection.

Viewing Table Properties
Clicking on a table name will display its metadata in the Properties tab. This information is essential for understanding the structure and characteristics of the table.

Executing SQL Queries
To view the results of an SQL query on a table, simply double-click the table. A default query listing all table entries will be shown. You can edit the query text and click Execute to retrieve results. Use Next Batch or Read Rest to retrieve more results from the query.
For more advanced use of data from a database within a Plan file, refer to the documentation for the JDBC Reader step.
Installing Database Connectivity Drivers
Ataccama IDE uses the Java Database Connectivity (JDBC) API for connecting to databases. It's important to have the necessary JDBC drivers for your specific database. Here's how to manage database drivers:
Bundled Database Drivers
- The IDE automatically installs bundled database drivers when you start it for the first time. These drivers are included with the product and require no additional setup.
Installing Custom Drivers
To install additional (custom) database drivers:
-
Download the required driver, usually in an archive format.
-
Extract the archive to your desired location.
-
In Ataccama IDE, navigate to Window > Preferences > sYour Product] > Database.
-
Add or edit a database driver. For pre-configured drivers like MySQL, they are listed. For new drivers, click Add....
- In the case of adding a new driver:
- Driver name: Enter the name of the database. This name is used in the Database type dropdown in the New Database Connection dialog.
- URL hint: Provide the hint for the correct format of the JDBC string supported by the driver.
- Driver class: This field will auto-fill when you add the Driver's classpath.
- Driver's classpath: Add the driver's classpath, either by adding JAR folders, specifying a folder, or selecting individual JAR files.
- In the case of adding a new driver:
-
Click OK to complete the setup. The driver will have a green light and "YES" in the "Configured" column of the table.
Troubleshooting Connections
Amazon Redshift
-
If you're working with Amazon Redshift, be aware that the default buffer size is set to 2 GB. This buffer may cause memory issues for data-intensive queries. To prevent this, add the following parameter to your Redshift connection string:
fetchRingBufferSize=1MThis sets the ring buffer size to 1 MB, which is sufficient for most scenarios.
Example Redshift connection string:
jdbc:redshift://redshiftdb.com:5439/dev;fetchRingBufferSize=1M
By following these best practices, you can effectively connect to and work with databases in Ataccama, ensuring smooth data integration and profiling processes. Let us know if you have any questions in the comments 
