Hello,
I’m setting a new connection for Snowflake datasource, and I need to use key pair authentication for this.
In the credentials drop-down menu it doesn’t look like this option to be present:
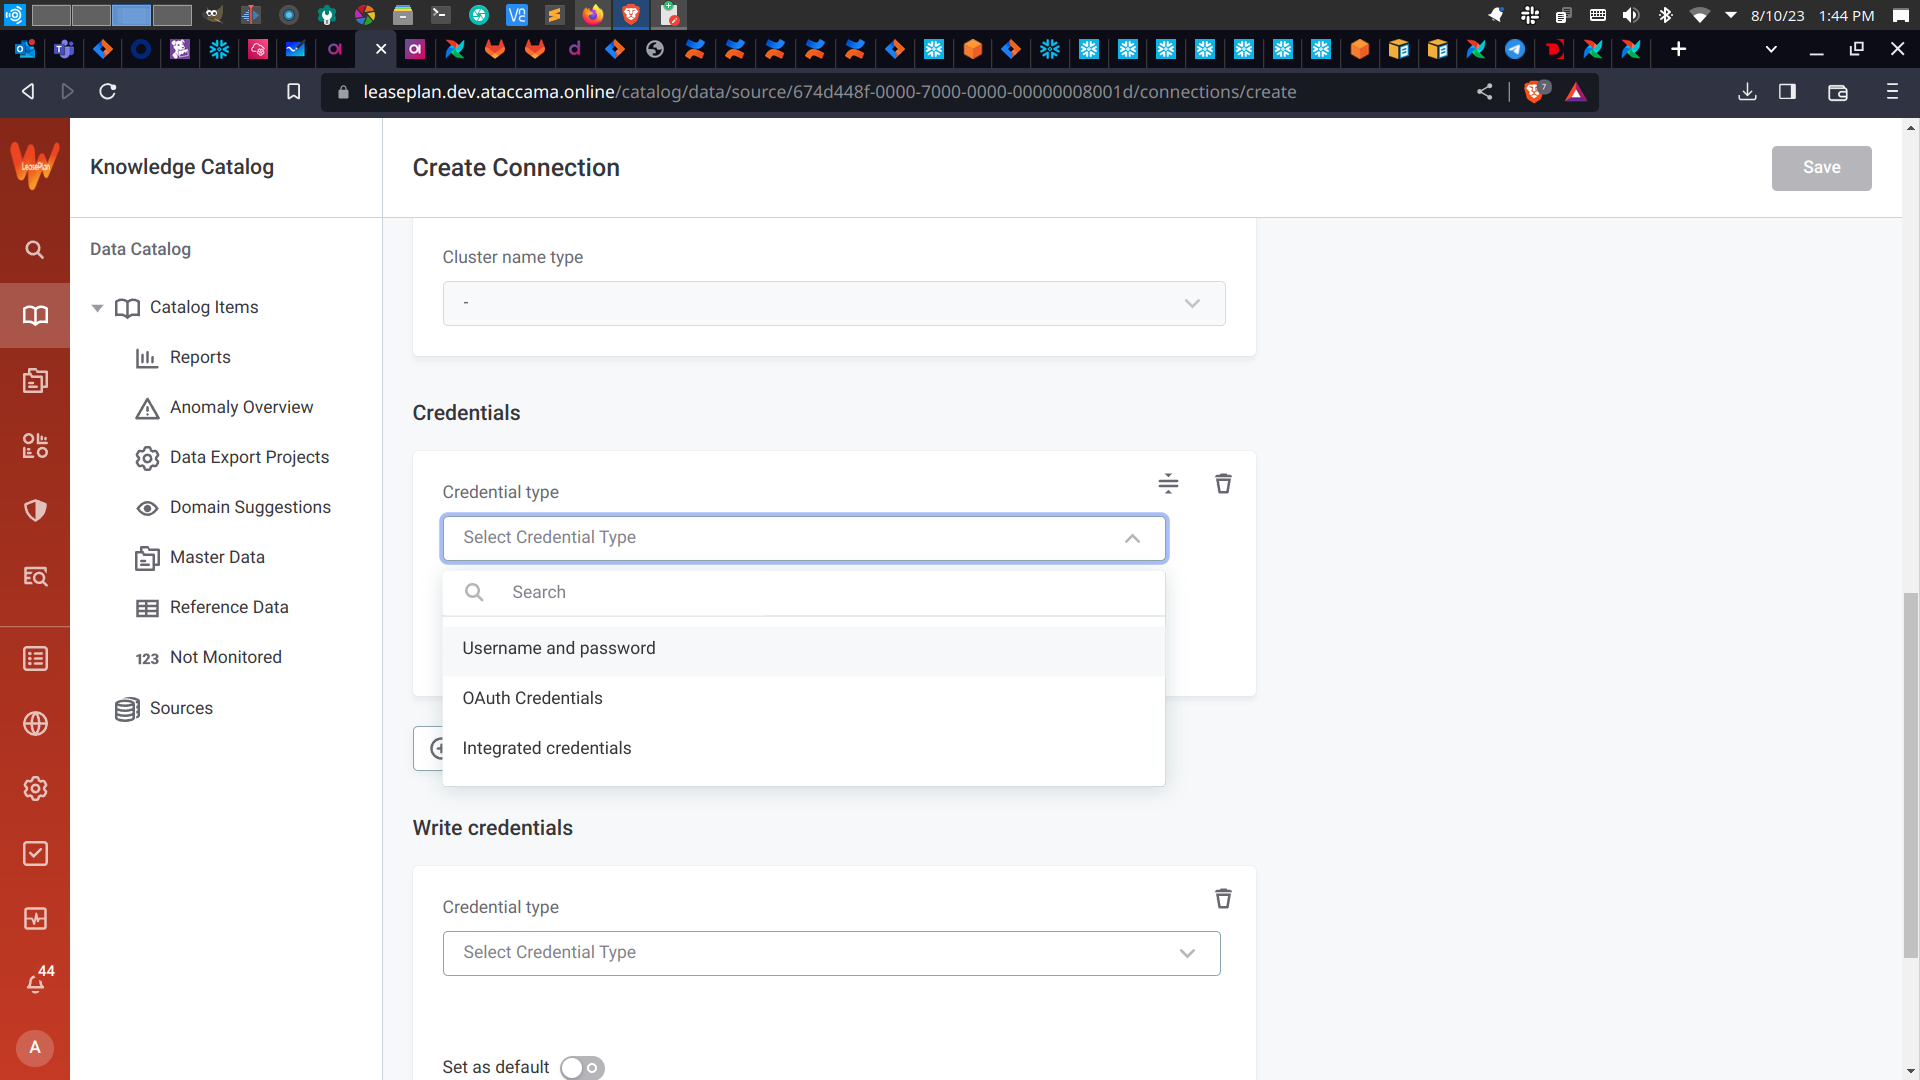
What do you advise?

Hello,
I’m setting a new connection for Snowflake datasource, and I need to use key pair authentication for this.
In the credentials drop-down menu it doesn’t look like this option to be present:
What do you advise?
Hi
Go to the section “Connect to Snowflake using JWT” if you already set up the key in Snowflake.
Generating the JWT (this is only one example, it can be done in other ways): Alternatively you can also search for “generate pem rsa key” to find alternative ways of generating the key.
openssl genrsa -out keypair.pem 2048openssl rsa -in keypair.pem -pubout -out publickey.crtSet the public key for the user in the Snowflake console. Please note that you need to be logged in as an admin. The SQL template is: alter user "<username>" set rsa_public_key='<public key content>'. Here, put only the content of the key into the query (omit the first and last rows that start with dashes).
Use these steps in order to connect to Snowflake from ONE Catalog:
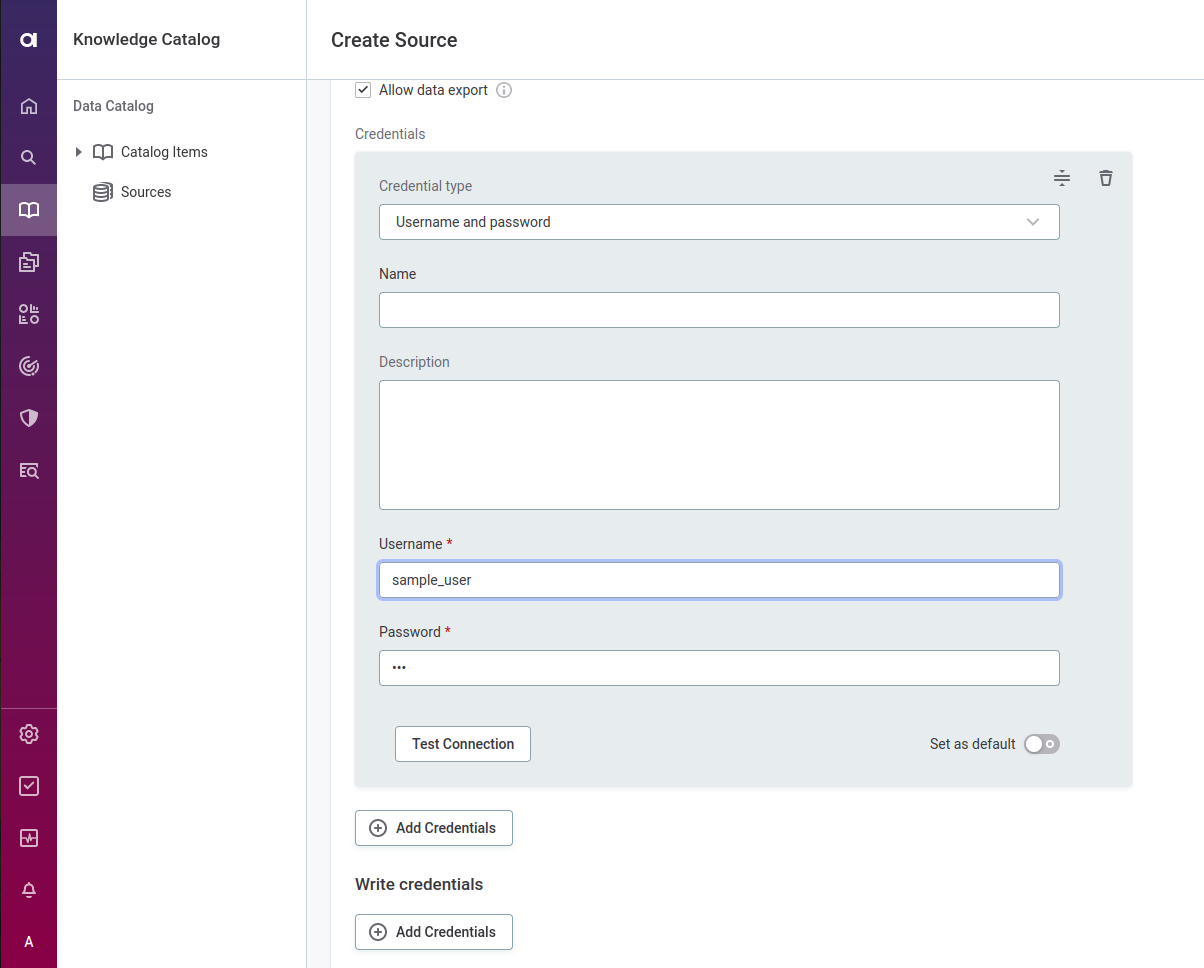
authenticator with value snowflake_jwt. Alternatively, you can put this property as a parameter into jdbc string like &authenticator=snowflake_jwt.private_key_file. Set driver property type to “File”. Check the box “Encrypted”. Finally, upload your private key. 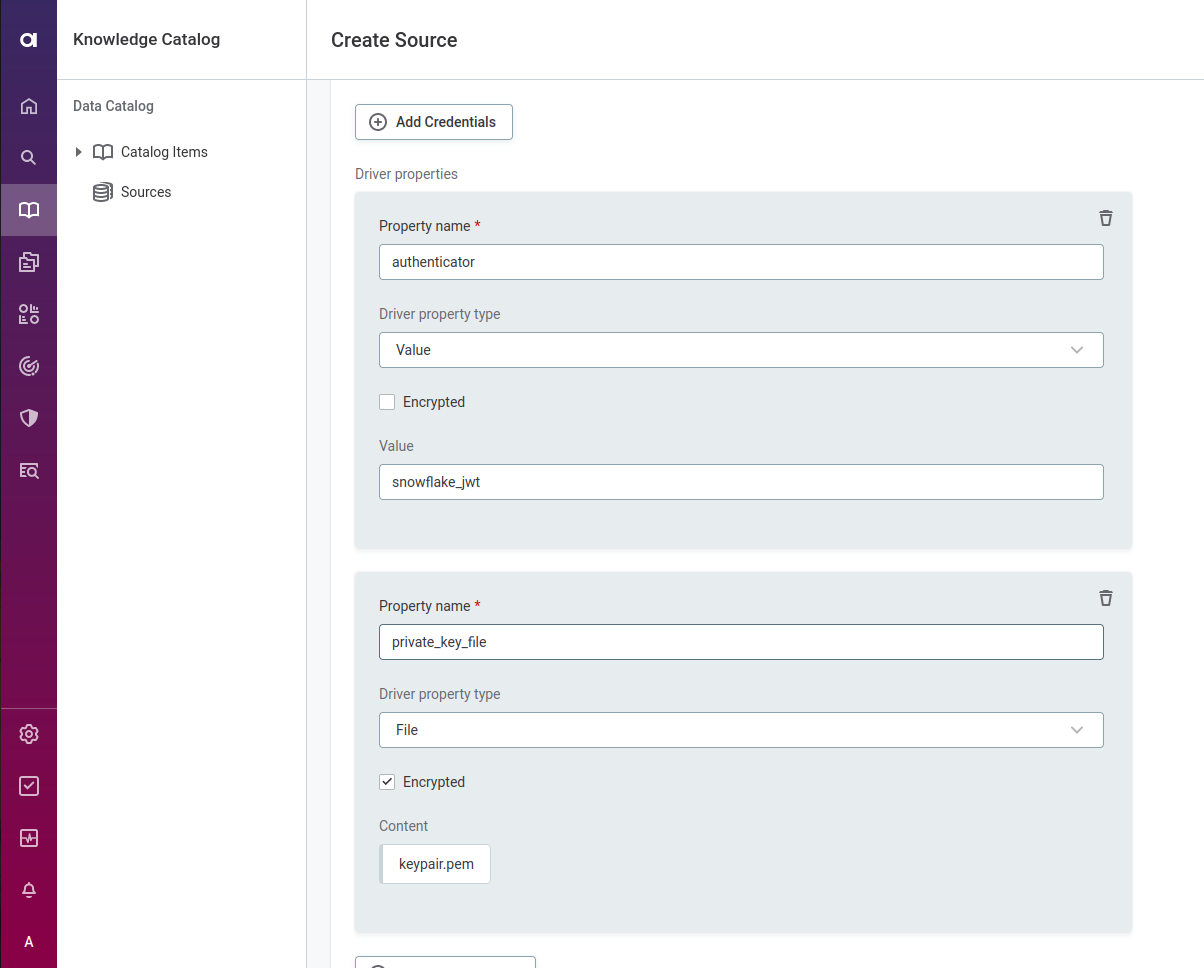

Hope this helps!
No account yet? Create an account
Enter your E-mail address. We'll send you an e-mail with instructions to reset your password.