
Happy Wednesday Community!
Today’s post will cover how to work with component rules on ONE Desktop Application. If you missed yesterday’s article we had an introduction to working with components on ONE Web. Check it out here:
Component rules play a crucial role in tackling complex data validation tasks that may go beyond what standard DQ rules in the web application can handle. By leveraging component rules, you can define custom validation logic tailored to your specific data quality requirements.
To ensure accurate and effective results, follow these best practices when working with component rules:
1. Creating a Component Rule on ONE Desktop
To create a component rule, follow these steps:
-
Open ONE Desktop and add Ataccama ONE Platform Server by creating a new server connection.
-
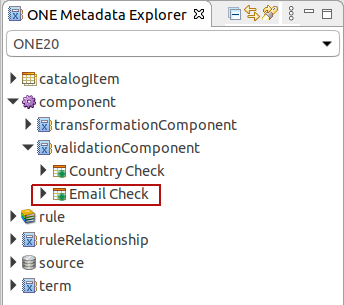
Navigate to the ONE Metadata Explorer tab.
-
Select the component you've created in ONE Web Application (e.g., "Email Check" in this example).
For more information on creating a component in ONE Web Application, refer to the Working With Components guide.
-
Right-click on the component and choose "Edit Component."
-
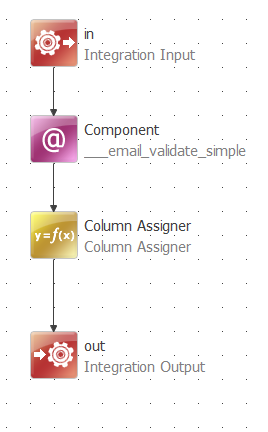
In the Component Editor, implement the necessary validation steps for your component.
-
Save the changes you've made.
2. Scoring the Records
To score the records' invalidity severity level, follow these steps:
-
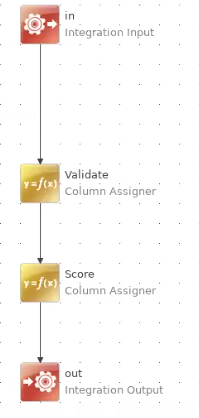
Add the Score Column Assigner step to the plan. This will add an output column to the data, displaying the score for each record.
-
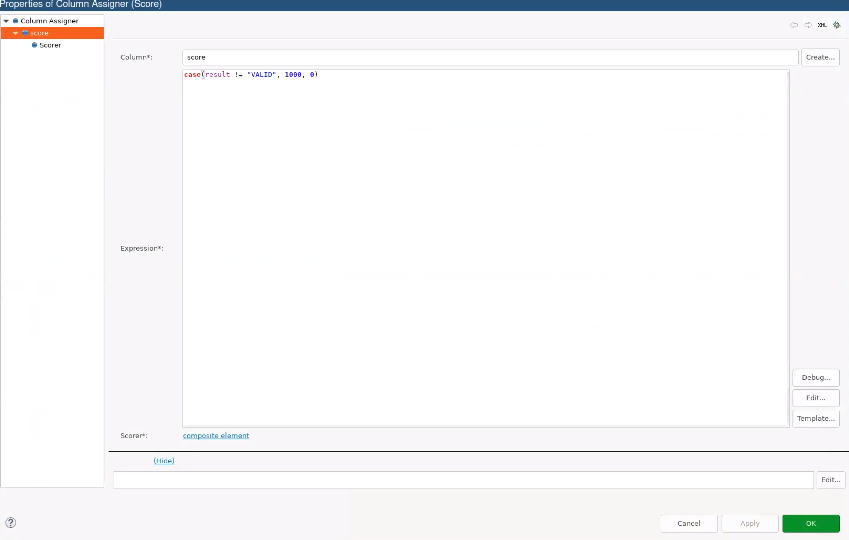
Double-click on the Score assigner to open it.
-
Set the score assigning logic. For example, if a record is invalid, you can assign a score of 1000. The score provides a numeric expression of each record's invalidity severity level based on the applied rule. This is particularly useful for monitoring projects and detecting records with issues, allowing you to improve data quality effectively.
Typically, higher scores indicate more critical issues. For instance, a missing non-critical value might have a score of 100, while a missing critical value could have a score of 10000.
-
Click OK and save the changes before publishing.
3. Publishing the Component
To publish the component and make it ready for use, follow these steps:
- Right-click on the component and select the option "Push Changes" to send the updates to the web application.
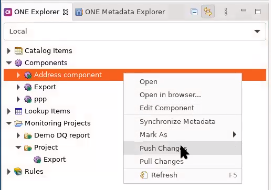
- Confirm sending the changes by clicking OK.
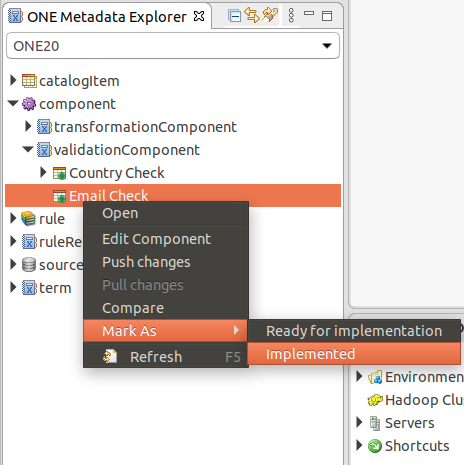
- To change the status of the component to "Implemented" (ready to be used), right-click on the component and select "Mark As" > "Implemented."
By following these best practices, you can effectively create and utilize component rules in Ataccama's ONE Desktop for robust and tailored data quality validation. Remember that component rules offer flexibility and power, allowing you to address even the most complex data quality challenges.
If you have any questions or best practices on working with components please share them in the comments 

