
Hello everyone!
I’m Srija Piratla , Solutions consultant here at Ataccama. In this post, I'll guide you through saving your project to a remote repository using Ataccama ONE Desktop. This setup is beneficial when multiple team members are collaborating on the same project, allowing all code changes to be stored both locally and remotely.
- To push a project into a remote repository, we need to create a project and start a local repository in ONE Desktop.
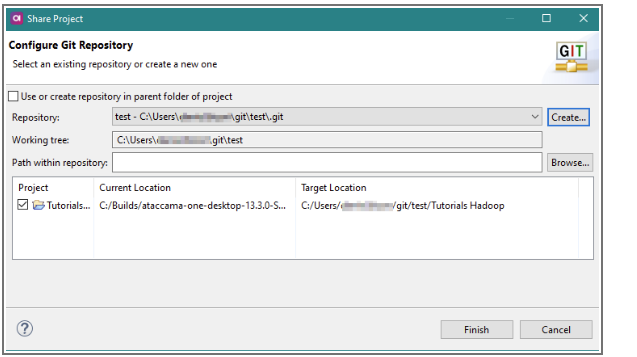
- In Model or File Explorer, right-click the project folder and select Team > Share Project.
- In the Configure Git Repository dialog, specify the path to the folder where you want to set up your local Git repository.
Note: It is recommended to create the repository outside your workspace
Hello everyone!
In this post, I'll guide you through saving your project to a remote repository using Ataccama ONE Desktop. This setup is beneficial when multiple team members are collaborating on the same project, allowing all code changes to be stored both locally and remotely.
- To push a project into a remote repository, we need to create a project and start a local repository in ONE Desktop.
- In Model or File Explorer, right-click the project folder and select Team > Share Project.
- In the Configure Git Repository dialog, specify the path to the folder where you want to set up your local Git repository.
Note: It is recommended to create the repository outside your workspace
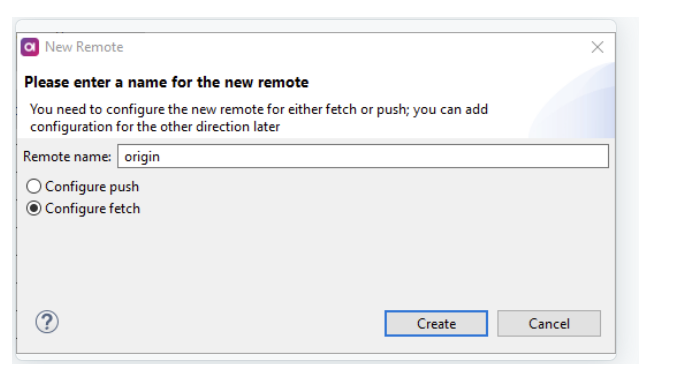
- In the Git Repositories view, right-click on Remotes and select Create Remote.
- Provide a name for the remote repository, select Configure fetch, and then click Create.
- To provide connection details for your remote repository, right-click the repository and select Change.
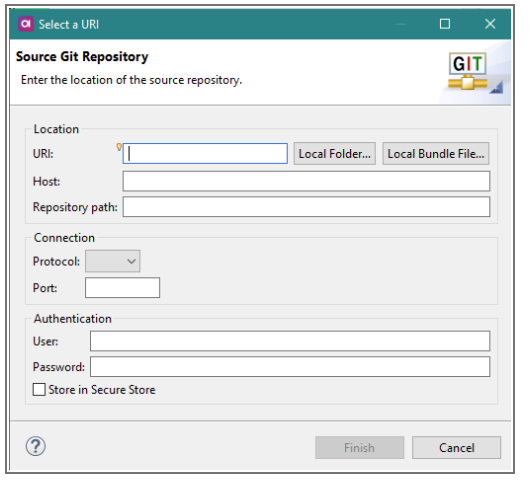
- Provide the necessary information, then select Dry-Run and Save.6.
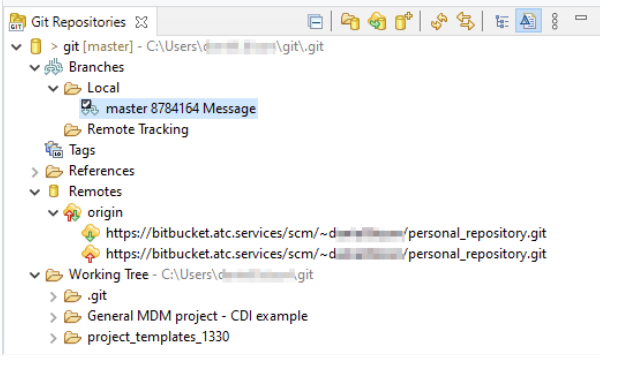
- In the Git Staging view, add the files that you want to track and add to the remote repository by dragging them to the Staged Changes area.
- Select Commit and Push to commit the staged files to your local repository. Enter a message and then push the files to the remote repository as well. You can select the remote you will push the changes to.
If you have any questions or thoughts, please don’t hesitate to share them in the comments below!