Setting permissions for groups via the IDE.
- Ensure your groups exists in KeyCloak first
- In the IDE go to your RDM Project and complete the following under "Security"
- Right click on Roles
- Select New role
- Add the name and description of the role (be sure to use the same names that you setup in KeyCloak) then click Apply and OK
- Expand the new role, and right click on Entities then select Edit…
- Add the Tables and the Table level permissions in the next window
- NOTE: Table permissions do not give column level permissions.
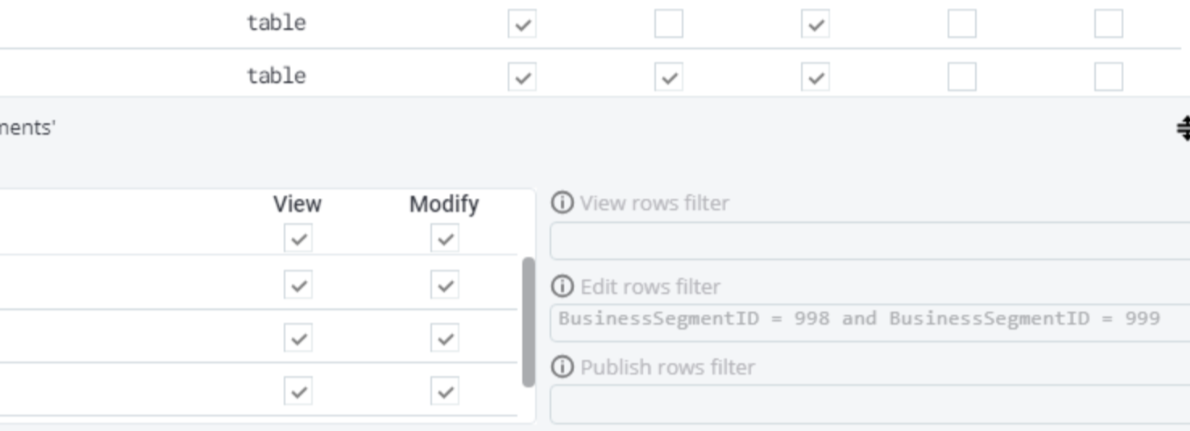
- Double click the number next to the table that you wish to setup permissions for
- Notice that there are options for "View for All Columns" and "Modify for All Columns." However, if you want to select only certain columns, you can do that below with the following steps.
- Add the column names you want permissions to be given for, and select View and/or Modify for the given column
- When complete, click Apply then OK
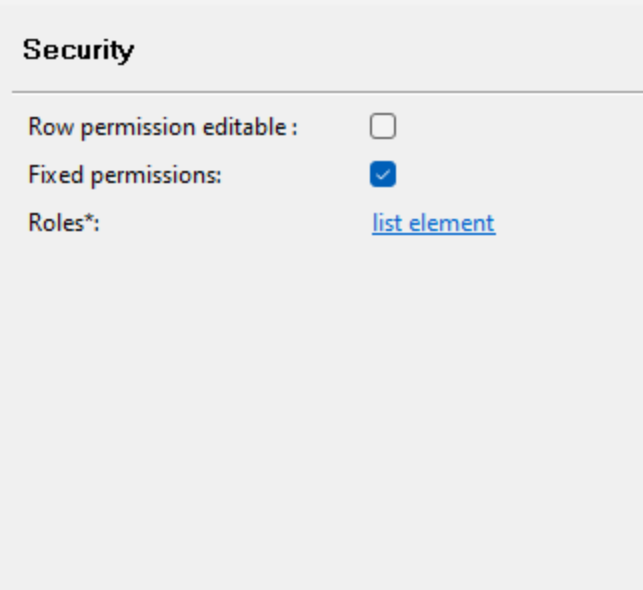
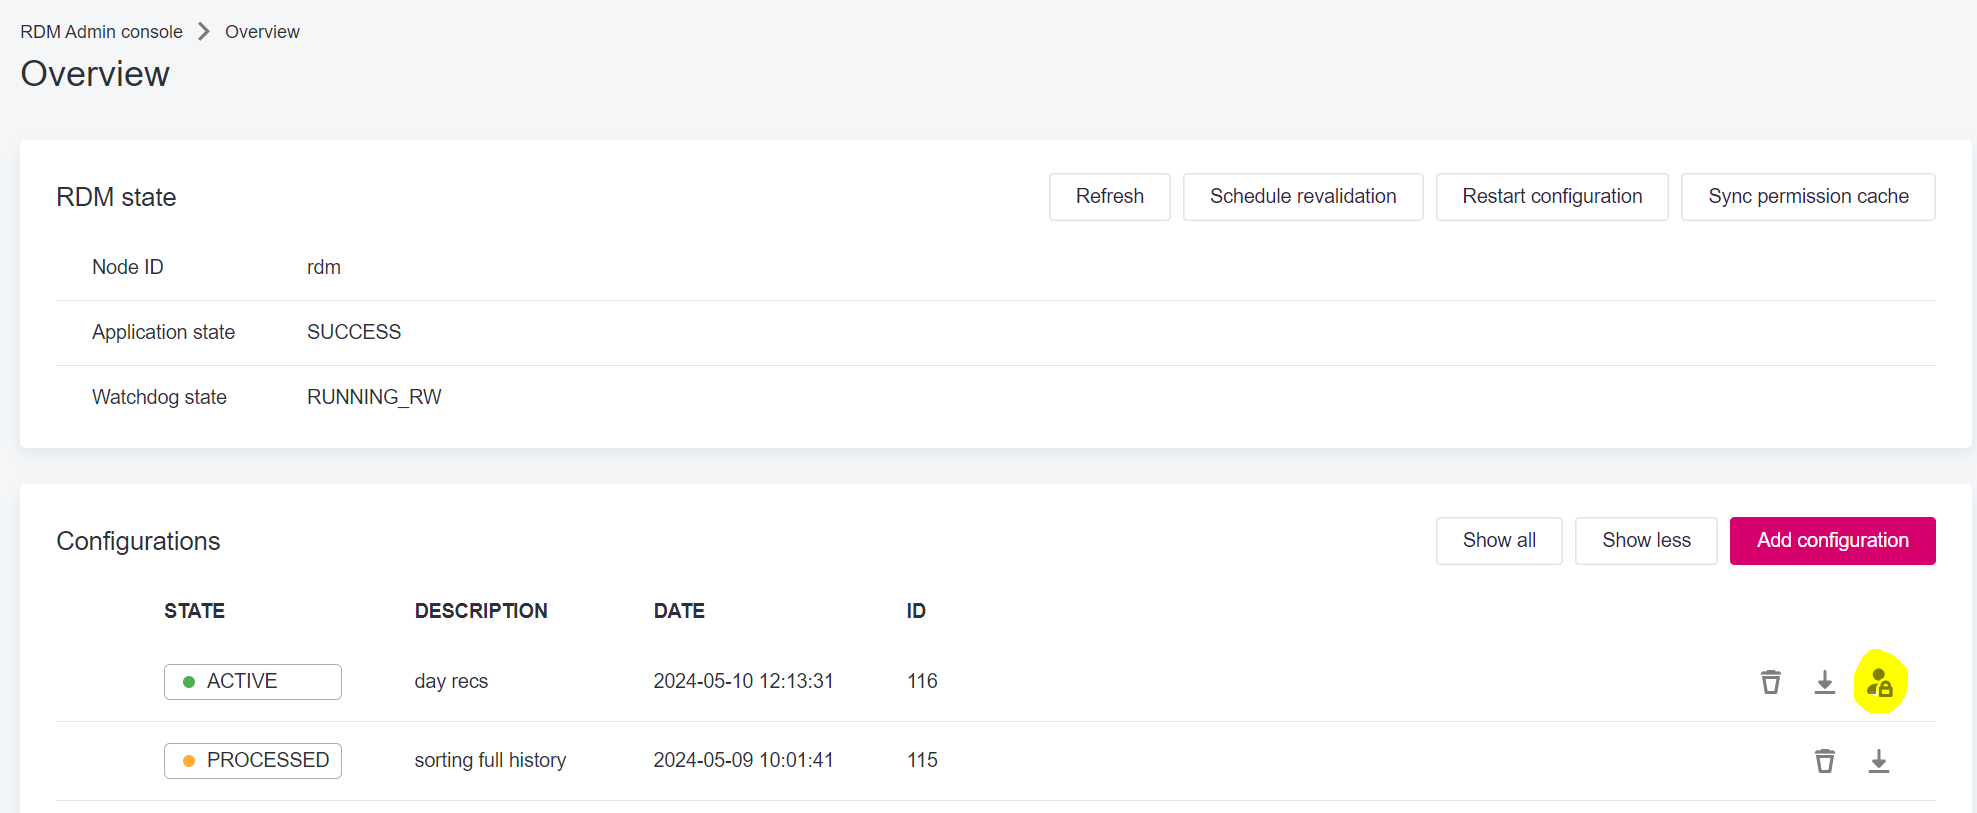
- To ensure these permissions are applied to the Web Admin double click on Security, and check the boxes for "Row permission editable" and "Fixed permissions."
- Note that once applied, you will not be able to edit permissions in the IDE.


